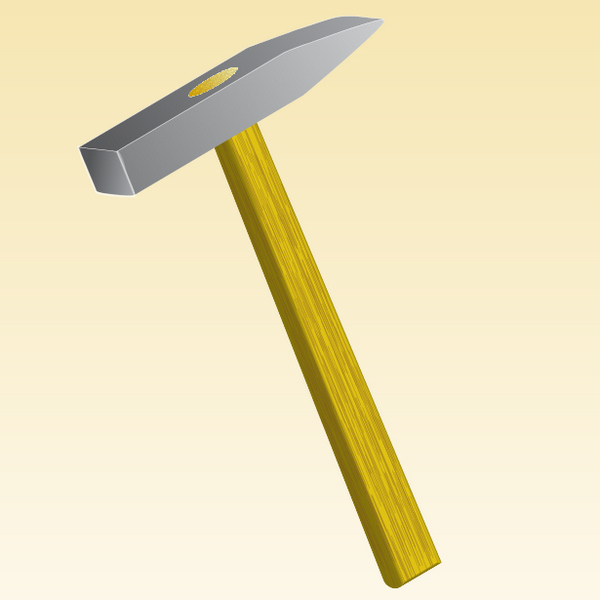
Do you want to create an image of a hammer? If yes then let’s get started and you will undoubtedly learn the excellent Illustrator tools and create your own impressive and stunning artwork! You will use the Bristle and Scatter brushes, 3D and Film Grain effects.
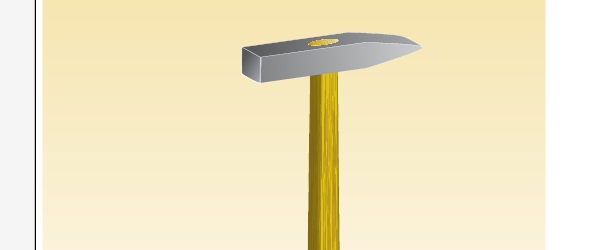
Final Image
Tutorial Details
- Program: Adobe Illustrator CS3 – CS6
- Estimated Completion Time: 1 hour
- Difficulty: Intermediate
Step 1
Open the Illustrator program, create a new document and let’s begin.
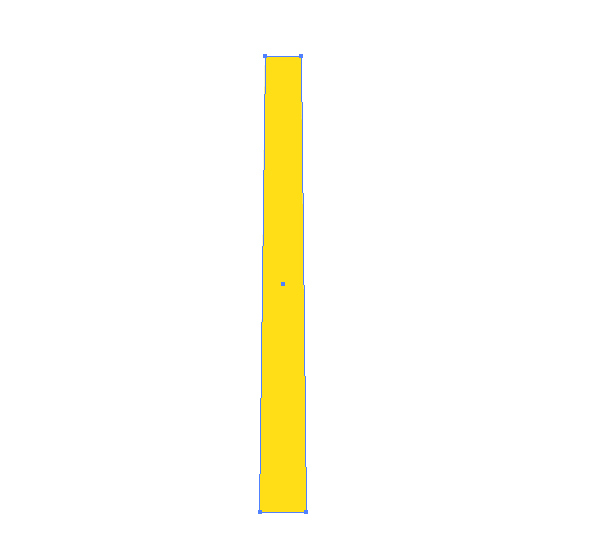
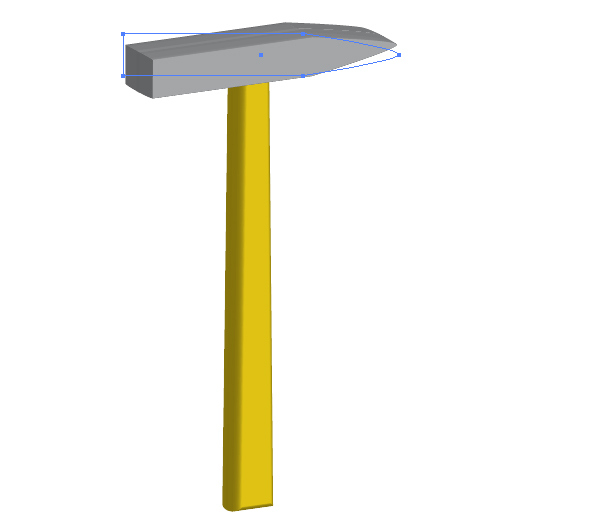
First take the Pen Tool (P) and draw the path shown below. It will represent the handle of the hammer. Fill it with yellow.
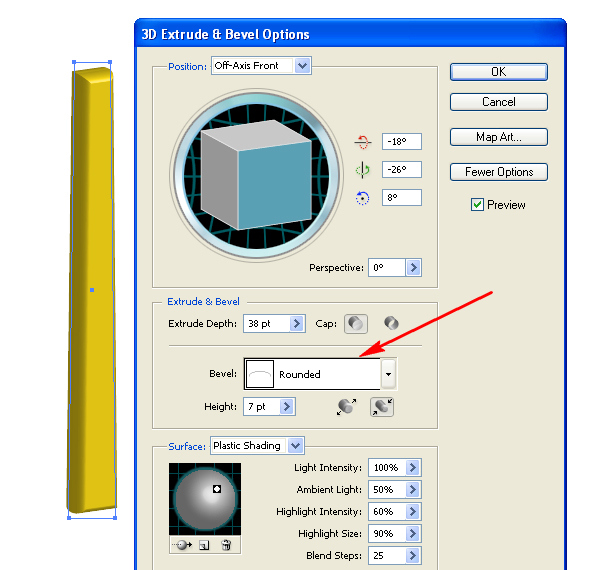
Go to Effect > 3D > Extrude & Bevel and set the options shown in the image below. Note that the bevel of the handle should be rounded.
Step 2
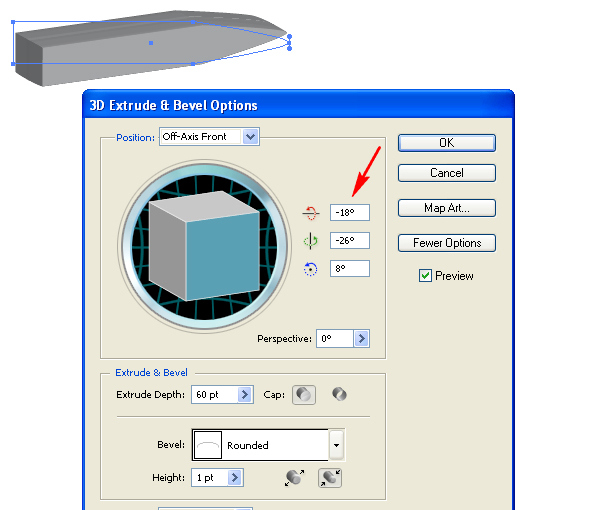
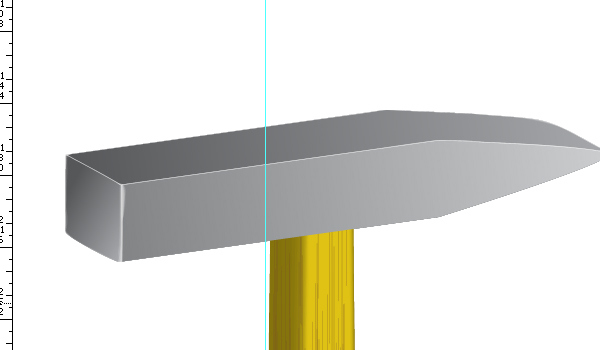
Illustrate the next path filled with gray the same way. It will be the hammer’s head.

Go to Effect > 3D > Extrude & Bevel and apply the options shown for the new path. Specify the same rotation around the axes. Follow the image below.
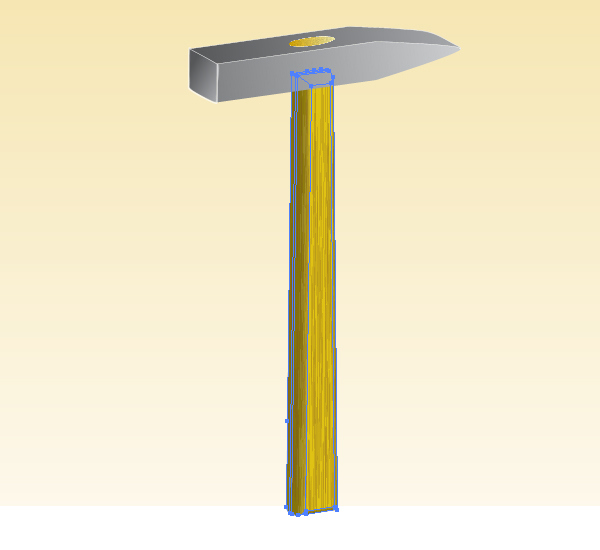
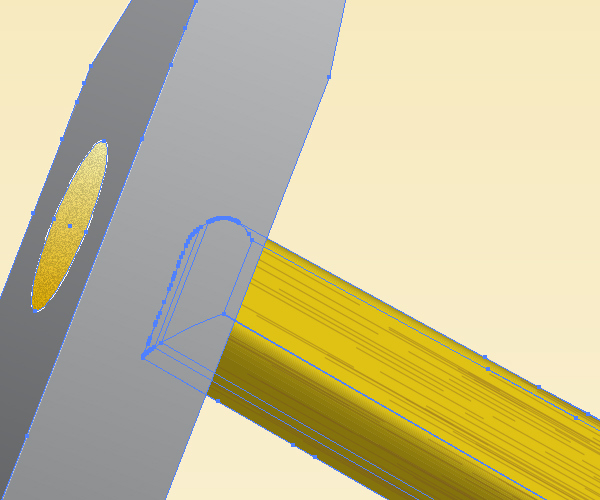
Place the head over the handle as shown.
Step 3
Use the Pen Tool (P) again in order to create a small vertical black stroke.
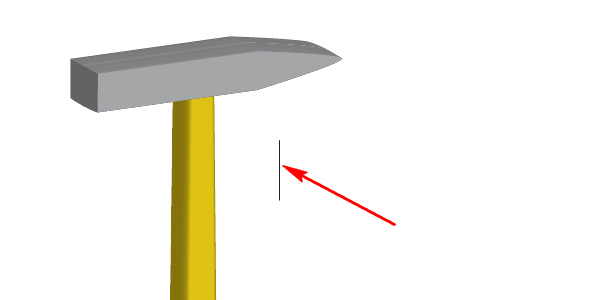
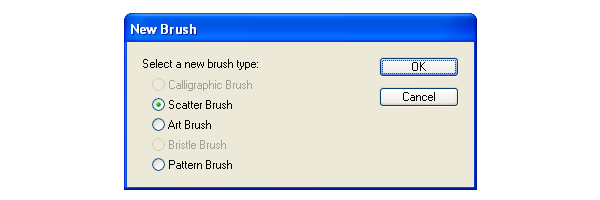
Drag and drop this stroke into the Brushes panel, and choose the Scatter brush option in the opened dialogue window.
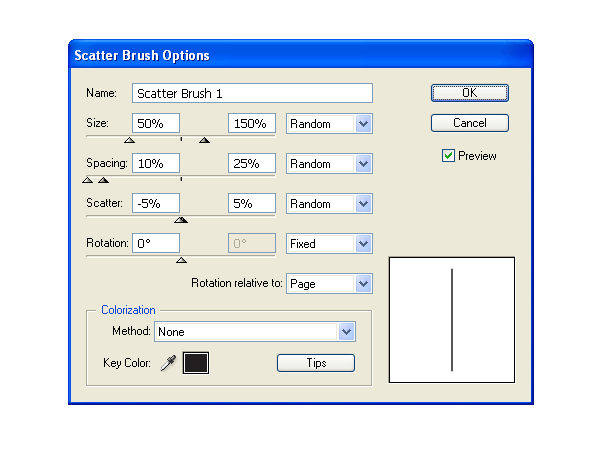
Apply the following options for the brush. Note that the Rotation option should be set at 0.
Step 4
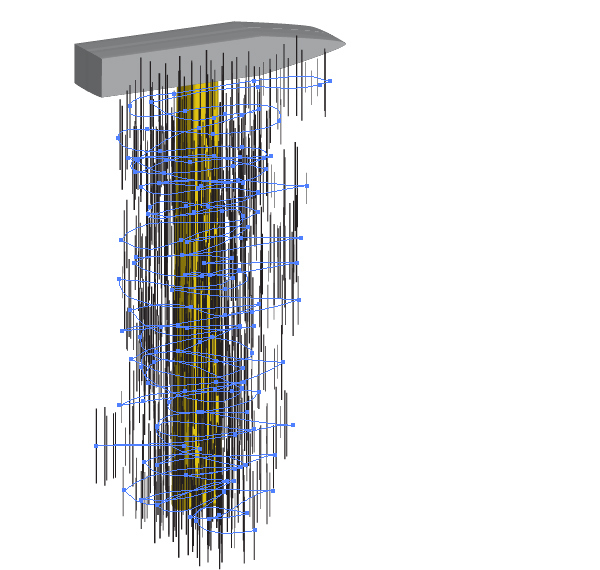
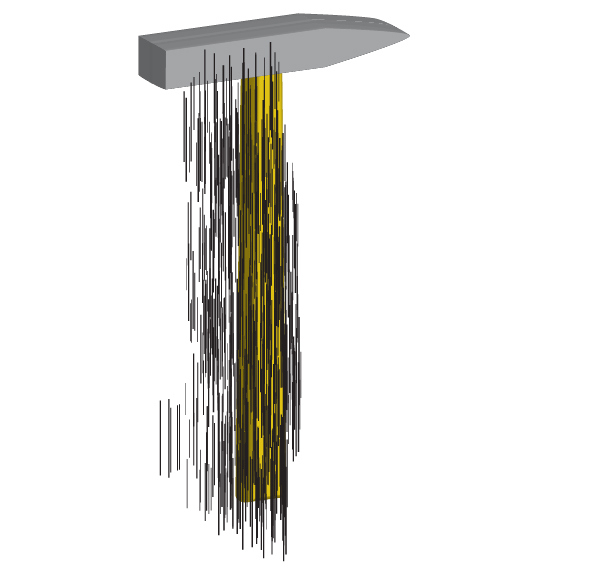
Grab the Paintbrush Tool (B) and with the new brush selected draw an irregular path over the handle. See the image below.
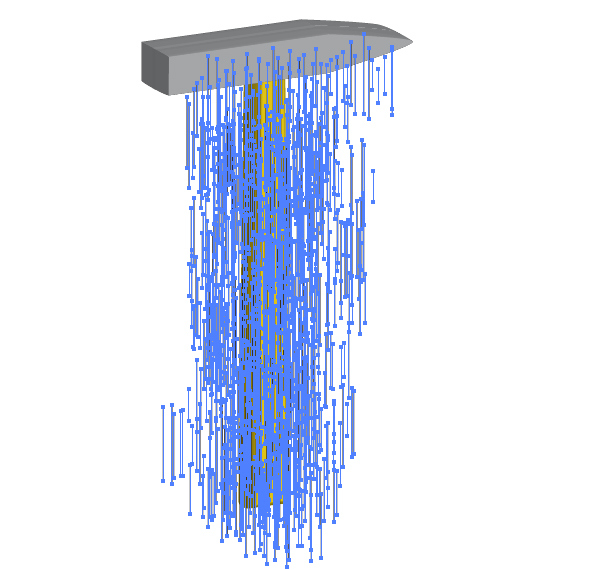
Then go to Object > Expand Appearance, then Object > Ungroup twice and then Object > Group (Command + G). You need to do this operation in order to decrease the number of groups in the Layers palette.
Step 5
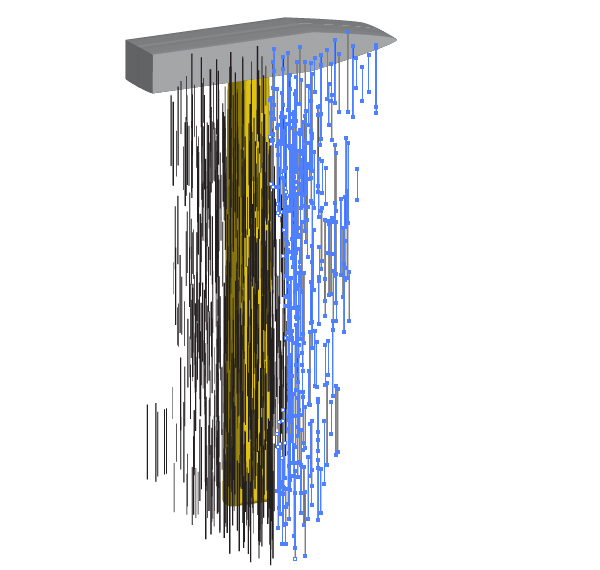
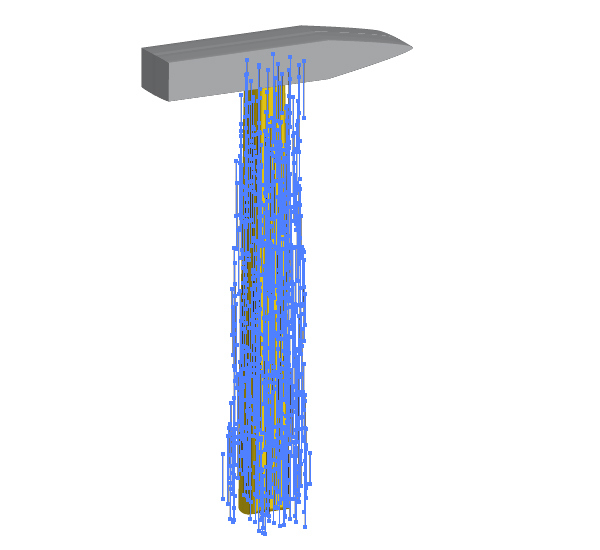
Take the Lasso Tool (Q) and select the paths which are not placed over the handle.
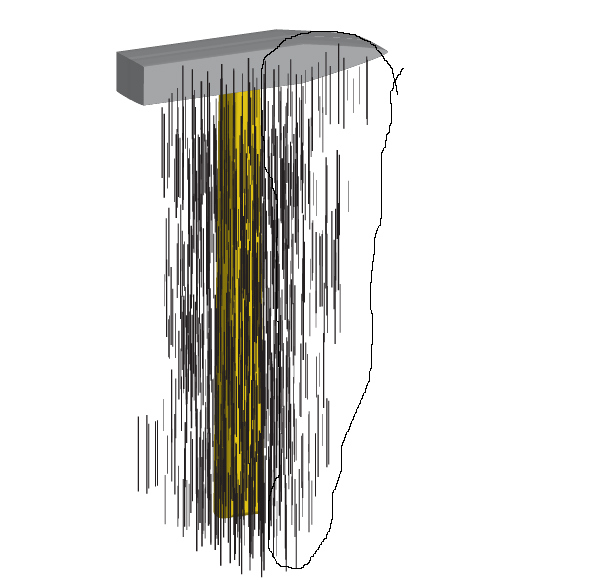
Make this selection approximately.
Step 6
Press the Delete button on your keyboard twice. You should achieve this result:
Repeat these actions in order to decrease the quantity of strokes, and delete the unnecessary ones.

Step 7
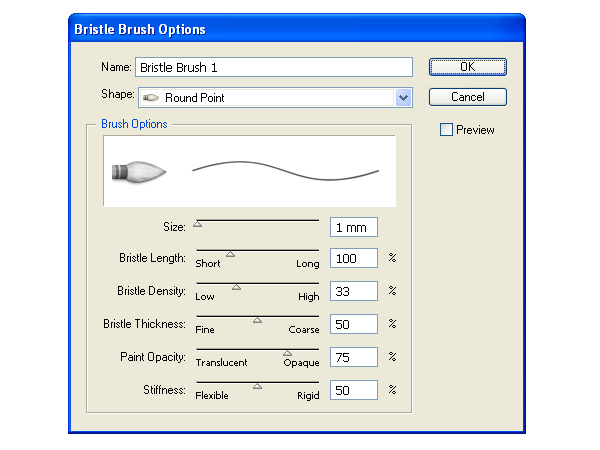
Open the Brushes panel, click the New brush button, and choose the Bristle brush option in the opened window.

Then set the options as shown in the diagram below. Name this brush “Bristle brush 1.”
Step 8
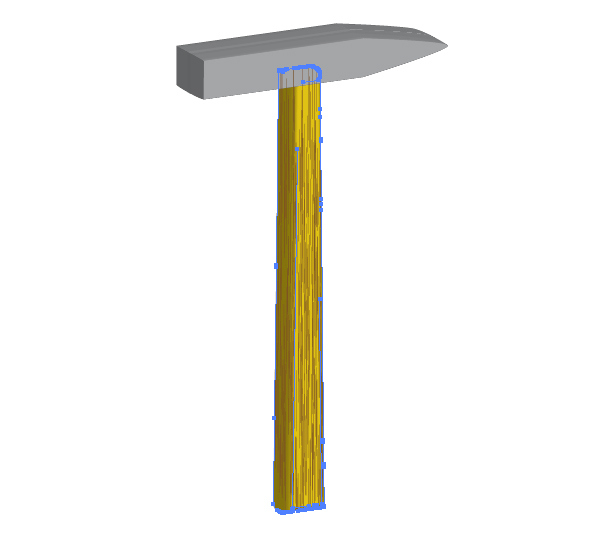
Select the strokes over the handle,…
…and apply the “Bristle brush 1” to them.
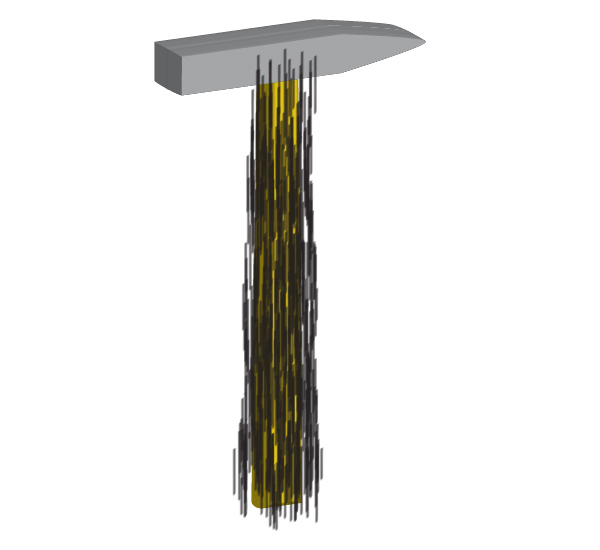
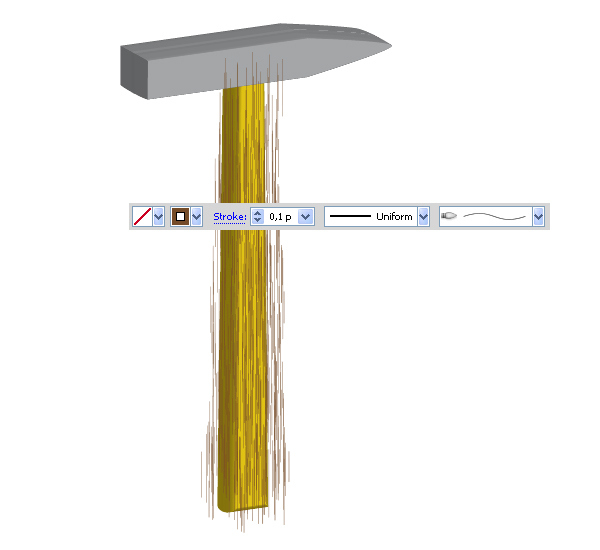
Step 9
Change the Stroke Weight to 0.1px, and the color to brown. You should achieve the following result after these actions.
Step 10
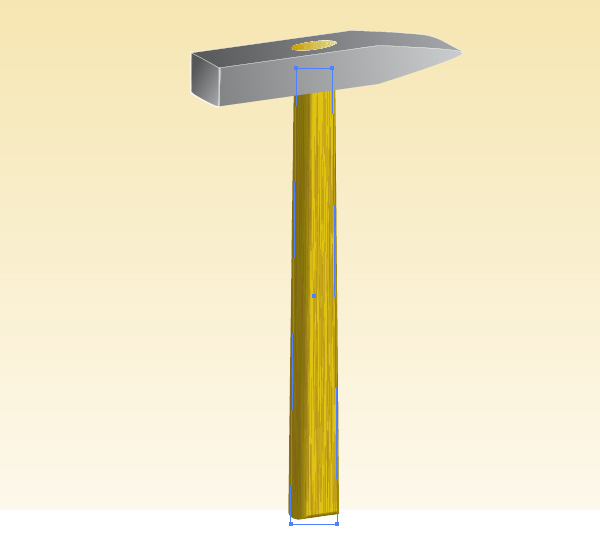
Select the handle, Copy it and Paste in Front (Command + C then Command + F),…

…go to Object > Expand Appearance.
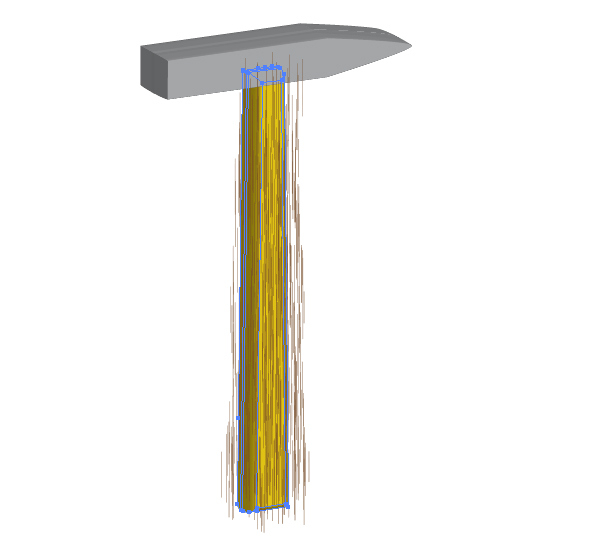
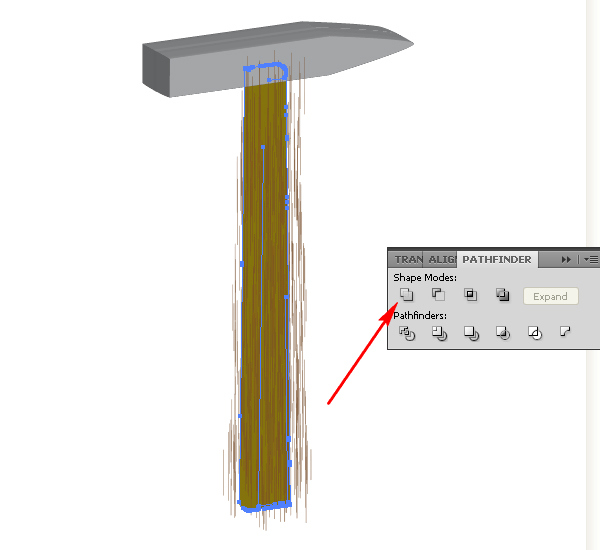
Then go to the Pathfinder panel and click the Unite button.
Step 11
Grab the resulting Compound path in the Layers panel and move it to the top.
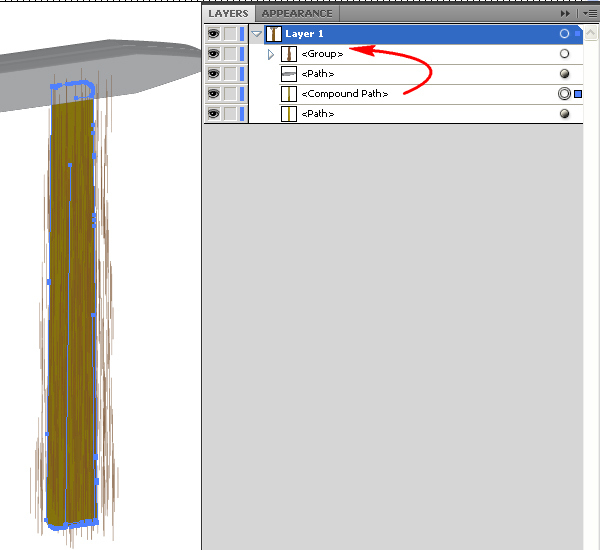
After that select both: the Compound path and the group with the strokes,…
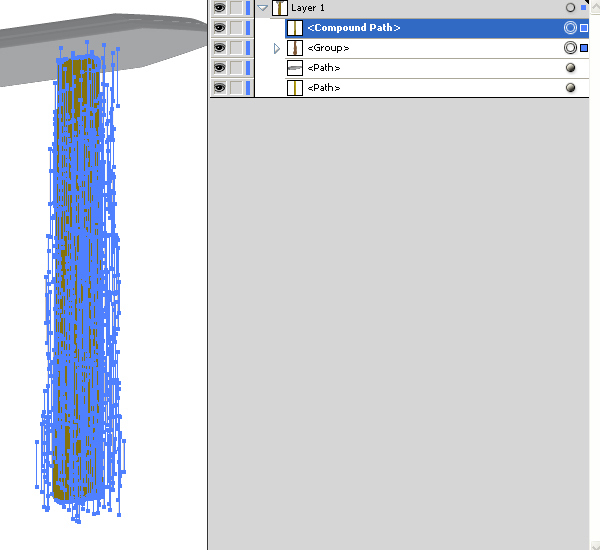
…and go to Object > Clipping Mask > Make (Command + 7).
Step 12
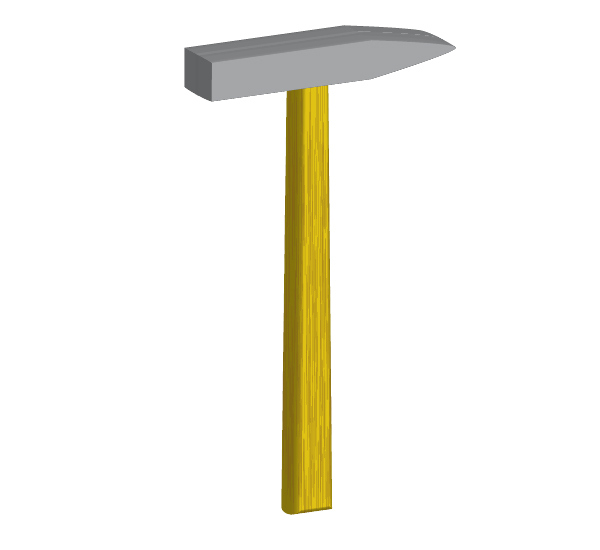
You may change the Opacity now if you want.

Move the handle under the head to fix the problem with the strokes, indicated with an arrow in the diagram above.
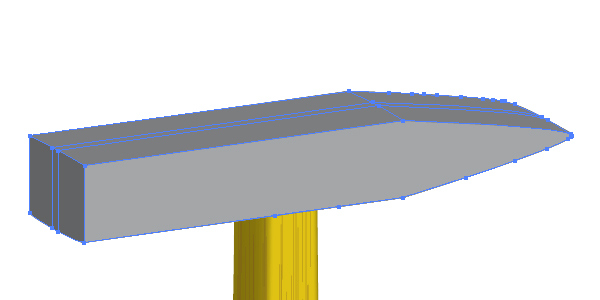
Step 13
Select the head of the hammer, Copy it and Paste in Front (Command + C then Command + F).
Go to Object > Expand Appearance.
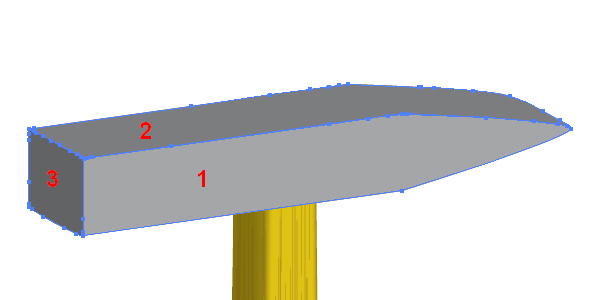
Step 14
Unite the resulting paths using the Pathfinder panel as you did before, in order to end up with the following 3 parts of the head filled with different hues of gray.
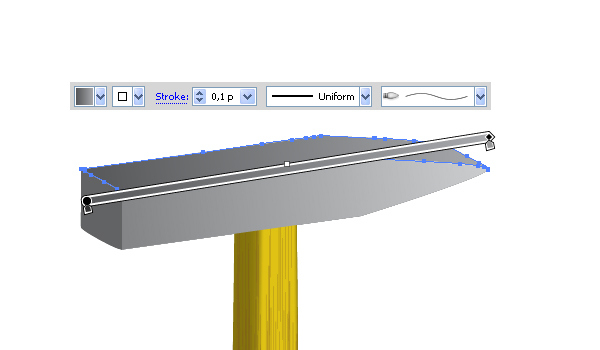
Step 15
Select the first path, fill it with an angled linear gradient and set the Stroke to None.

Fill the second path with an angled linear gradient as well and set the Stroke to white and the Brush Definition to the “Bristle Brush 1.”
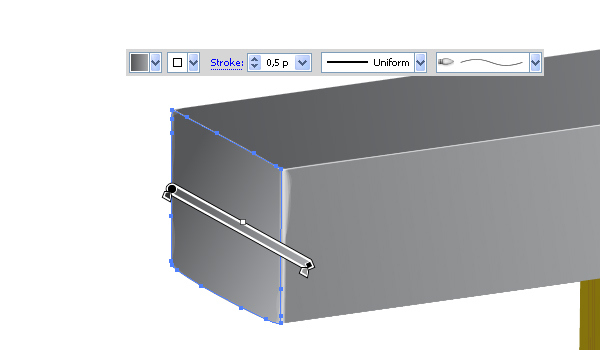
The third path should be filled the same way.
Step 16
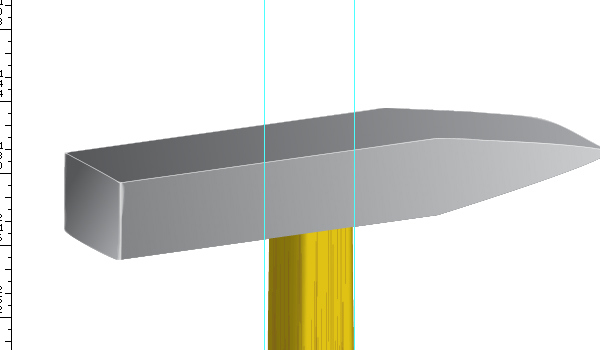
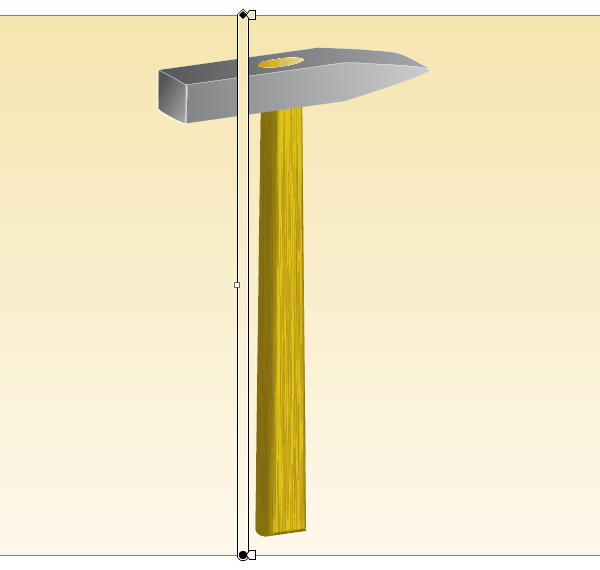
In order to create the top wooden part of the hammer, first go to View > Rulers > Show Rulers (Command + R). Then drag the vertical ruler and drop it at the left side of the handle. See the image below.
Repeat this step to draw the second Guide line.
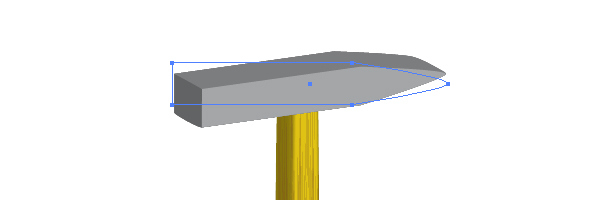
Step 17
Take the Ellipse Tool (L), draw an elliptical path on the top of the head between the two Guide lines, fill it with an angled linear gradient and rotate it by using the Rotate Tool (R) as shown.
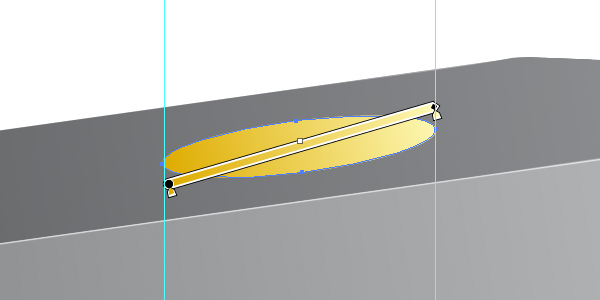
Set the Stroke of the ellipse to white and change the Stroke Weight. Set this to your own preference.

Step 18
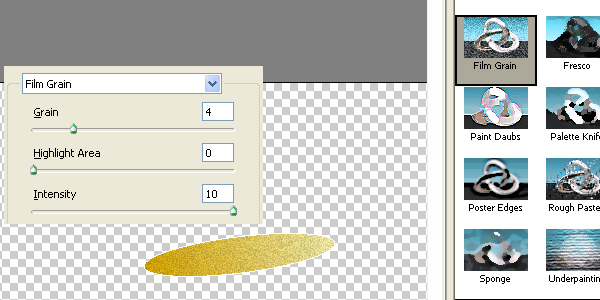
Go to Effect > Artistic > Film Grain and set the values which you can see in the diagram below.
Step 19
After that go to View > Guides > Clear Guides.

Step 20
Grab the Rectangle Tool (M) and create a rectangular path which will represent the background. Fill it with a vertical gradient, as shown in the image below.
Select all of the hammer and rotate it by using the Rotate Tool (R).
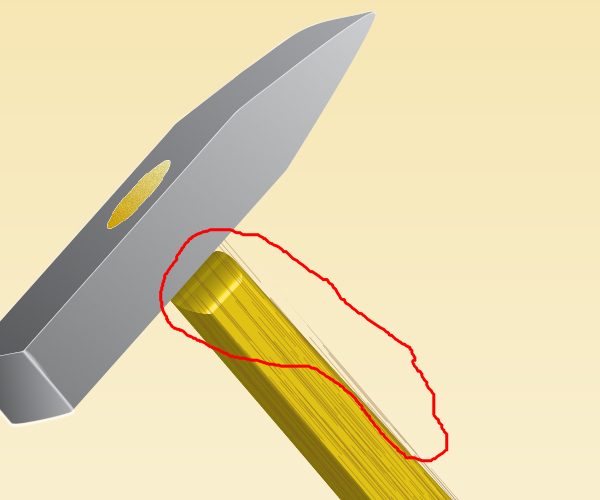
Oops! We now have a problem which you can see in the diagram above, shown in red.
Step 21
Do you know how to fix it? It appears when the expanded 3D object (the handle of the hammer) does not coincide with the 3D object itself. In order to fix this problem go to Edit > Undo Rotate (Command + Z).
Then select 3D handle of the hammer,…
…and go to Object > Expand Appearance.
Step 22
Now you can select all of the hammer, grab the Rotate Tool (R), and rotate it.
And We’re Done
The final image is shown below. Use the techniques you’ve learned here in your own artwork. I hope you’ve enjoyed this tutorial.
