In this Illustrator tutorial, you will learn how to draw a taco using very simple techniques.
We will use the effects along with some basic vector shapes to achieve the final outcome in a short time. Hopefully, you will learn some useful work tips.
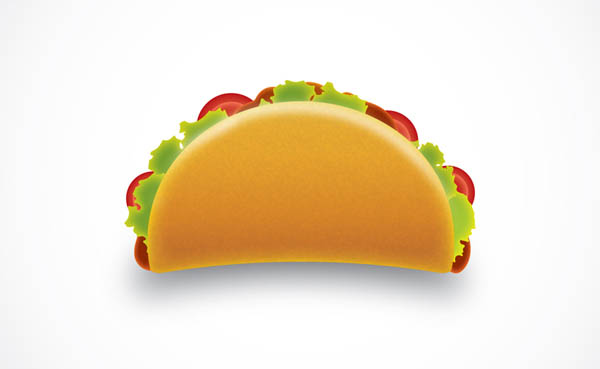
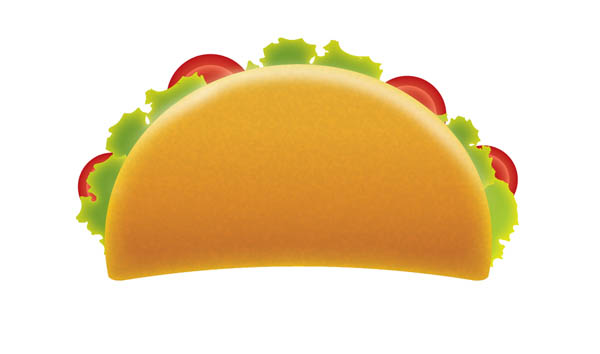
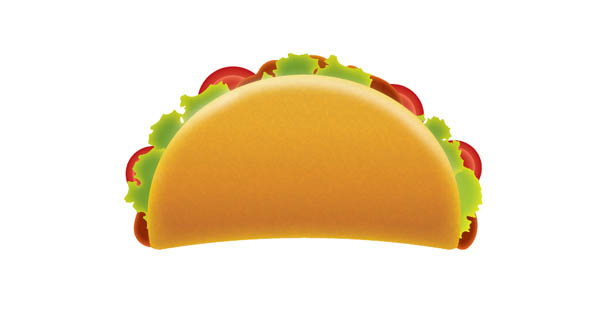
Final Image
As always, this is the final image that we’ll be creating:
Tutorial Details
- Program: Adobe Illustrator CS6
- Estimated Completion Time: 30 minutes
- Difficulty: Beginner-Intermediate
Step 1
Let’s create a new document first. Make sure to set the dimensions to 600 x 600 pixels and the Color Mode to CMYK.
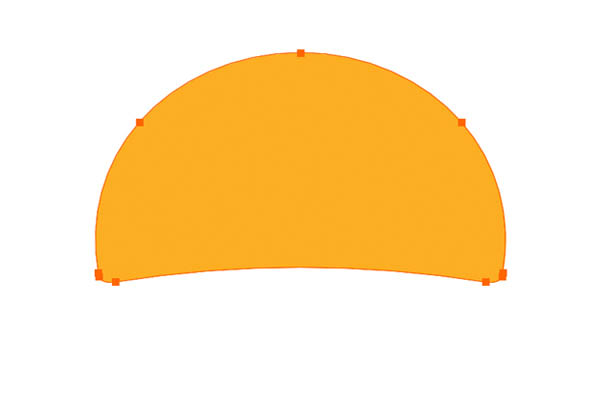
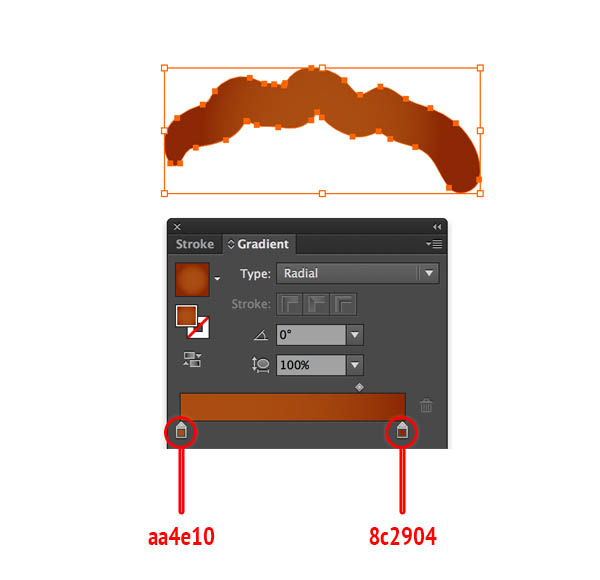
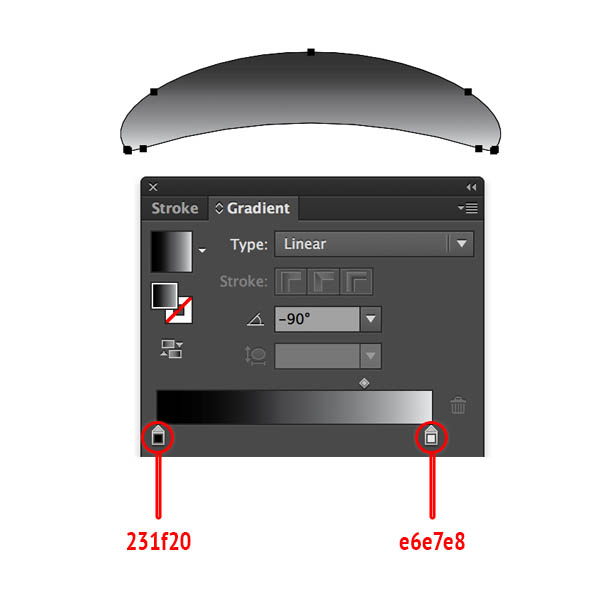
Starting with the Pen Tool (P), I’ve drawn the base taco shell shape like in the image below.
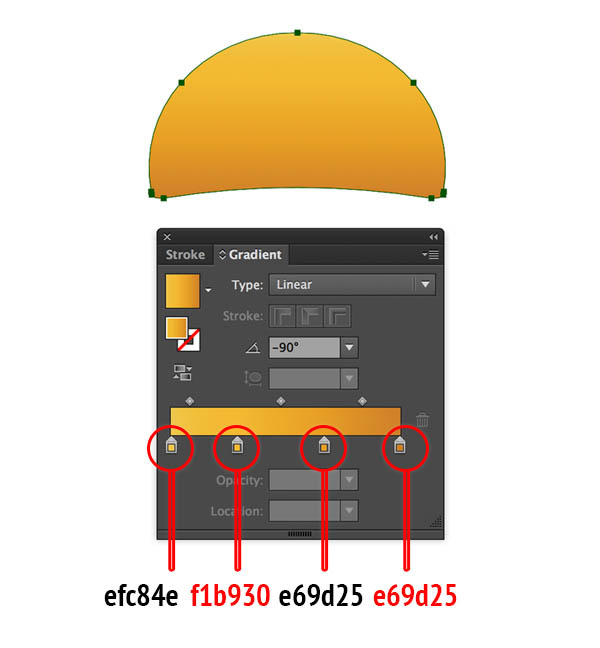
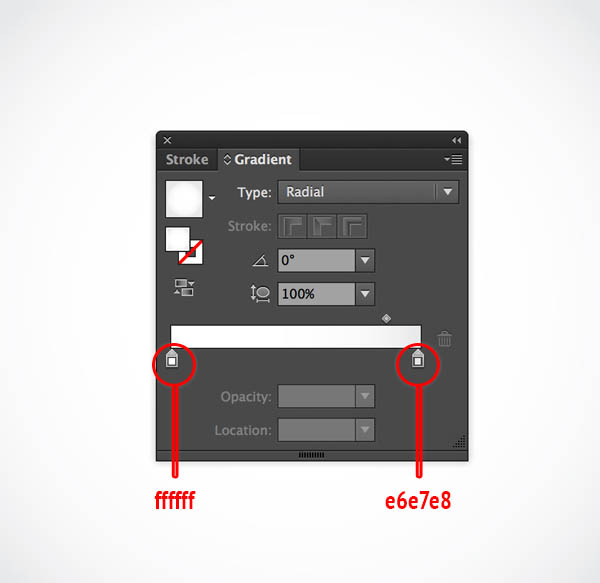
Appy the gradient below for the taco shell shape.Then duplicate it and place 2 copies of the shape off to the side of the artboard, which we’ll use later.
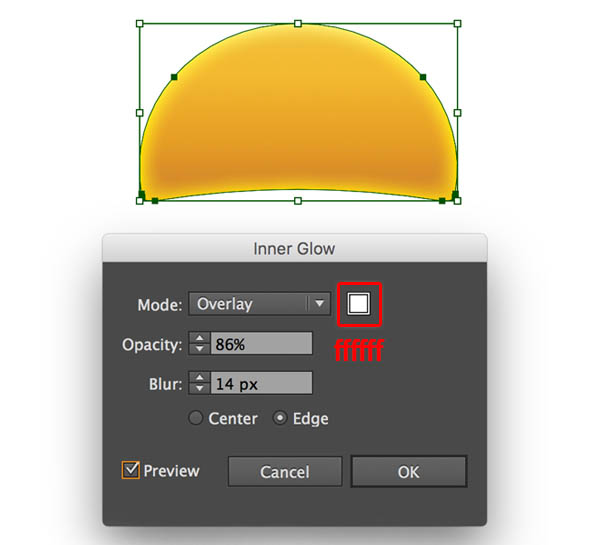
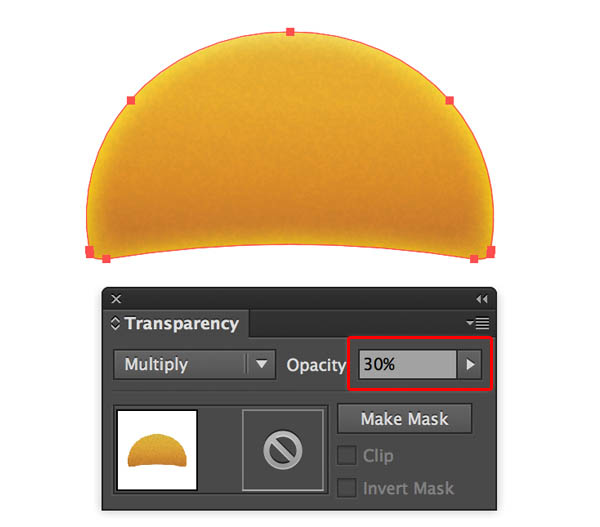
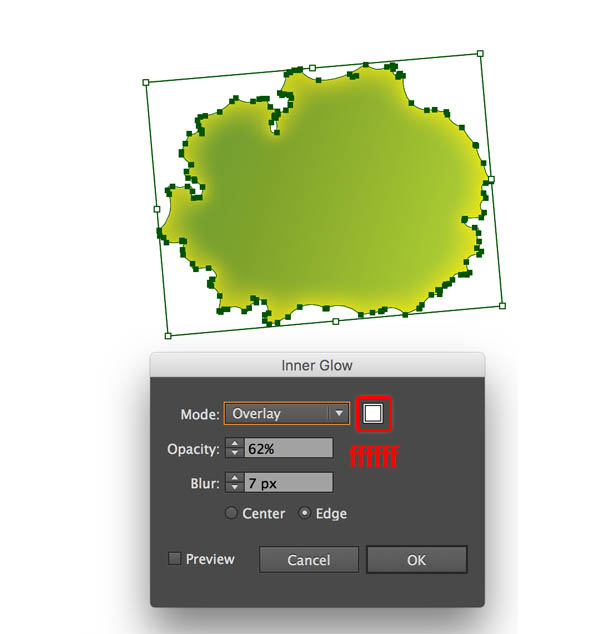
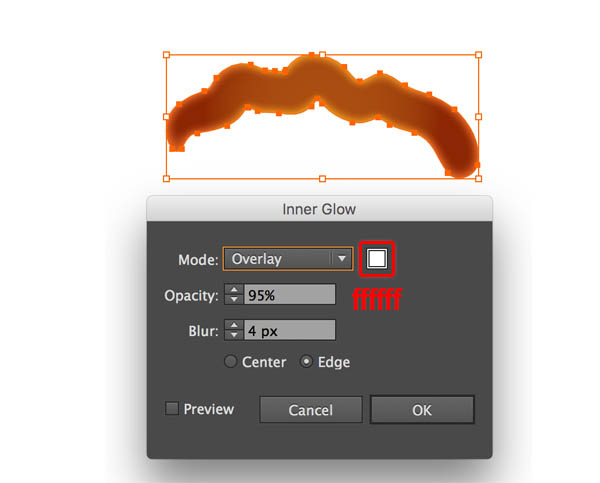
It’s time to add highlights. Make sure that your shape is selected, then go to Effect > Stylize > Inner Glow. Enter the attributes shown in the following image and then click the OK button.
Back in the previous step, I mentioned placing copies of taco shell shape outside the Artboard. Go ahead and grab a copy to work with.
Now I’m going to use this shape copy to make a texture for our taco. With the shape still selected, go to Effect > Artistic > Sponge and change the settings as shown below.

Now change the Blending Mode to Multiply. Here is my result.
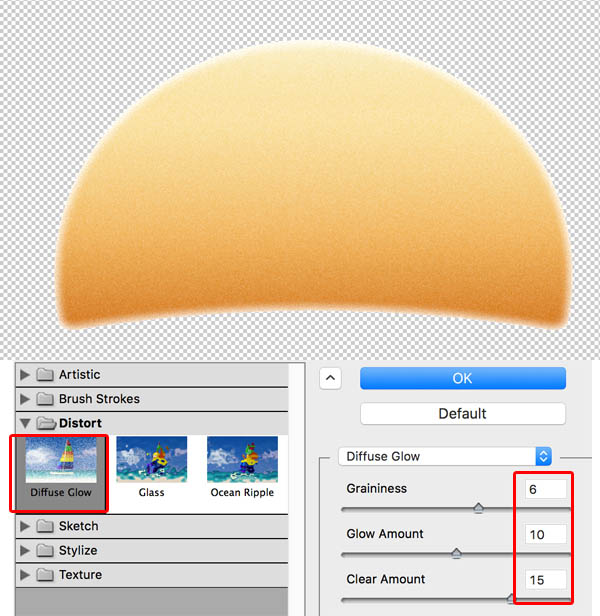
Go ahead and grab another copy to work with. With the shape still selected, go to Effect > Distort > Diffuse Glow and change the settings as shown below.
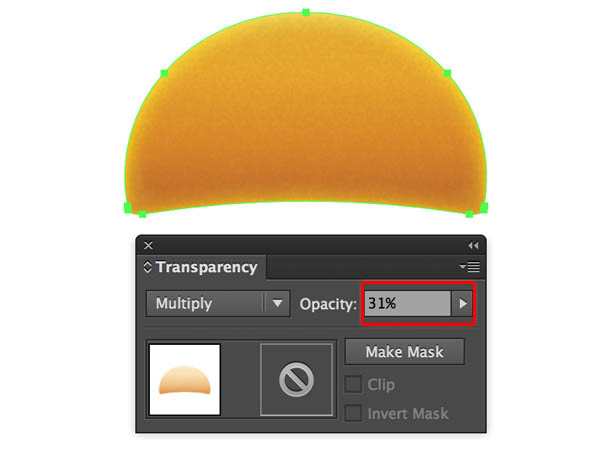
Now change the Blending Mode to Multiply. Here is my result.
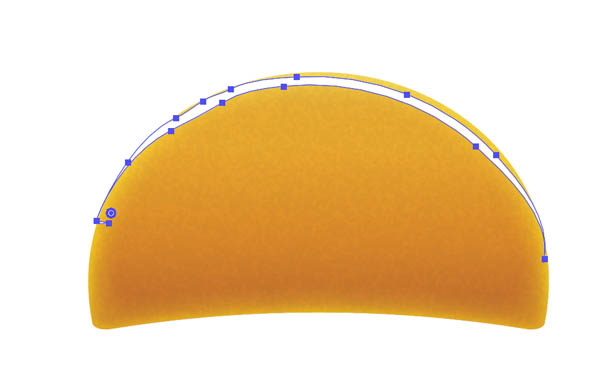
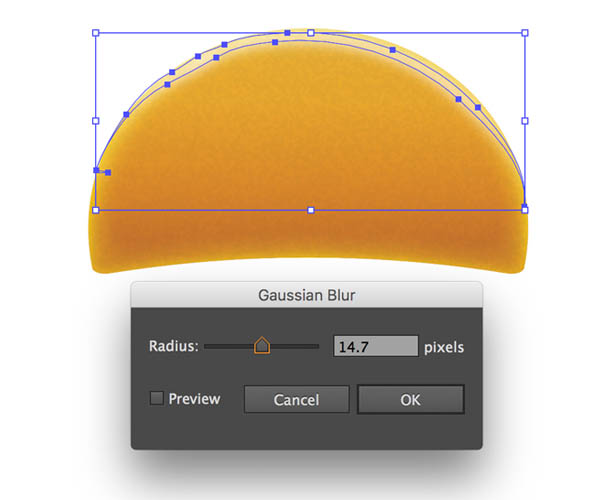
I want to add more highlights to the top. We use the Pen tool (P) to draw a shape as in the image below and fill it with white #ffffff.
With the shape still selected, go to Effect > Blur > Gaussian Blur and change the settings as shown below. And we’re done with the taco shell shape.
Step 2
In this step, we’ll create some shredded lettuce for the taco.
Pick the Pen tool (P) to draw a shape as in the image below, or you can draw in the way you like.

Appy the gradient below to the shredded lettuce shape.

It’s time to add highlights. Make sure that your shape is selected, then go to Effect > Stylize > Inner Glow. Enter the attributes shown in the following image and then click the OK button.
Duplicate the shredded lettuce shape (Ctrl / Cmd + C, Ctrl / Cmd + V) and place them randomly behind the taco shell, here is my result.

Step 3
In this step, we’ll add some tomato slices for the taco.
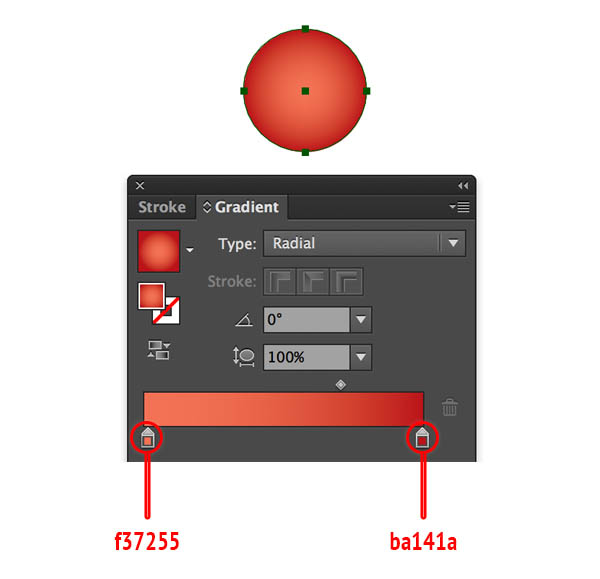
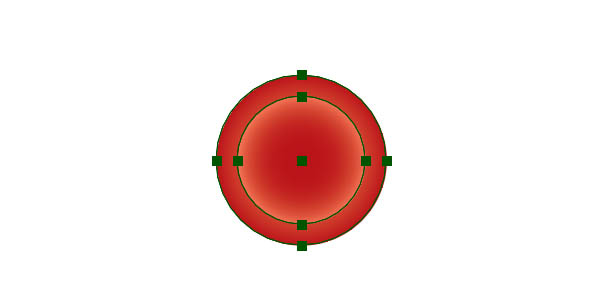
Pick the Elipse Tool (L) to create a circle, then apply the gradient below.
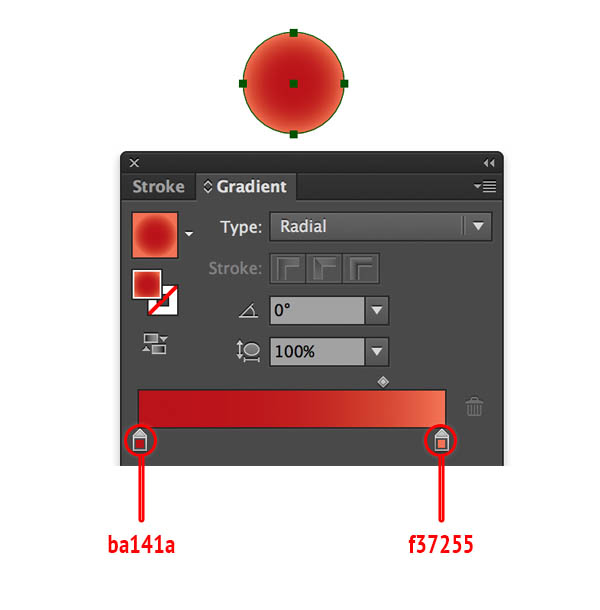
Duplicate (Ctrl / Cmd + C, Ctrl / Cmd + V), resize it to smaller than the first circle we created. Then we modify the gradient a little bit.
Now we place the small circle in front of the big one, then Group (Ctrl / Cmd + G) them together.
Duplicate the tomato slices (Ctrl / Cmd + C, Ctrl / Cmd + V) and place them randomly behind the taco shell and shredded lettuce, here is my result.
Step 4
In this step, we’ll add some meat for the taco.
Pick the Pen Tool (P) to draw meat shape like in the image below, or you can draw in the way you like. Apply the gradient to our meat shape.
Make sure that your shape is selected, then go to Effect > Stylize > Inner Glow. Enter the attributes shown in the following image and then click the OK button.
Duplicate the meat shape (Ctrl / Cmd + C, Ctrl / Cmd + V) and place them randomly, here is my result.
Step 5
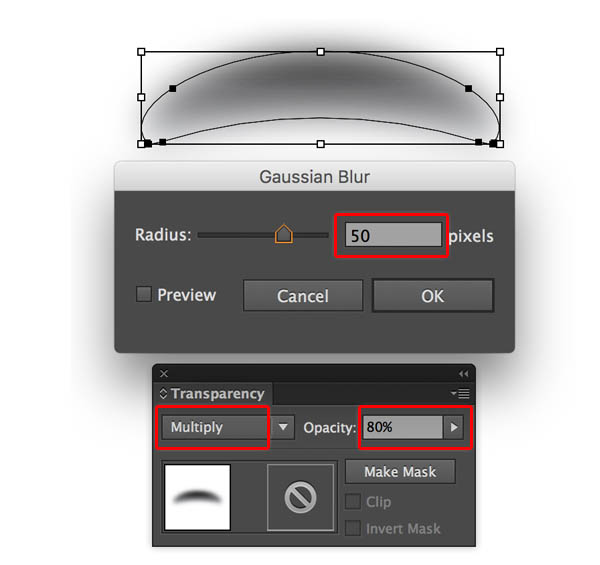
We need to add some shadow below the taco base shape.
Use the Pen tool (P) to draw a shape as in the image below and fill it with the gradient shown below.
With the shape still selected, go to Effect > Blur > Gaussian Blur and change the settings as shown below. Then change the Blending mode to Multiply at Opacity=80%
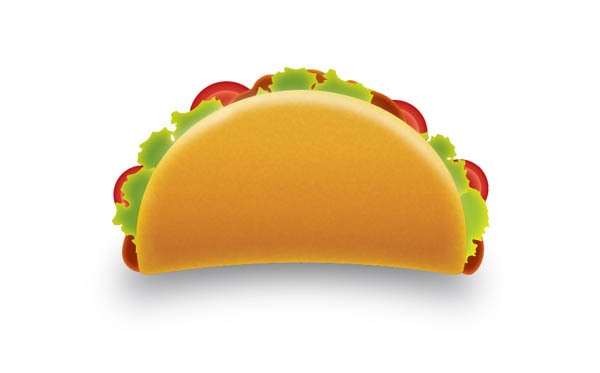
You should end up with a result like this.
Step 6
Let’s add a simple gradient background.
Grab the Rectangle Tool (M) and create a 600 x 600px background and fill it with this gradient.
And We’re Done!
Here is how it should look. I hope you’ve enjoyed this taco drawing tutorial and hope you can apply these techniques in your future projects.
