Gambling illustrations are very popular. All over the internet you can see dices, poker chips, roulettes, coins, playing cards and other similar elements for gambling advertising. Well, today we will be learning how to create a nice vector illustration of the roulette wheel. Creation process is actually very simple. All we have to do is to use few basic Adobe Illustrator Tools and some nice colors and gradients in order to create an eye catchy illustration.
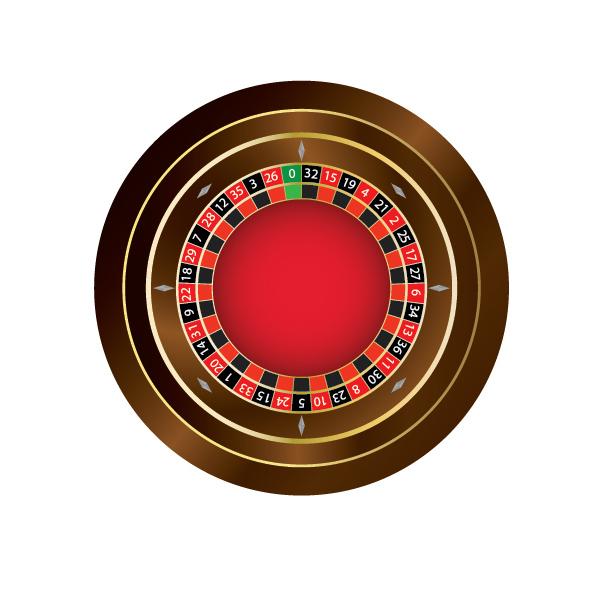
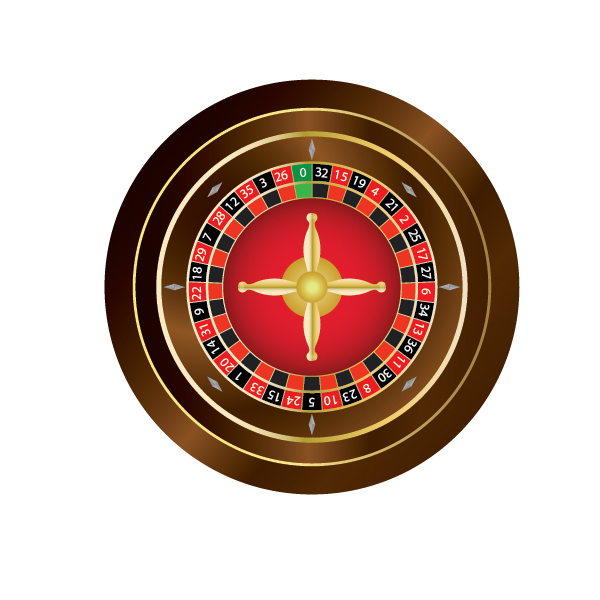
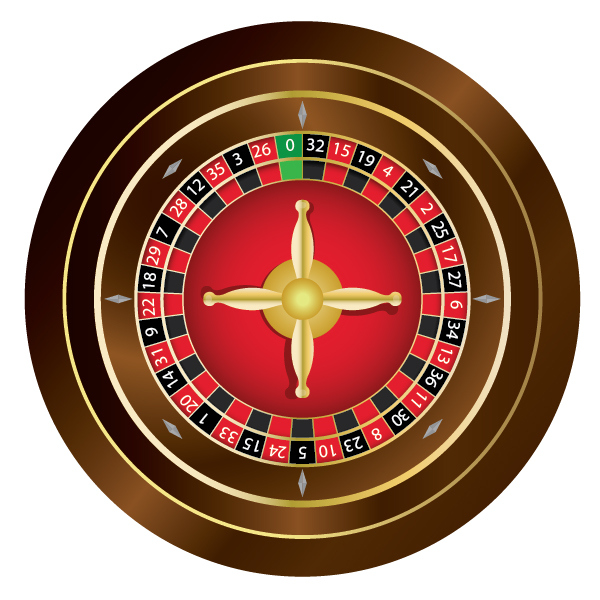
Final Image

Creating the Shape of the Roulette Wheel
We will start with the Ellipse Tool (L). Select it in the Tool Panel and make sure to draw a proper circle. Just hold the Shift key on the keyboard during circle drawing. It will allow you to draw a proportional circle.

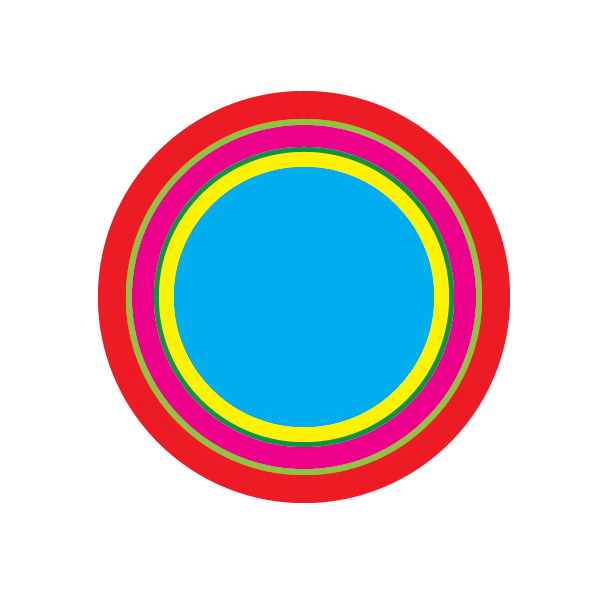
Now we need 5 more smaller circles. To create them we will duplicate (Ctrl / Cmd + C, Ctrl / Cmd + F) the one we already have and simple scale them down by using uniform scale (Object > Transform > Scale). You should end up with something like this.
In the next step we will make sure to apply nice color gradients.
Applying color gradients
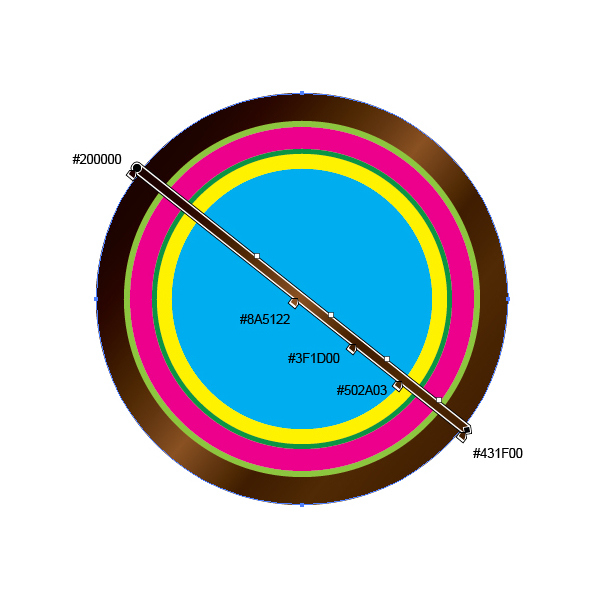
Brown and golden gradient will help us to create a nice illusion of a wooden roulette with golden details. We will start with brown radial gradient. Grab the Gradient Tool (G) from the Tool Panel and drag the brown gradient as it shown on the picture below.
Apply the same radial gradient to the second smaller circle.

And a linear gradient to the fourth smaller circle.
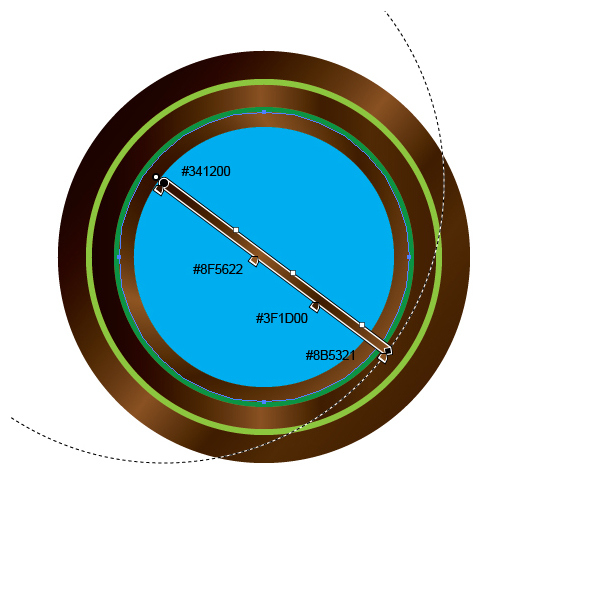
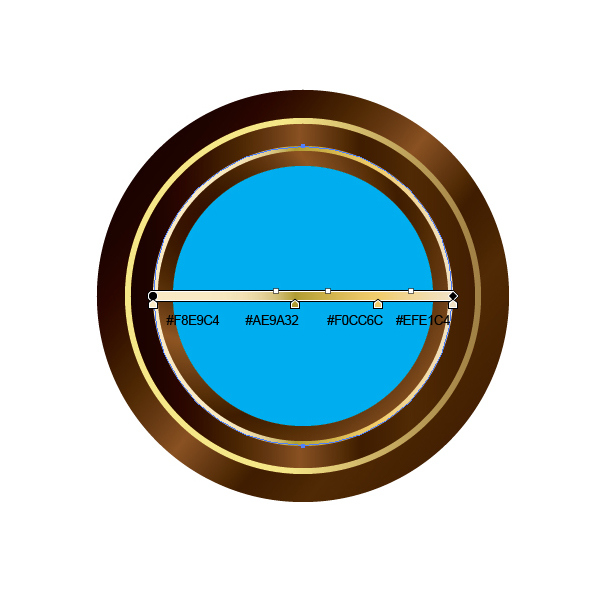
We will apply golden gradient to other circles. Those will represent the golden edges.

We are done with this part of the job. If you are not quite satisfied with the result don’t try to adjust it right away. When the Roulette is finished you’ll be able to see the whole design more clearly. Then you can make big and small shape and color adjusting. We will leave it like this right now.
Creating the “Dart Board”
In this step we will have to do some math in order to complete the middle part of the roulette wheel. If you take a look at any roulette wheel you will notice that the middle part has been divided to 37 small number pockets. That means we have to divide 360 degrees (the whole circle) with 37.
From the Tool Panel grab the Line Tool (/) and create a vertical line as it shown on the picture below.
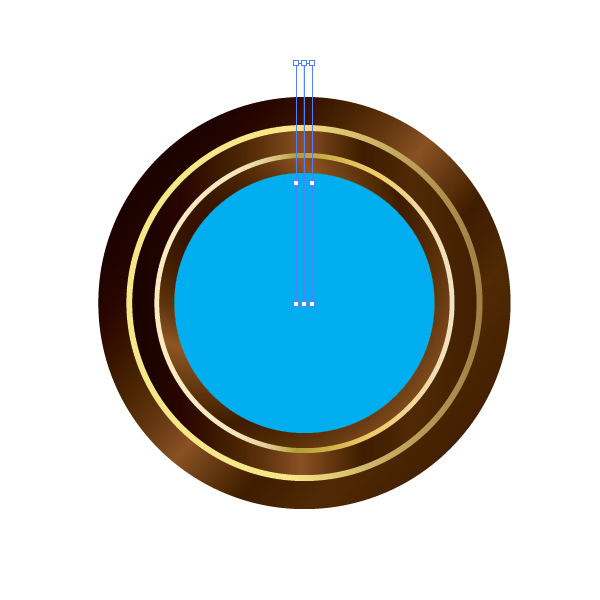
The lower end point of the line supposed to start from the center of the roulette wheel.
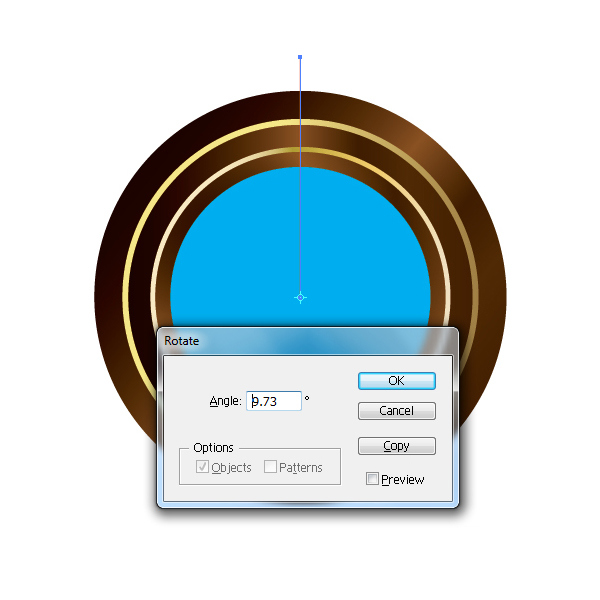
Grab the Rotate Tool (R) from the Tool Panel. Hold the Alt / Opt key on the keyboard and click on the lower endpoint of the line. Rotate Option box will pop up. Set the Rotation to 9.73 and hit the Copy button. New line will appear (rotated for the amount we have set for rotation).
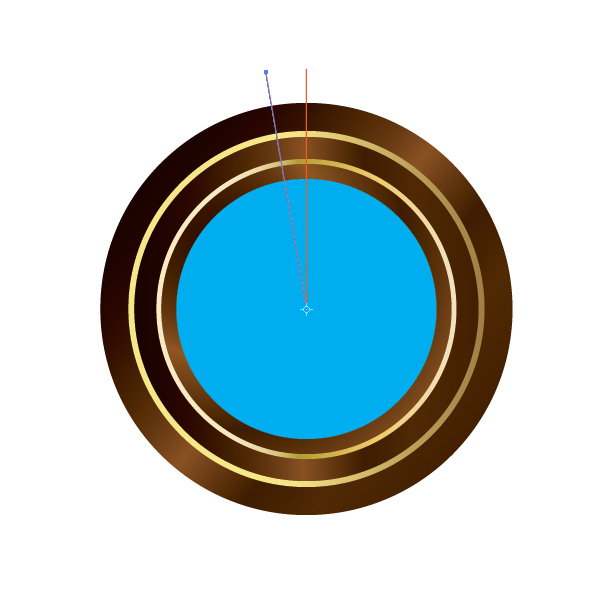
To create the lines that will cover the whole circle hit Shift + D 35 more times. You should end up with something like this.
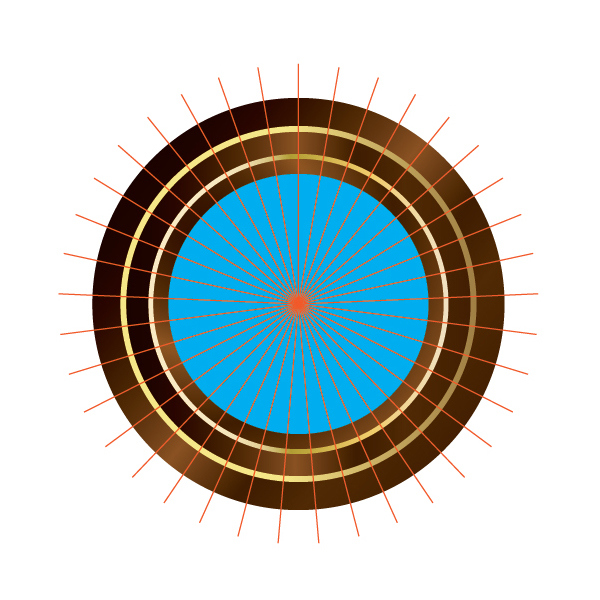
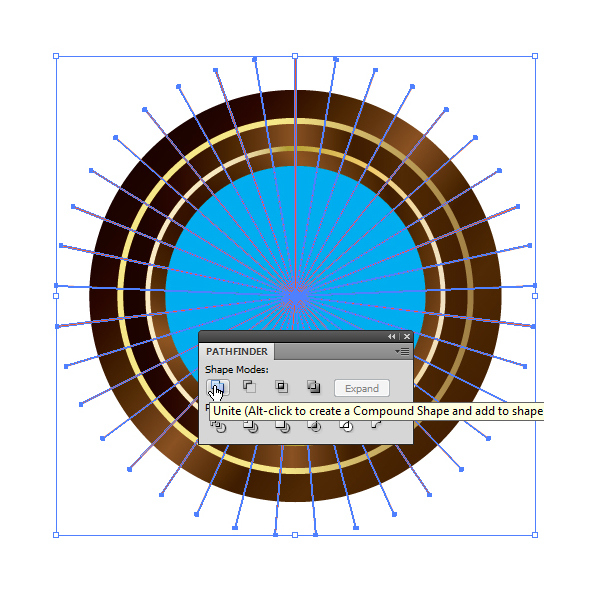
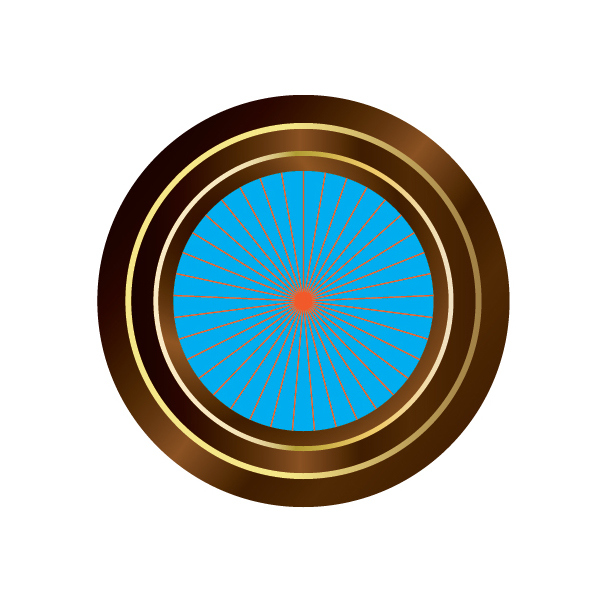
Select all the lines (only the lines) and under the Object hit the Expand button. It will turn the lines into the editable objects. Under the Pathfinder Panel hit the Unite button. It will turn all the lines into one object. Pathfinder Panel (just like other panels as well) can be found under Windows.
Duplicate (Ctrl / Cmd + C, Ctrl / Cmd + F) the blue circle in the middle and bring it to front (Shift + Ctrl / Cmd + ]).
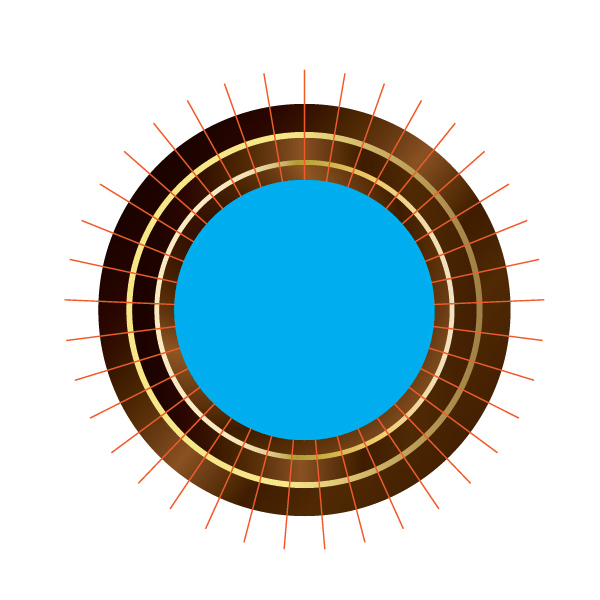
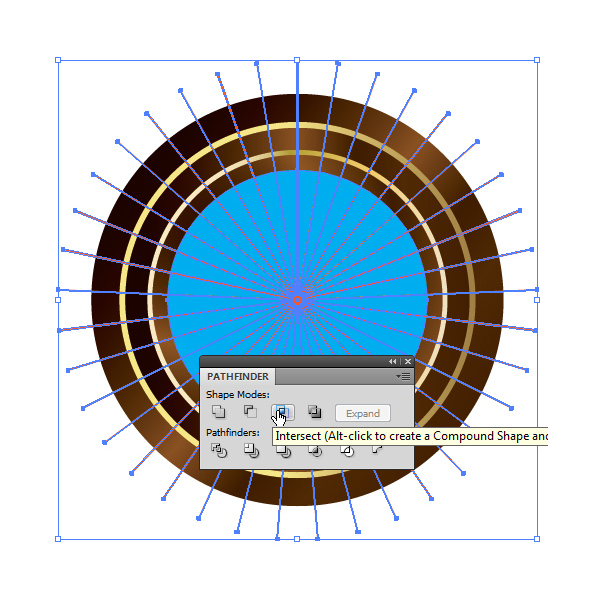
Select the blue circle and the bunch of lines and under the Pathfinder Panel hit the Intersect button. It will trim the lines.
Duplicate (Ctrl / Cmd + C, Ctrl / Cmd + F) the blue circle one more time and scale it down little bit.
Duplicate (Ctrl / Cmd + C, Ctrl / Cmd + F) the blue circle one more time. Remove its File color and set the stroke to any color you want. Set the Stroke to 2 pt.
Under Object select Expand. This way we will turn the circle into the editable shape. Later on we will apply nice golden gradient to this part.
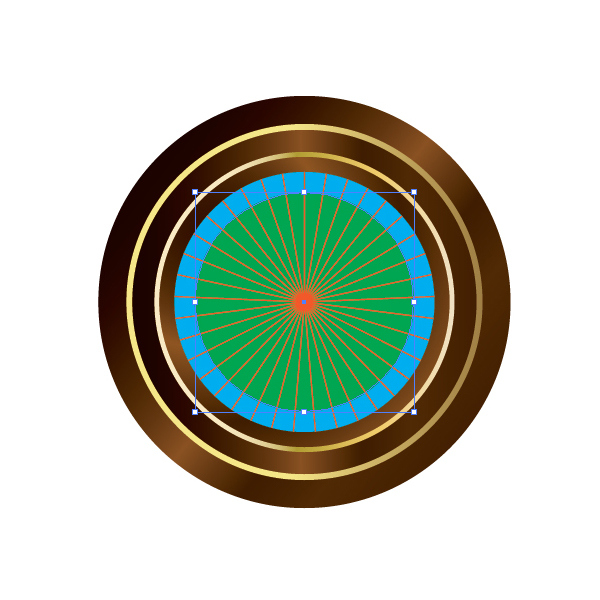
Duplicate (Ctrl / Cmd + C, Ctrl / Cmd + F) now the green circle and scale it down little bit. Make sure to place the new circle on the top of the roulette (Shift +Ctrl / Cmd + ]). You should end up with something like this.
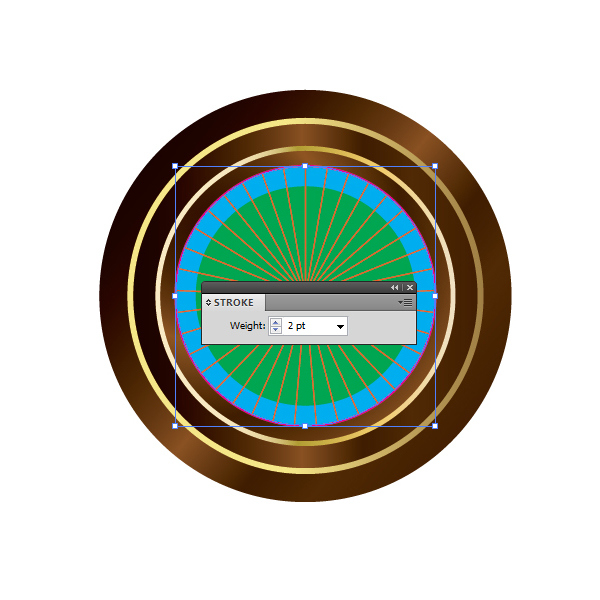
Duplicate (Ctrl / Cmd + C, Ctrl / Cmd + F) the green circle one more time. Remove its Fill color and set the Stroke color to any color you want. Set the Stroke to 2 pt.
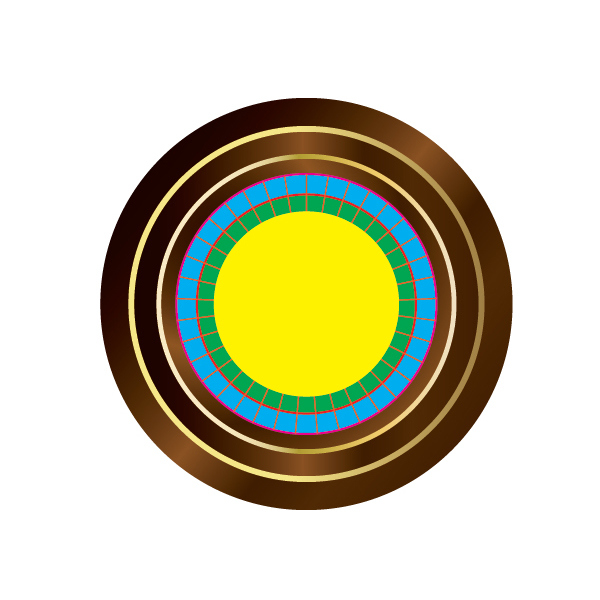
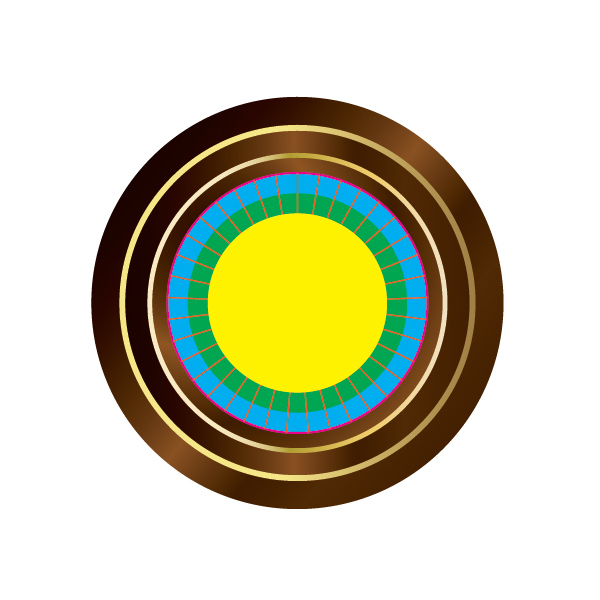
Repeat this step for the yellow circle as well.
Don’t forget that all the elements are editable, so feel free to resize them if needed in order to create a real good lookind roulette wheel.
Make sure to Expand (Object > Expand) all the paths. That will allow us to apply nice color gradients.
Applying Color Gradients
For the golden part of the roulette wheel we can use the golden gradient we have used in previous steps.
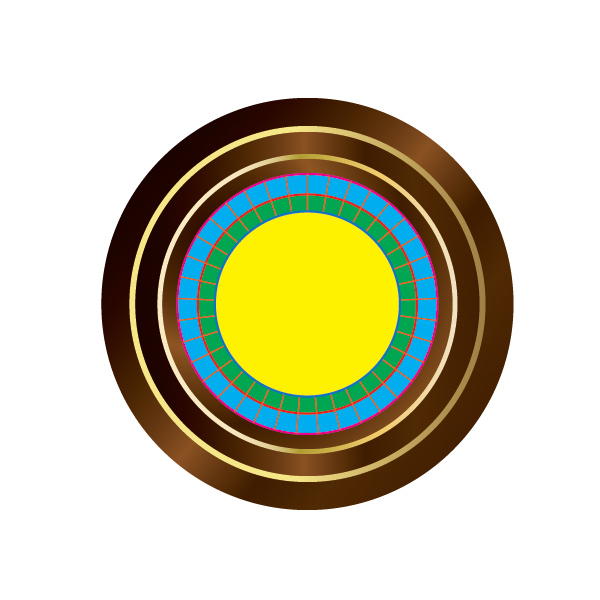
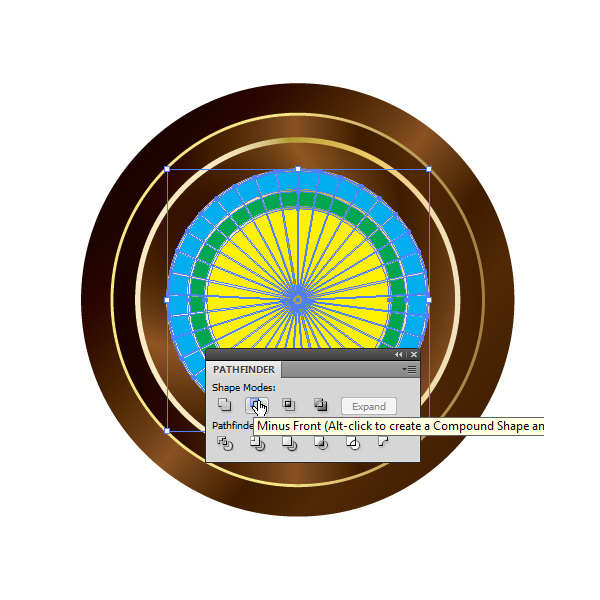
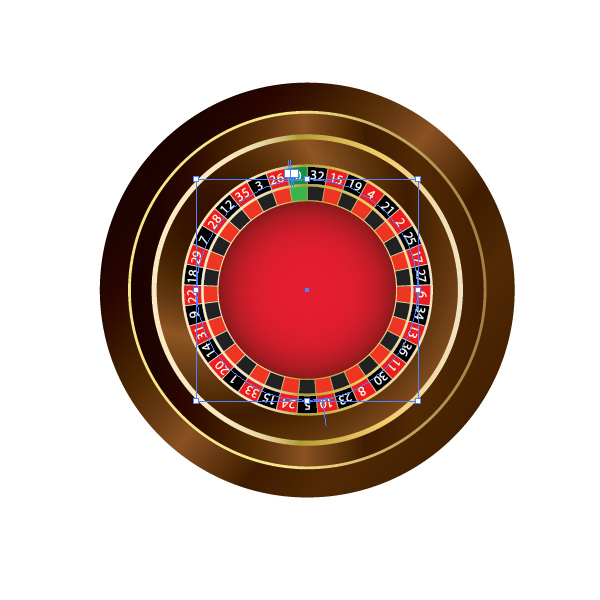
Duplicate (Ctrl / Cmd + C, Ctrl / Cmd + F) the ray of lines that goes from the center of the roulette wheel. Select the blue circle and the copy of the lines we have just created and under the Pathfinder Panel hit Minus Front button. Ungroup (Shift + Ctrl / Cmd + G) the result and make sure to remove all the parts beside the small rectangles at the edge if the circle. We will change the Fill color of those rectangles to red, black and green.
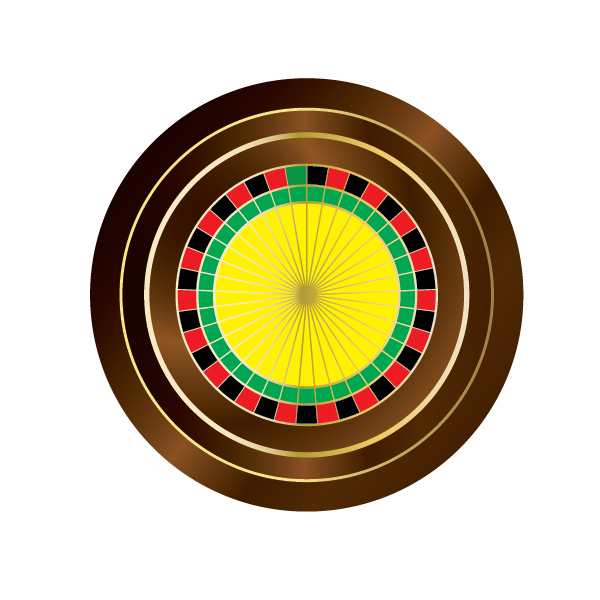
We will do the same thing with the green circle. Duplicate (Ctrl / Cmd + C, Ctrl / Cmd + F) the ray of lines. Select the copy of the lines and the green circle and under the Pathfinder Panel hit the Minus Front button. Ungroup (Shift + Ctrl / Cmd + G) the new shape and remove all the parts but the rectangles at the edge of the circle. Change the colors of the rectangles as it shown on the picture below.

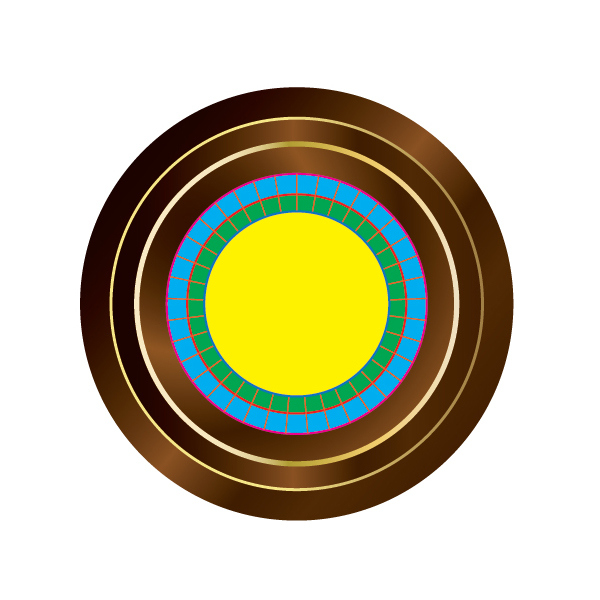
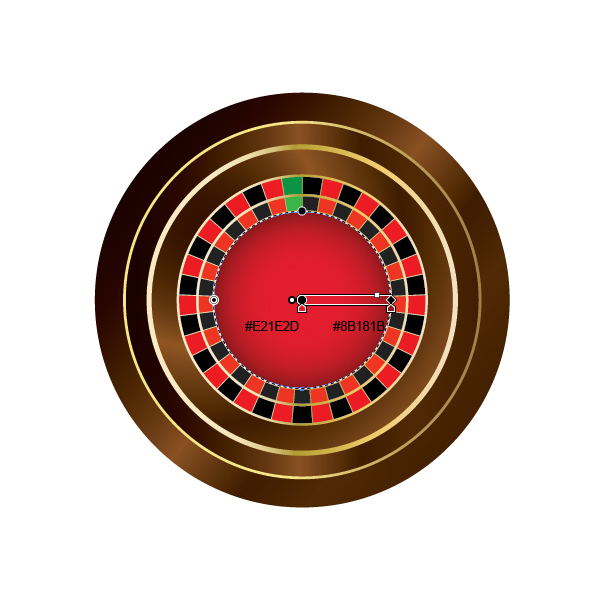
To the yellow circle we will apply nice radial gradient.
Creating the Numbers
As you can see our roulette is getting a nice look. But still, there are lots of things to do. Let’s create the numbers for the number pockets.
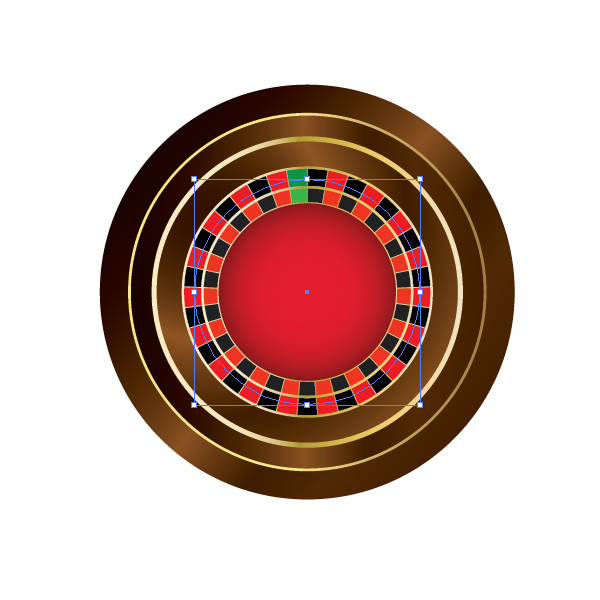
Duplicate (Ctrl / Cmd + C, Ctrl / Cmd + F) the red circle from the previous step and scale it up. Make sure to remove the Fill color.
Now grab the Type on a Path Tool from the Tool Panel and click on the circle. This way we will be able to enter text (in our case numbers) following the path. Feel free to adjust the size of the path (circle) and rotation in order to make sure that all numbers fit perfectly number pockets.
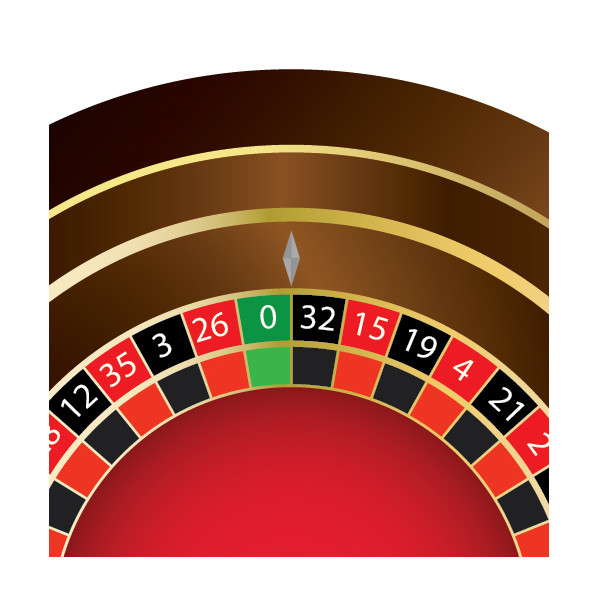
Creating Roulette Wheel Diamonds/Pins
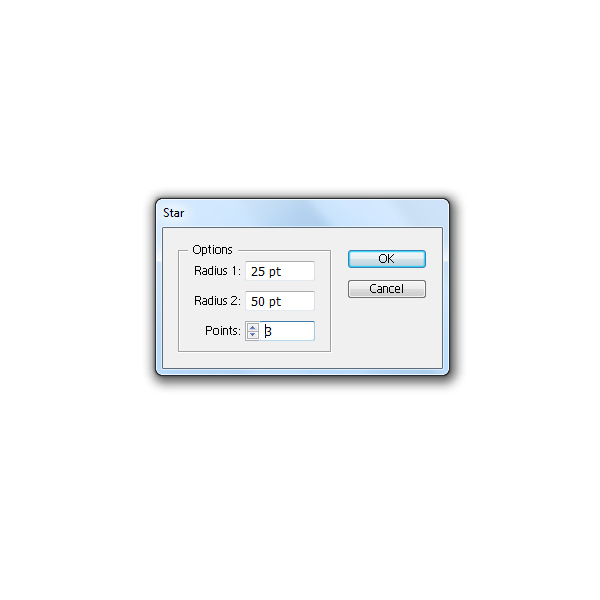
These are the metal ball stoppers fixed onto the wheel just below the ball track. Let’s create them. Grab the Star Tool from the Tool Panel and click on the Artboard. Star Options box will pop up. Set the value for Points to 3 and hit OK button.
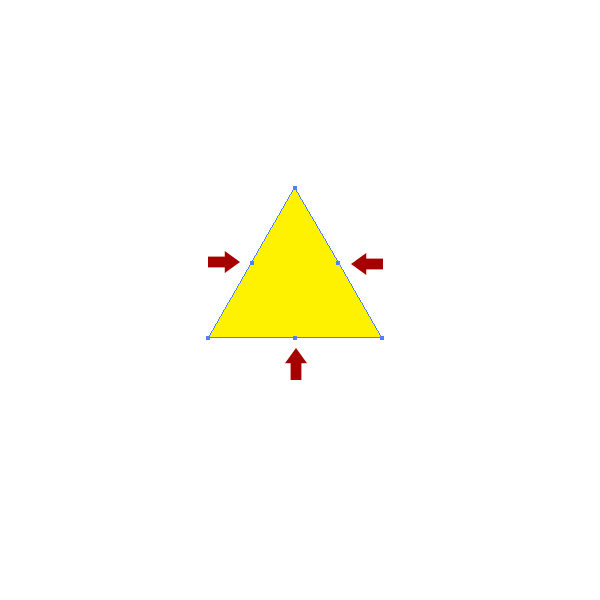
Grab the Delete Anchor Point Tool (-) from the Tool Panel and remove the middle anchor points on each side of triangle.
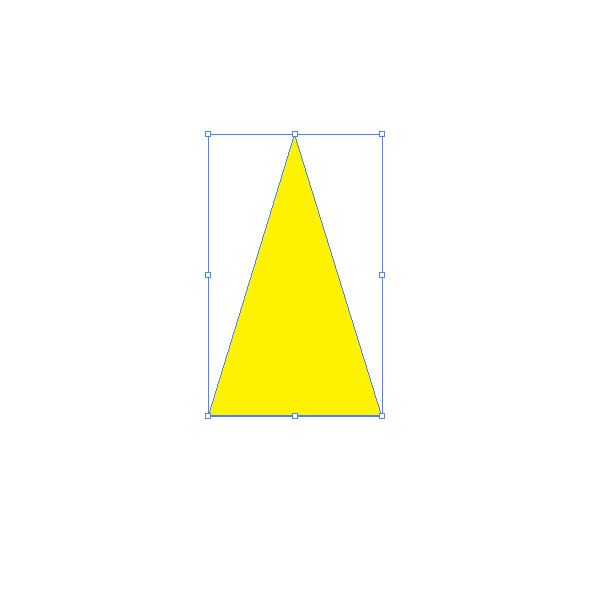
With the Direction Selection Tool (A) select the anchor point at the top of the triangle and drag it upwards (don’t forget to hold the Shift key on the keyboard for straight dragging).
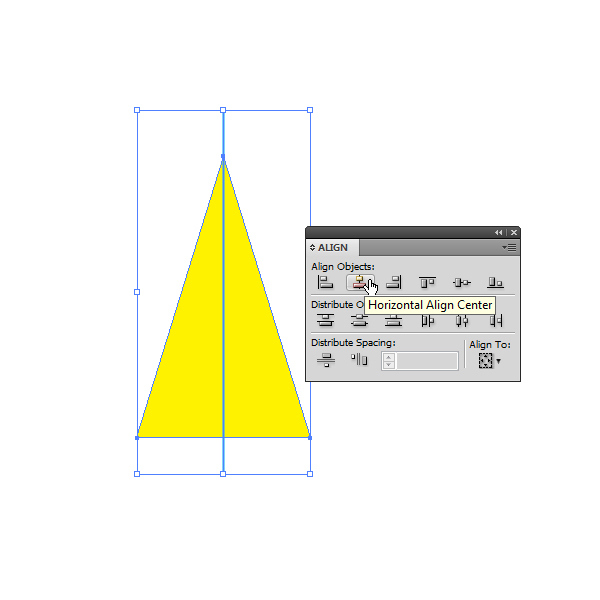
Select the Line Tool (/) from the Tool Panel and create a vertical line (don’t forget to hold the Shift key on your keyboard for straight dragging). Select both, the line and the triangle and align them horizontal by using Horizontal Align Center in Align Panel.
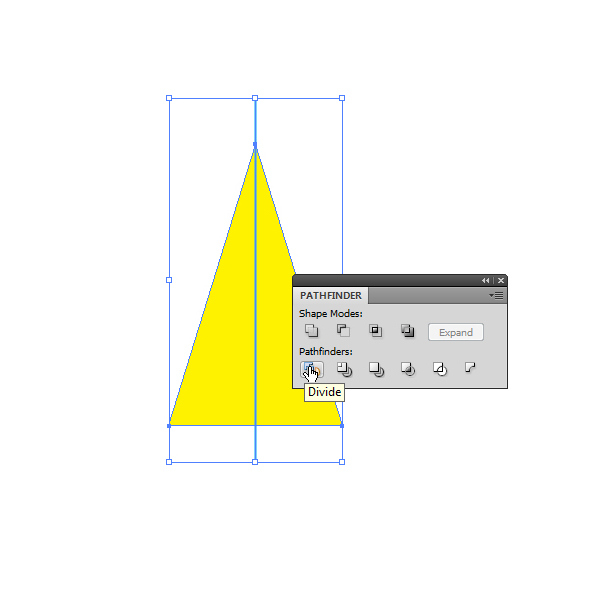
Now we need to divide the triangle exactely to half. Under the Pathfinder Panel hit Divide button. Ungroup (Shift + Ctrl / Cmd + G) triangle.
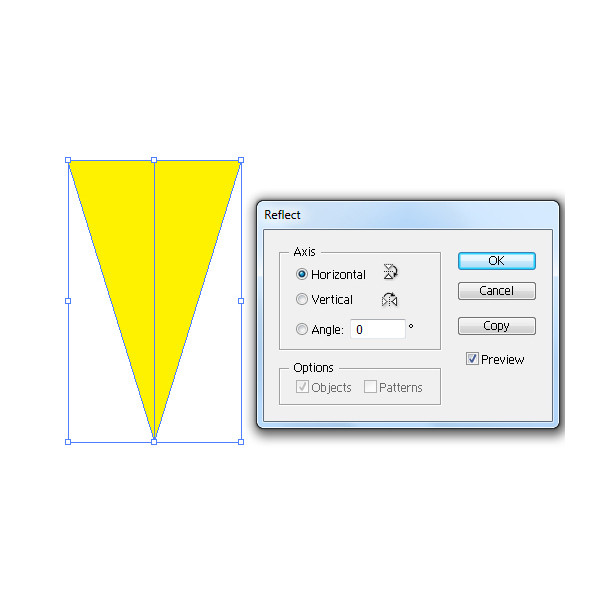
Select both parts of the triangle and under the Object select Transform > Reflect. Set the to Horizontal and hit the Copy button.
Hold the Shift key on your keyboard (for straight dragging) and move the copy we have just created as it shown on the picture below.
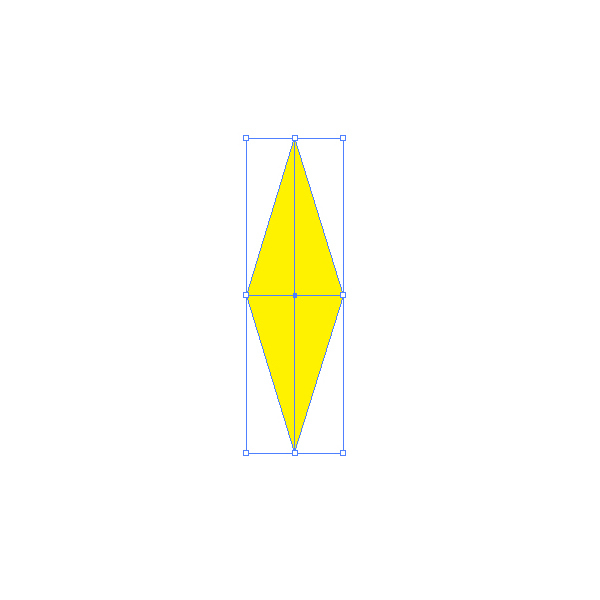
Each of the parts we will color to nice gray color.
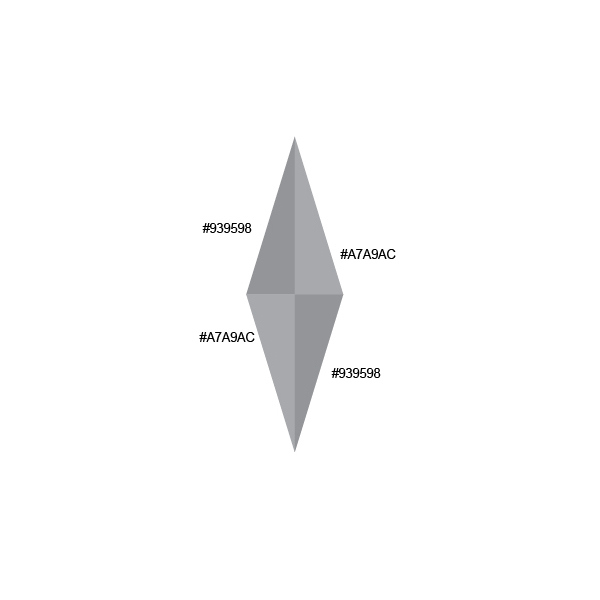
Group (Ctrl / Cmd +G) all the elements and place it as it shown on the picture below.
Duplicate (Ctrl / Cmd + C, Ctrl / Cmd + F) the metal pin few times, rotate it and arrange it as it shown on the picture below.
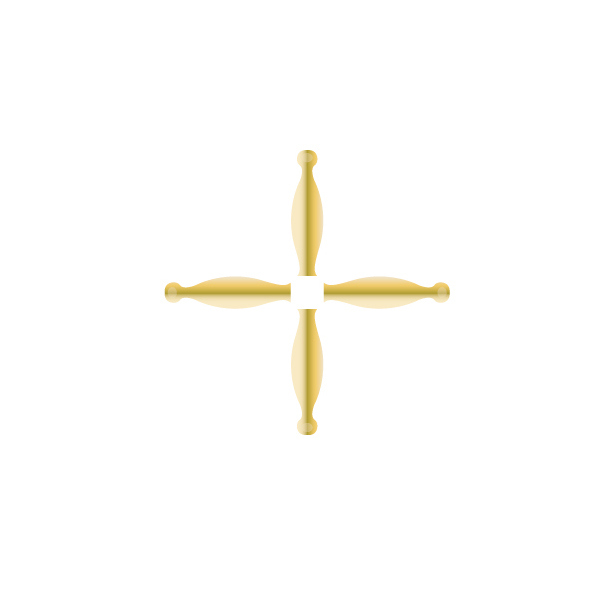
Creating the Wheel Rotor
For creating this part of the roulette wheel feel free to be creative. There are many different shapes of them, from very simple to very complicated with nice ornaments. In this tutorial we will try to keep it simple.
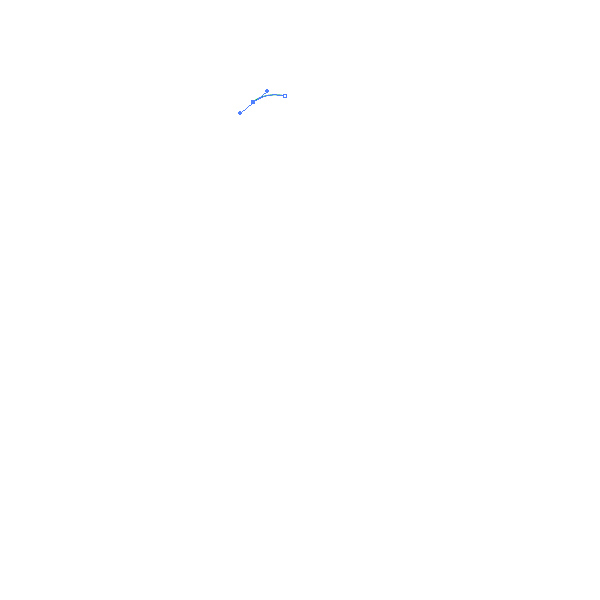
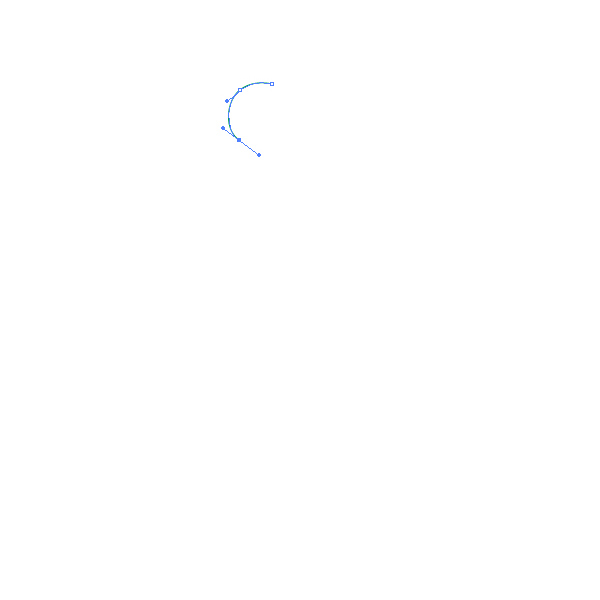
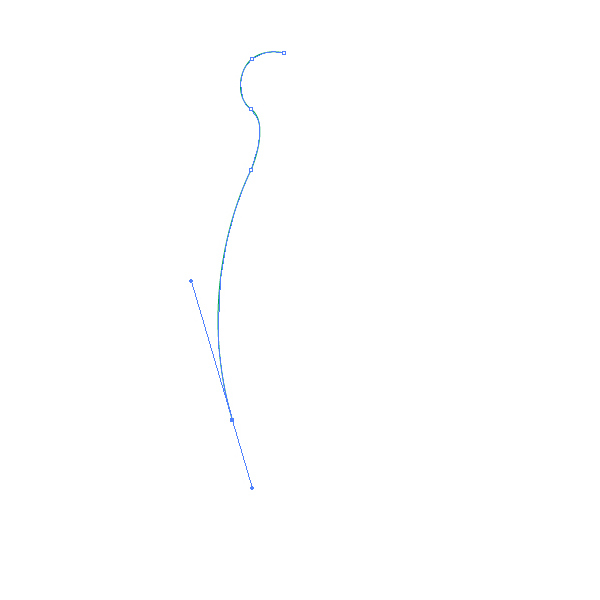
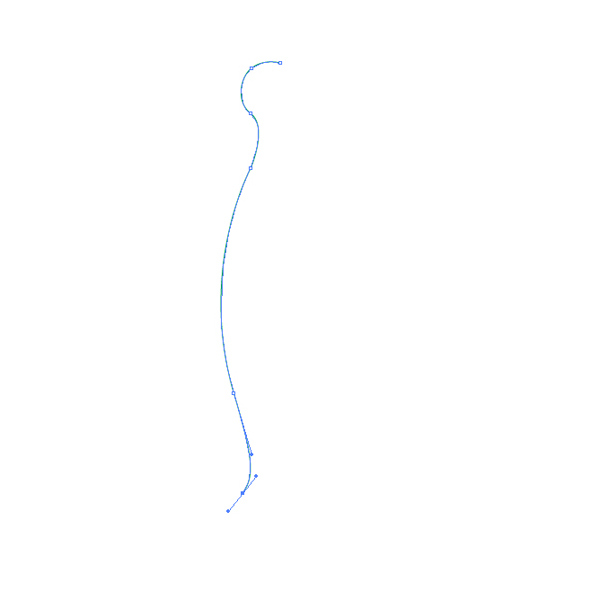
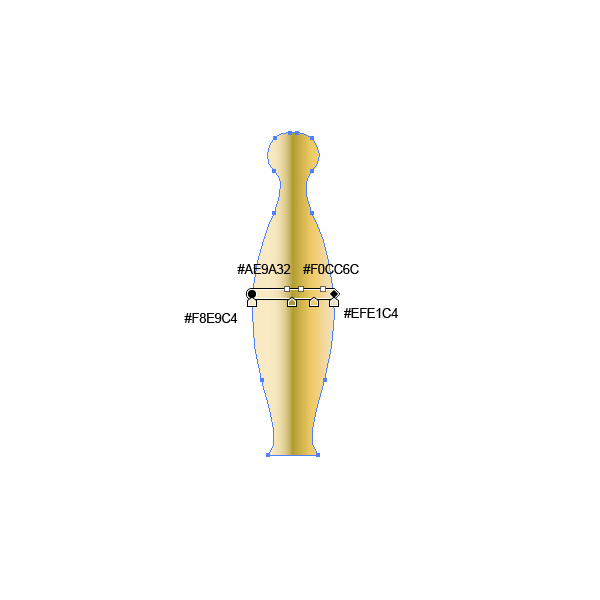
Grab the Pen Tool (P) from Tool Panel and create the path as it shown on the picture below.

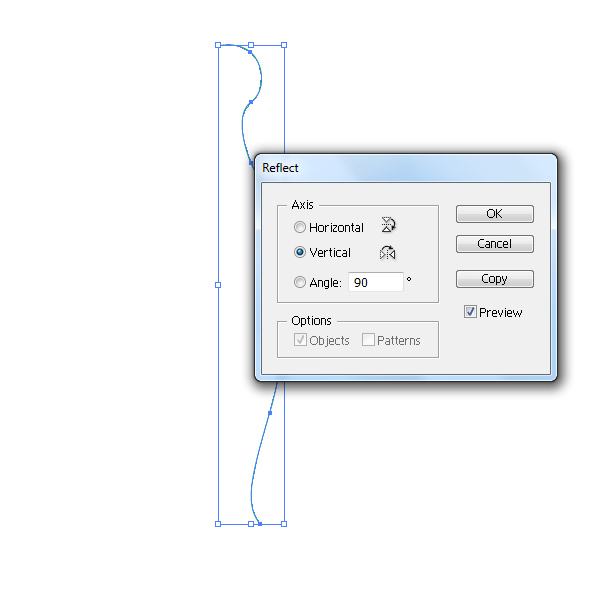
Under the Object select Transform > Reflect. Set the Axis to Vertical and hit the OK button.
Move the copy we have just created to the right (don’t forget the Shift key for straight dragging). With the Direct Selection Tool (A) select upper endpoints and under the right click select Join.

With the Pen Tool (P) close the path on the bottom as well.

Apply nice linear golden gradient.
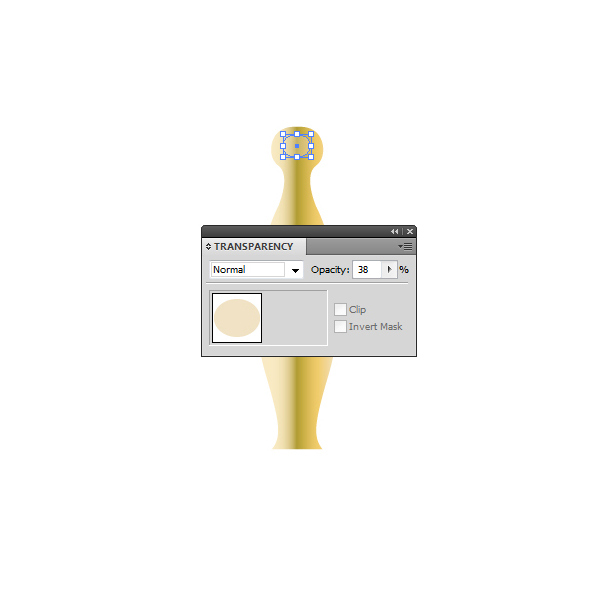
With the Ellipse Tool (L) create a small ellipse and place it as it shown on the picture bellow. Make sure to low the Opacity to 38%.
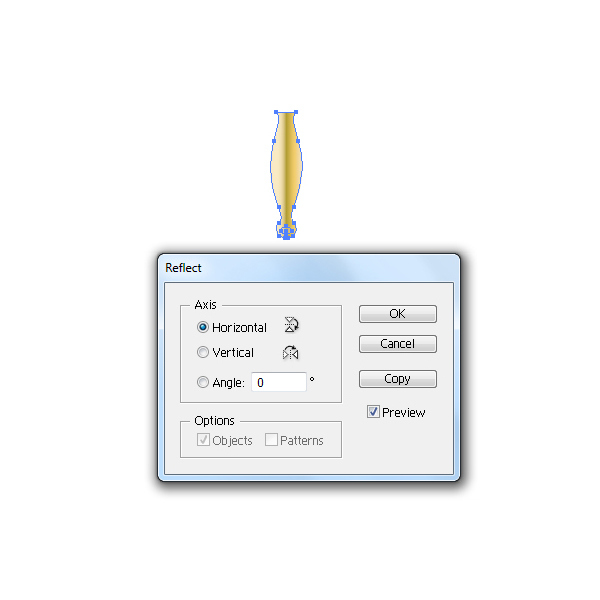
Group (Ctrl / Cmd + G) both elements and under Object select Transform > Reflect. Set the Axis to Horizontal and hit OK button.
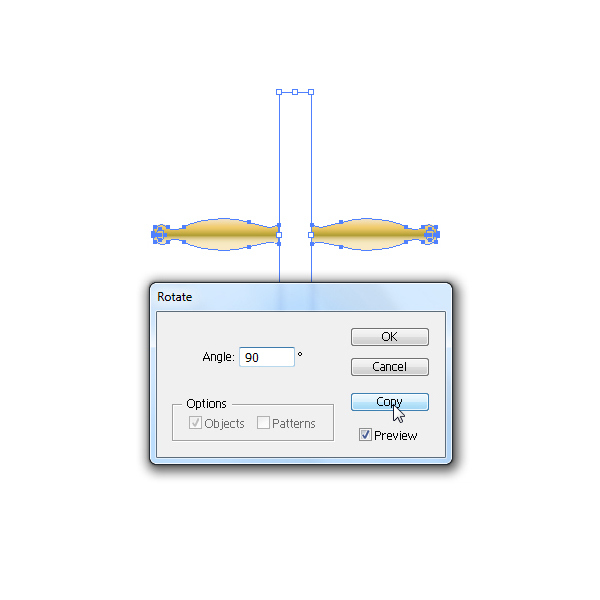
Move the copy we have just created downwards. Group (Ctrl / Cmd + G) both handles and under the Object select Transform > Rotate. Set the Angle to 90 degrees and hit the Copy button.
You should end up with something like this.
With Ellipse Tool (L) create two circle (larger and smaller) and place them as it shown on the picture below.
Select the wheel rotor and duplicate it (Ctrl / Cmd + C, Ctrl / Cmd + F). Select all the parts of the copy we have just created and under the Pathfinder Panel hit the Unite button.
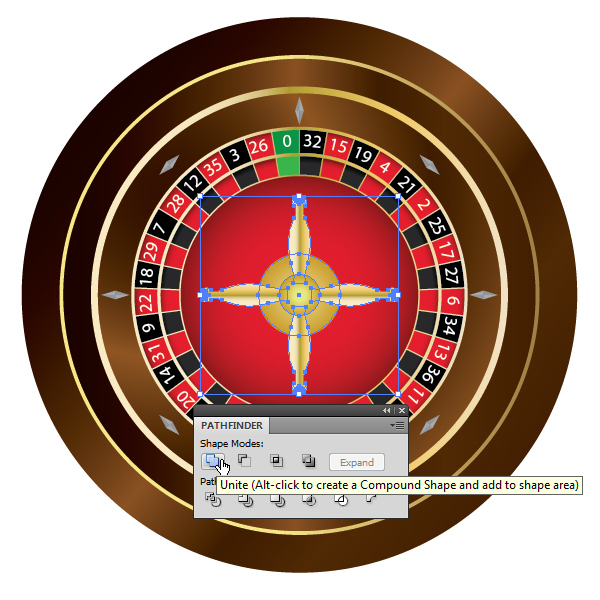
Set the Fill color of the new shape to #8B181B and send it behind the wheel rotor. Don’t forget to rotate it a bit. This shape will represent the shadow of the wheel rotor.
Creating the Background
In this part of the tutorial we will create an interesting background. We will try to keep it simple if you want to add other elements to the illustration. So, let’s get started.
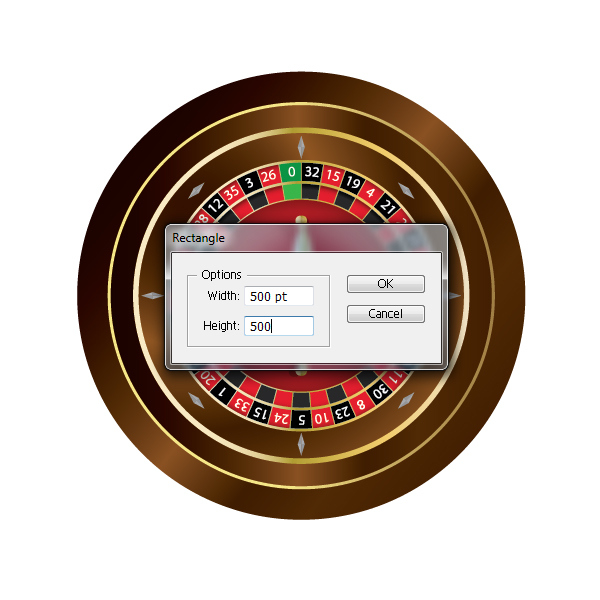
First we will set the basic color for the background. Grab the Rectangle Tool (R) from the Tool Panel and click somewhere on the Artboard. Rectangle Options window will popup. Set dimension of the rectangle to 500 x 500.
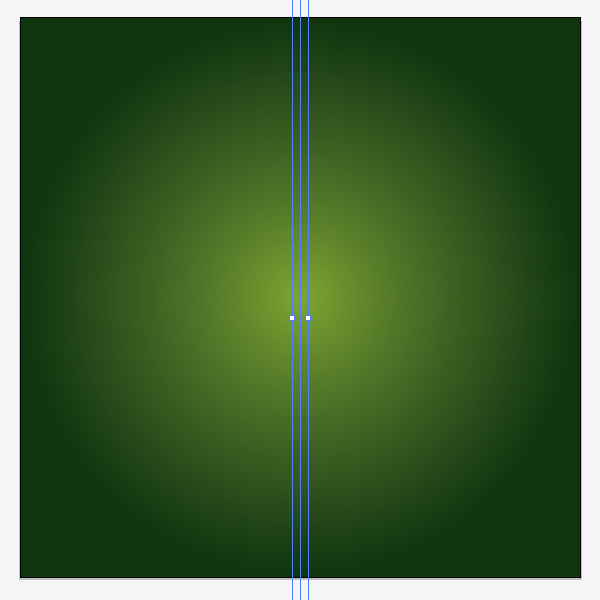
Apply nice green radial gradient.

Grab the Line Tool (/) from the Tool Panel and create a horizontal line. Align it with the Rectangle from previous step (Align Panel > Horizontal Align Center).
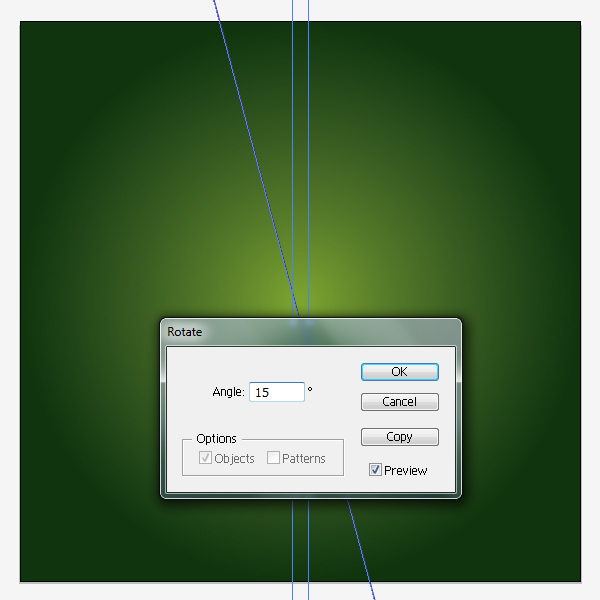
Select only the line and under Object select Transform > Rotate. Set the value for the Angle to 15 degrees and hit the Copy button. It will create another straight path rotated for 15 degrees.
Hit the shortcut on your keyboard Ctrl / Cmd + D in order to repeat the previous step and to create the paths that will cover the whole area.
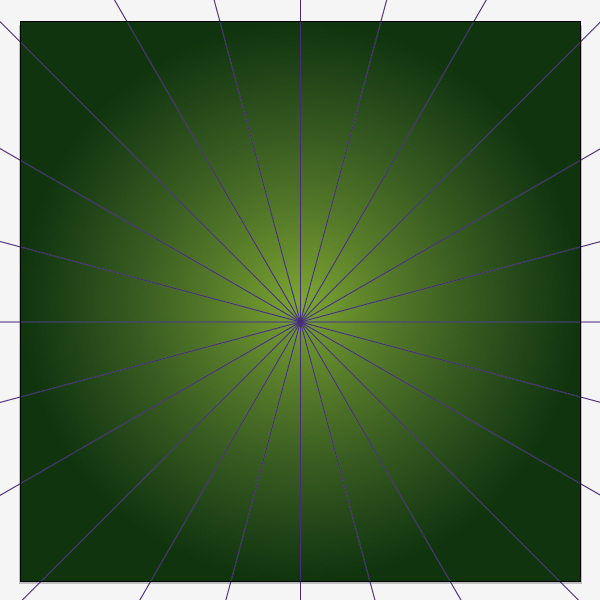
Grab the Ellipse Tool (L) and create a circle (don’t forget to align all elements to be centered – under Align Panel).
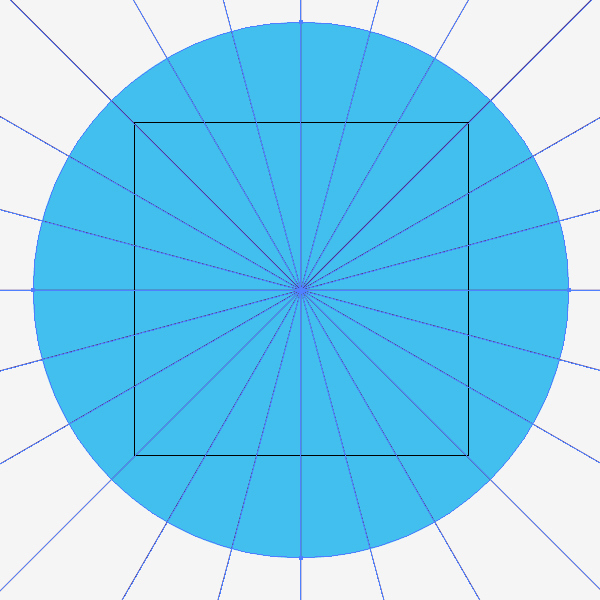
Select the circle and all the lines and under the Pathfinder Panel hit Divide button.

Ungroup (Shift + Ctrl / Cmd + G) divided circle and remove every other part of the circle.
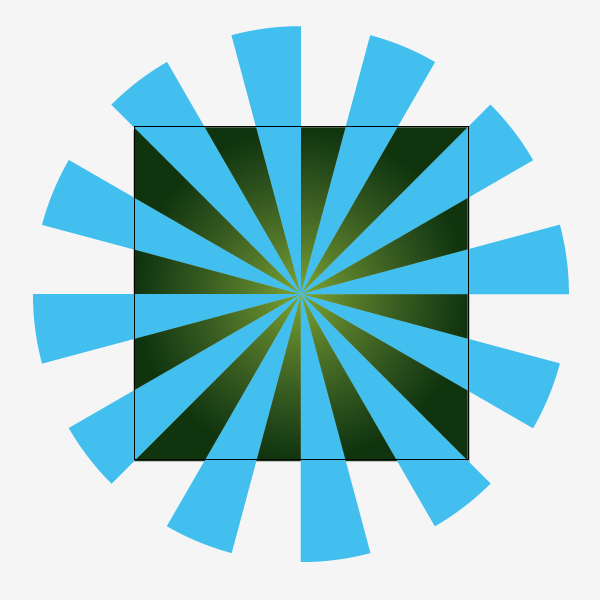
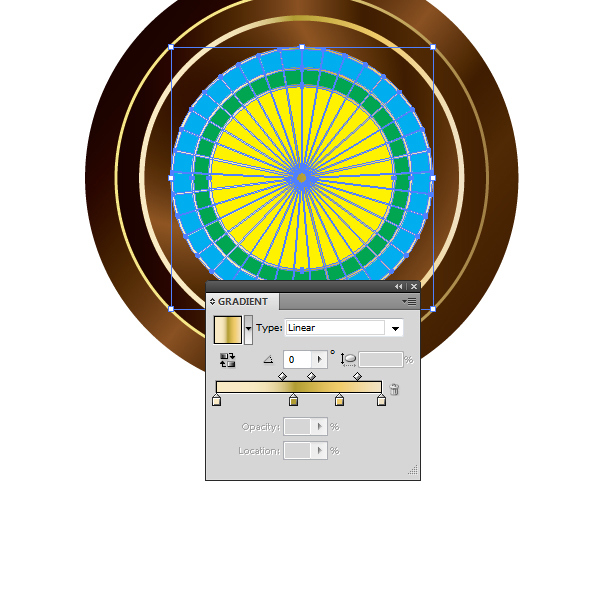
Group (Ctrl / Cmd + G) the blue rays and bring our roulette to the front (Shift + Ctrl / Cmd + ]).

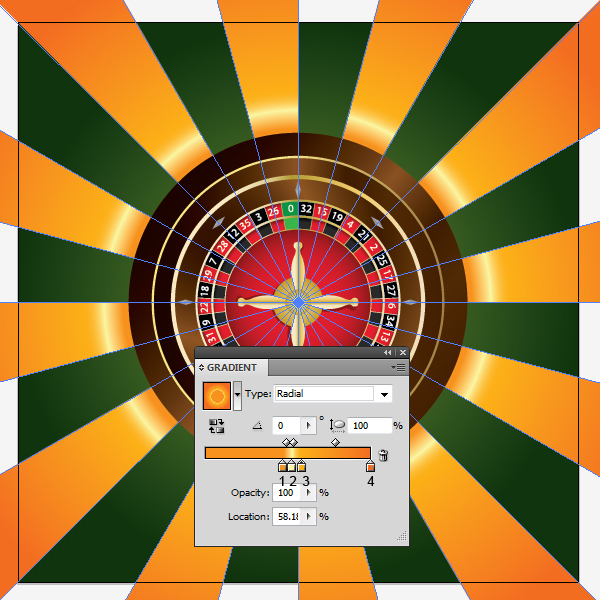
Now we are going to apply nice radial gradient to the rays.
1. #F7921E
2. #FDF5A2
3. #FCAF17
4. #F36E21
Duplicate (Ctrl / Cmd + C, Ctrl / Cmd + F) the rays and set the Fill color to #002700 and send them behind the yellow rays. If we rotate them just a little bit we will get the nice shadow impression.
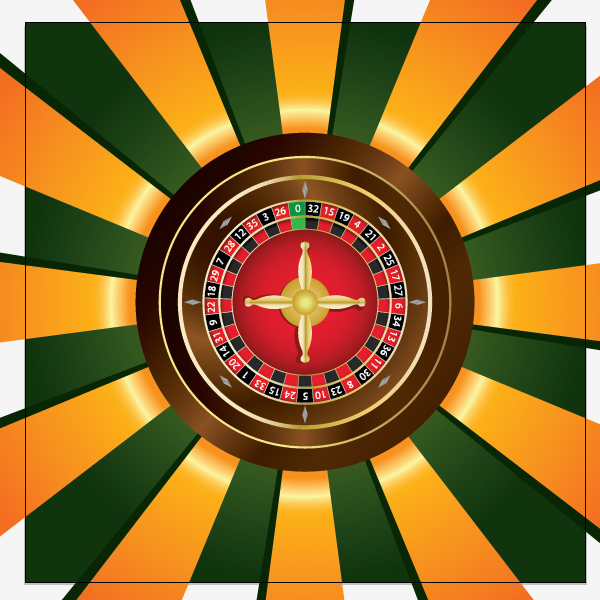
Select all the elements and Group them (Ctrl / Cmd + G). Grab the Rectangle Tool (M) from the Tool Panel and create the rectangle 500 x 500 pix (same as the size of the background). Make sure to remove Stroke and Fill color of the rectangle. Select all the elements and under Object select Clipping Mask > Make. This way we have hide unwanted parts of the illustration.

Conclusion
In this tutorial we’ve had chance to explore some basic Adobe Illustrator tools. There are many tips and tricks which will allow you to work faster and productive. Even with some basic skills and with a good eye for colors you will be able to create nice vector illustrations. If you happen to have any questions feel free to post it in the comment section below. I hope you have enjoyed reading this tutorial as much I have enjoyed creating it. Thank you for following along.
