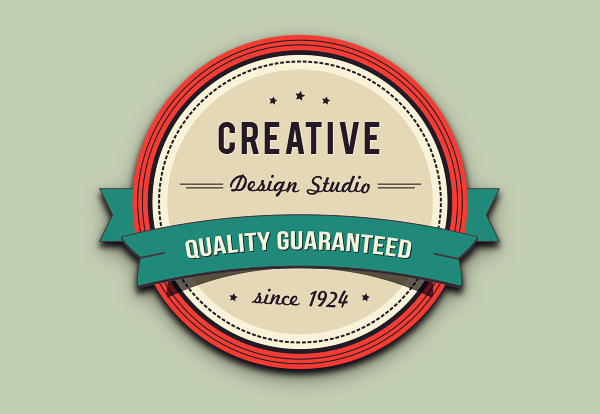
In the following tutorial you will learn how to create a gorgeous retro badge in Adobe Illustrator.
Final Image
This is the final image that we’ll be creating:

Tutorial Details
- Program: Adobe Illustrator CS5
- Estimated Completion Time: 30 minutes
- Difficulty: Beginner-Intermediate
Resources
Step 1
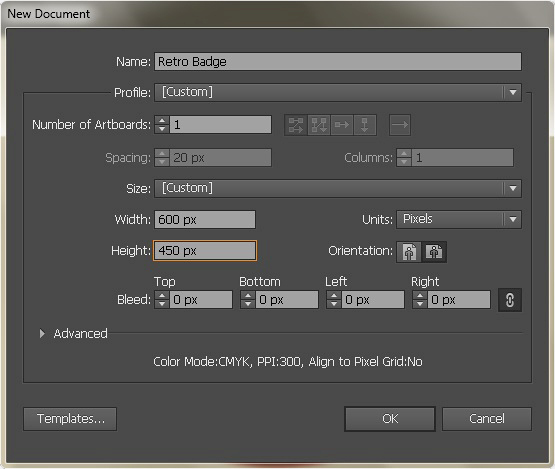
Create a new document in illustrator with 600px width and 450px height.
Step 2
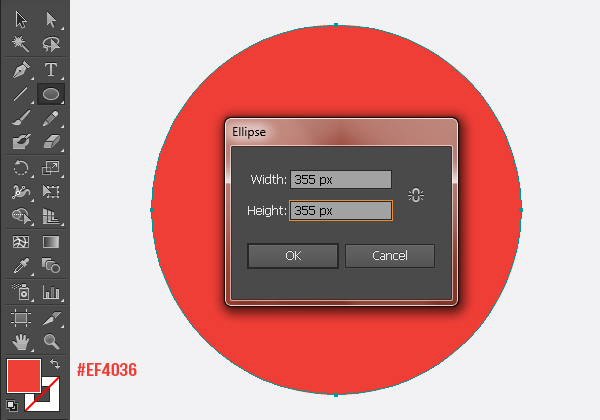
Pick #EF4036 fill color. Now select the Ellipse Tool (L) and hit the canvas to view the ellipse window. Enter 355px for the width and height and press OK to draw an ellipse. Label it as Base1.
Step 3
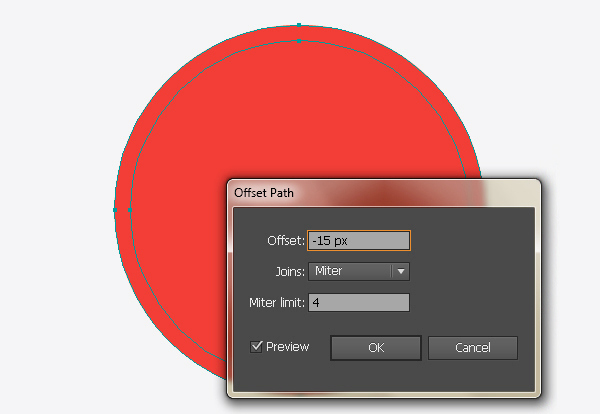
Next, select the Base1 ellipse by clicking the ring-shaped target present at the right-side of the respective layer and go to Object > Path > Offset Path. Offset the path by -15px.
Change this new ellipse fill color to pure black. Label it as Base2.
Step 4
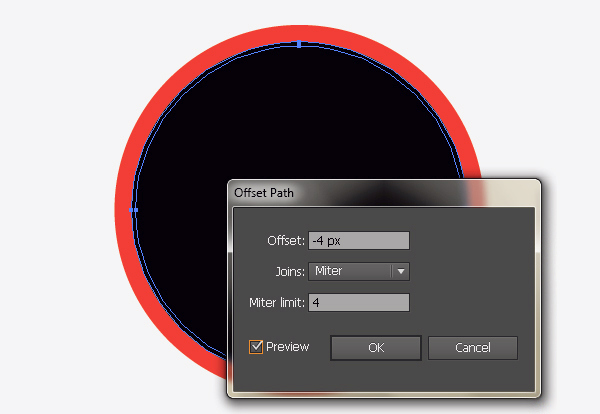
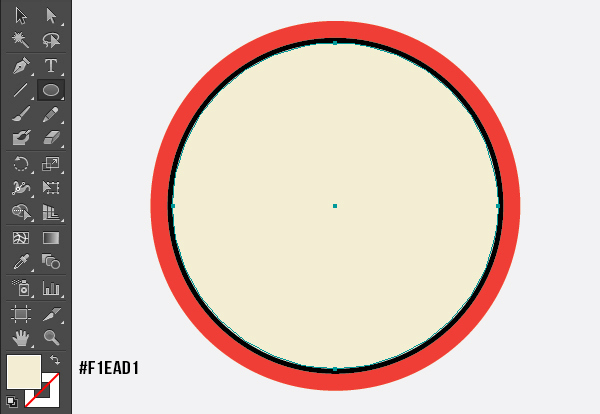
Now select the Base2 ellipse and offset it by -4px. Change its fill color to #F1EAD1 and label it as Base3.
Step 5
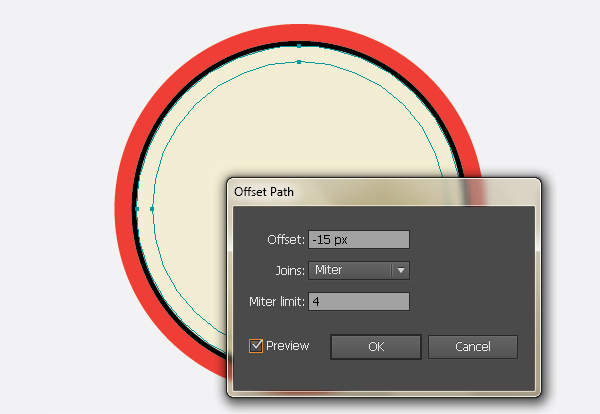
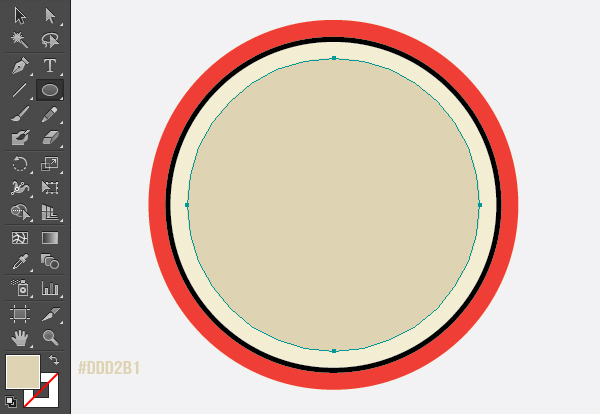
Select the Base3 ellipse and offset it by -15px. Change the new path fill color to #DDD2B1 and label it as Base4.
Step 6
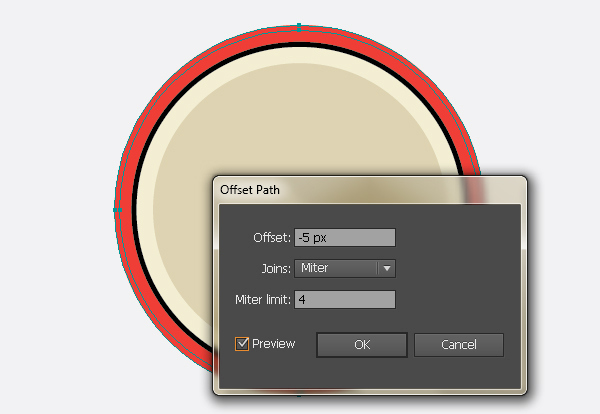
Select the Base1 ellipse and offset the path by -5px. Give this new ellipse a black (#231F20) stroke with 1pt stroke weight.
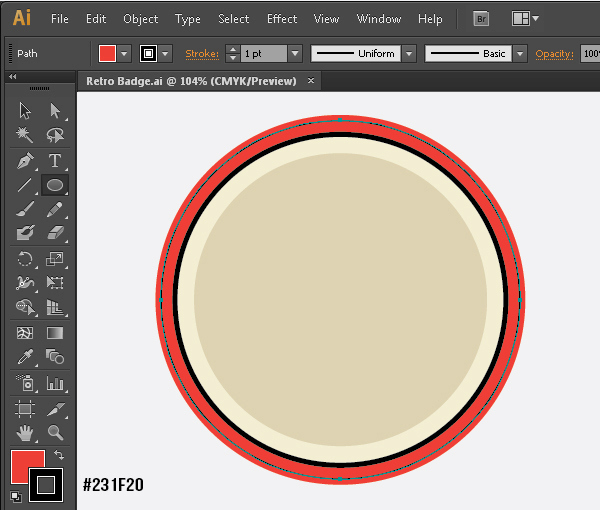
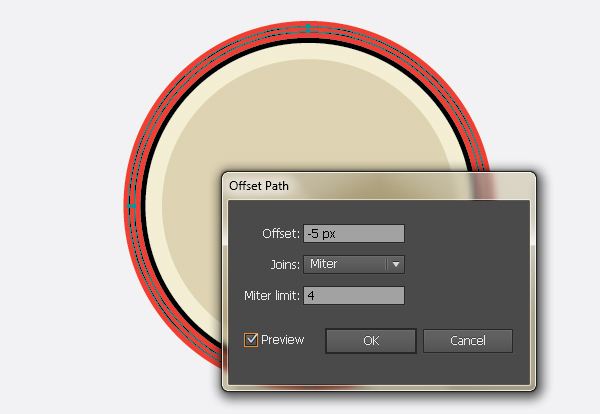
Select the new path and offset it by -5px.
Step 7
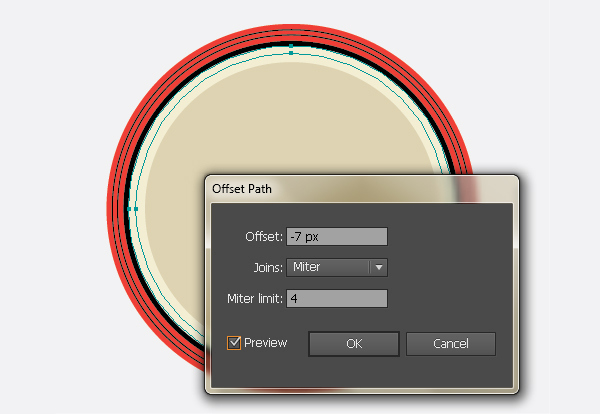
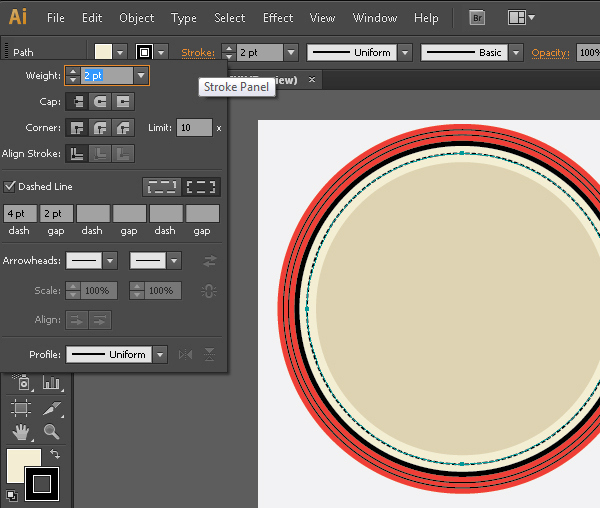
Next, I’ll show you how to apply a stitch effect. Select the Base3 ellipse and offset it by -7px. Give it a 2pt black stroke.
Now click the Stroke Panel in the top control bar and check the dashed line option, enter 4pt for dash and 2pt gap.
Step 8
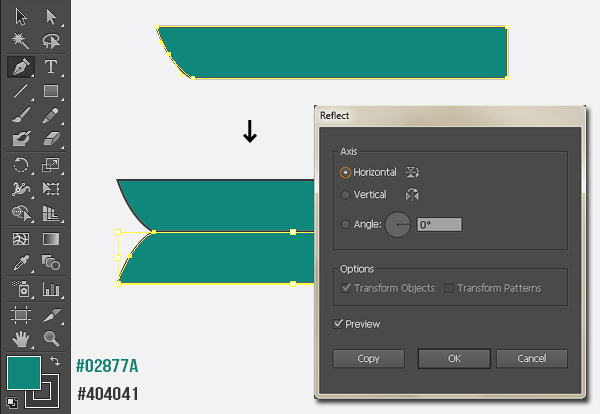
We’ll create the ribbon now; select the Pen Tool (P) to draw the shape as shown below. Give it #02877A fill color and pick #404041 color for the stroke (1pt).
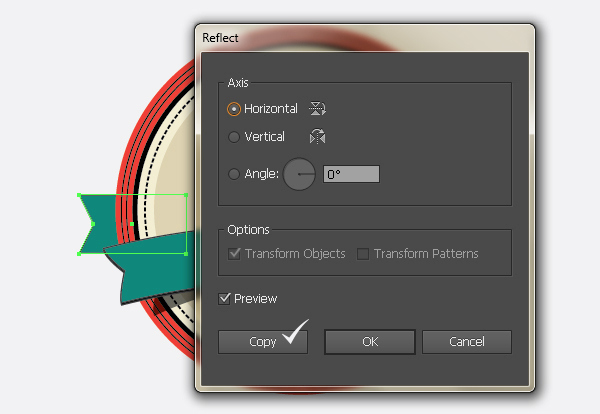
Now select the shape and go to Object > Transform > Reflect. Reflect it around Horizontal axis and make sure to click the Copy option to get a reflected copy as shown here.
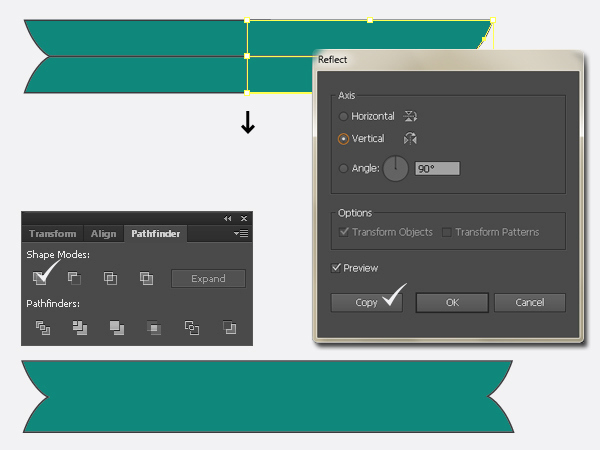
Select both the shapes now and reflect them around Vertical axis. Make sure to click the Copy. Arrange the copy as shown below to complete the ribbon. After that, select all the four shapes and hit Unite in the Pathfinder panel (Shift + Ctrl + F9).
Step 9
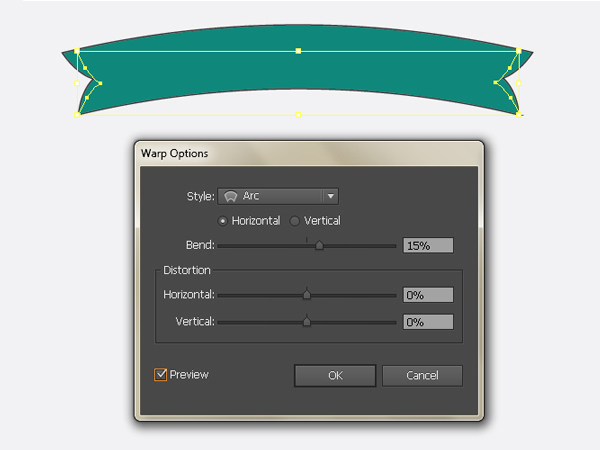
Select the ribbon and go to Effect > Warp > Arc. Bend it 15% around the horizontal axis.
Step 10
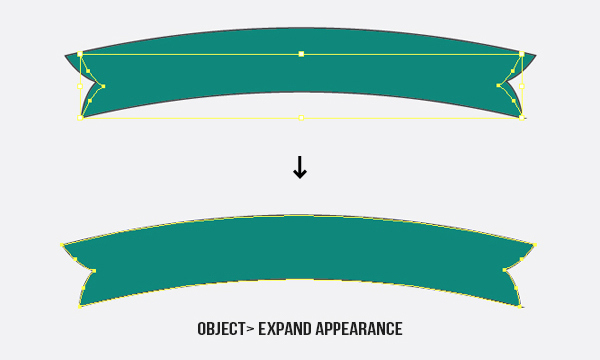
While the ribbon is selected, go to Object > Expand Appearance to modify the shape.
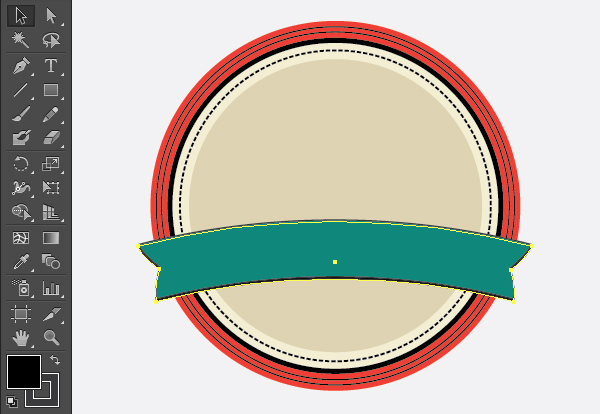
Select the ribbon and press Ctrl+ “C” to copy it and then press Ctrl+ “B” to paste in back. Change copied ribbon fill to black and drag it 2 steps downwards as shown below.
Step 11
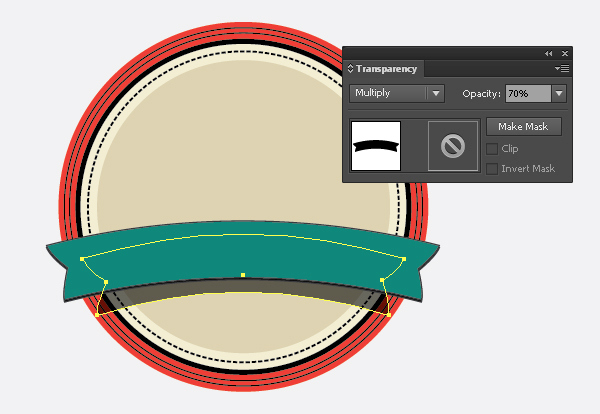
To make the ribbon’s shadow, select the black ribbon copy, press Ctrl+ C to copy it and then press Ctrl+ B to paste in back. Drag it 8-10 steps downwards; decrease its width a bit using Selection Tool (V). Change its blending mode to Multiply with 70% opacity in the Transparency Panel (Shift+ Ctrl+ F10).
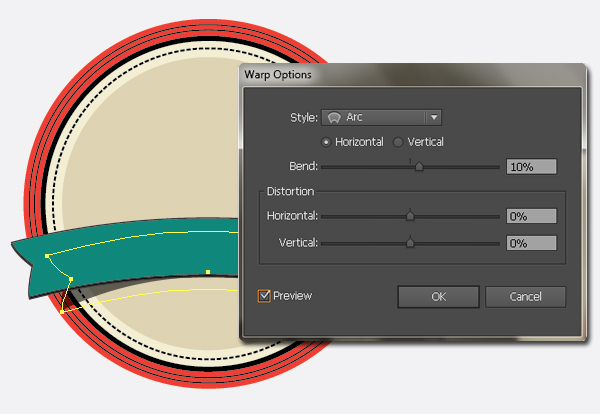
Select it and Bend it 10% around horizontal axis.
Step 12
Next, draw the ribbon shape using the Pen Tool (P) below the rest of the layers. Give it #02877A fill color and pick #404041 color for the stroke (1pt).
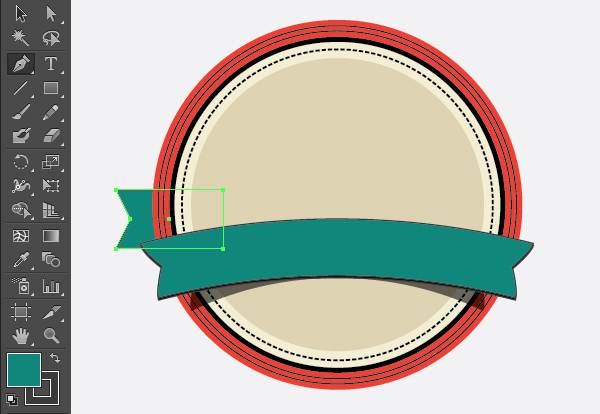
Select it and go to Object > Transform > Reflect. Reflect it around Horizontal axis, make sure to press Copy option and position it at right side of badge.
Step 13
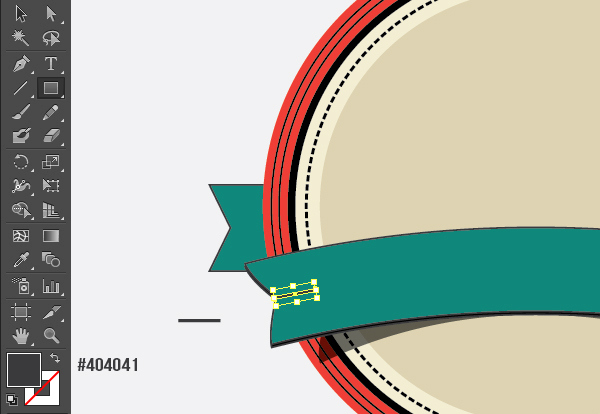
Pick #404041 fill color and draw a small rectangle using Rectangle Tool (M). Select it and rotate it using Selection Tool (V). Once you are done, make a reflected copy of the rectangle and position it over right side.
Step 14
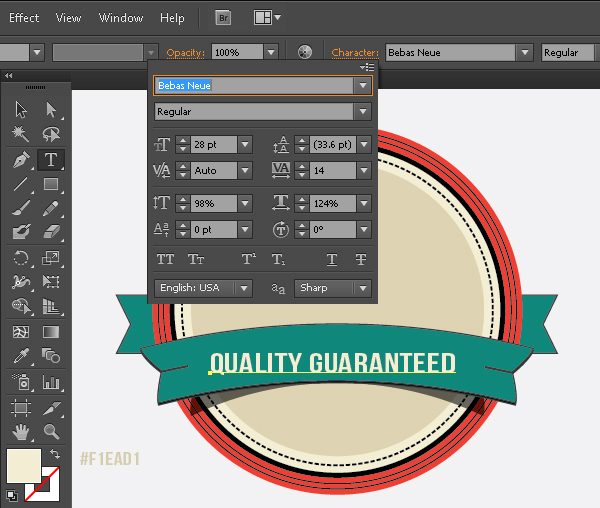
To add text over the ribbon, pick #F1EAD1 fill color and choose Type Tool (T) to type in some text. I’ve used Bebas Neue font here.
Step 15
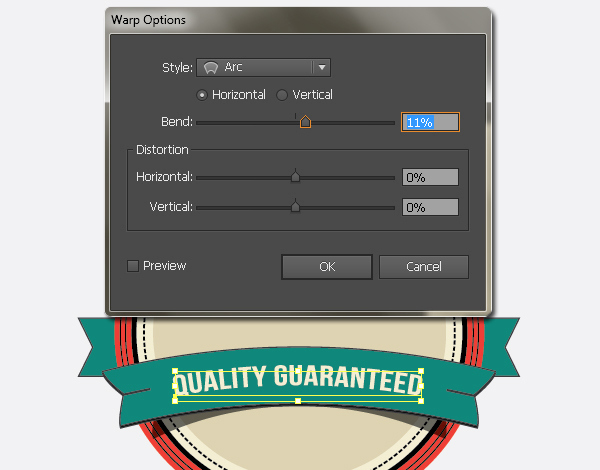
Now select the text and go to Effect > Warp > Arc. Bend it 11% around the horizontal axis to bend it according to the ribbon.
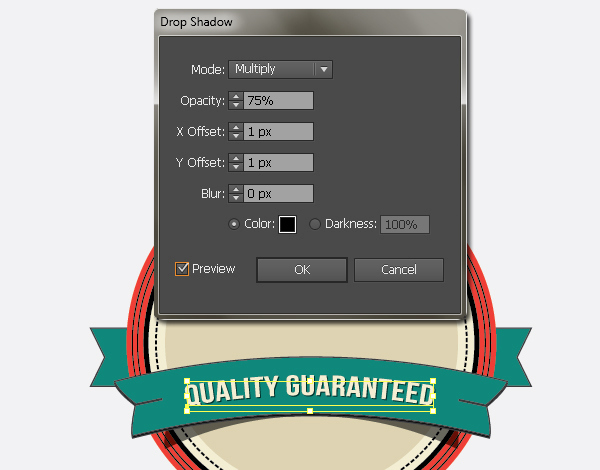
Select the text and go to Effect > Stylize > Drop Shadow. Apply given settings for the drop shadow.
Step 16
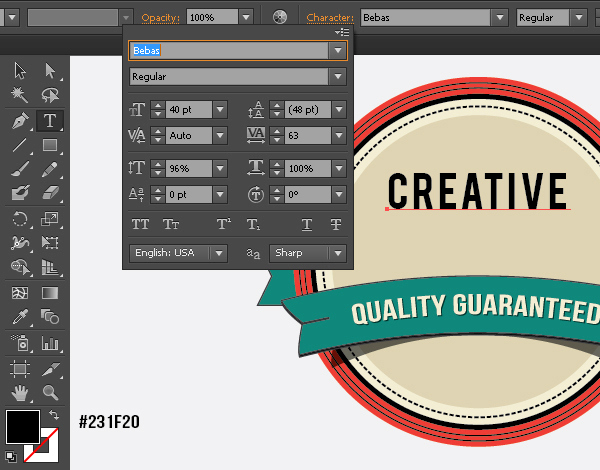
Next, we’ll add text over the badge. Pick #231F20 fill color and select the Type Tool (T) to type text. I’ve used Bebas font here. Apply given settings in the character panel.
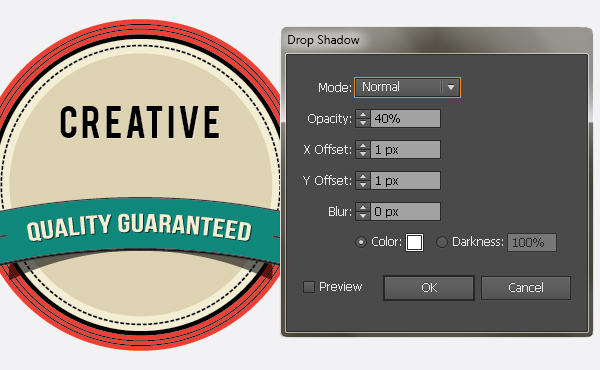
Select the text and apply given settings for the drop shadow.
Step 17
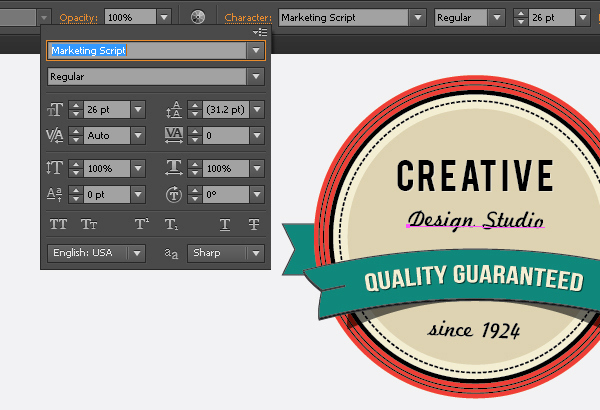
I’ve used Marketing Script font to type Design Studio and since 1924.
Step 18
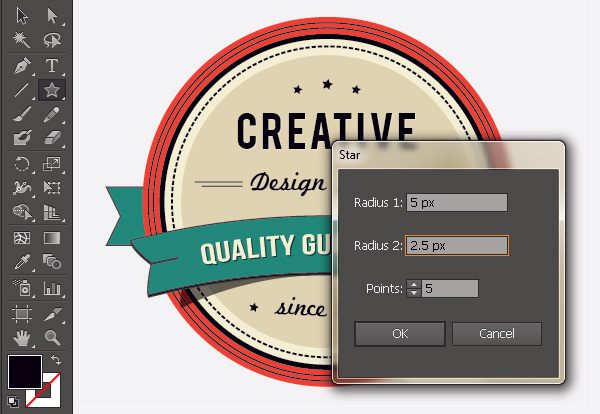
Now fill the spaces in the badge by drawing a few rectangles and stars as you like.
And We’re Done!
