In this tutorial I will show you how to create a Pie chart in Adobe Illustrator.
Final Image

Tutorial Details
- Program: Adobe Illustrator CS6
- Estimated Completion Time: 90 min
- Difficulty: Beginner-Intermediate
Step 1
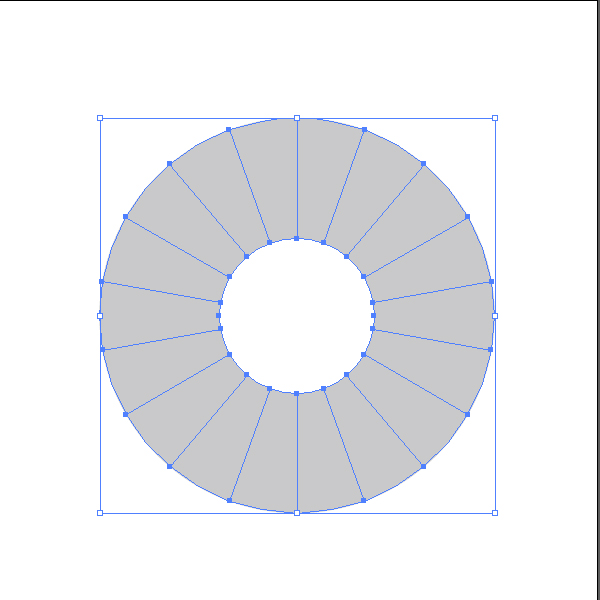
Using the Ellipse Tool (L) create a 395x395pxcircle.
Using the Line Segment Tool draw a line and center it in the middle of the circle.
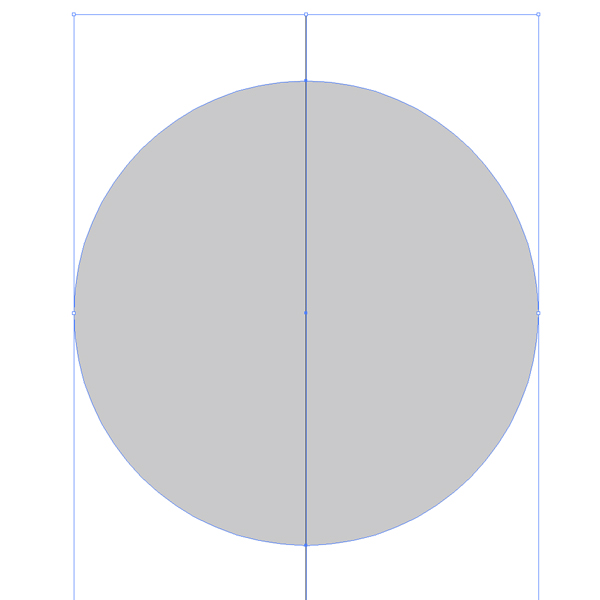
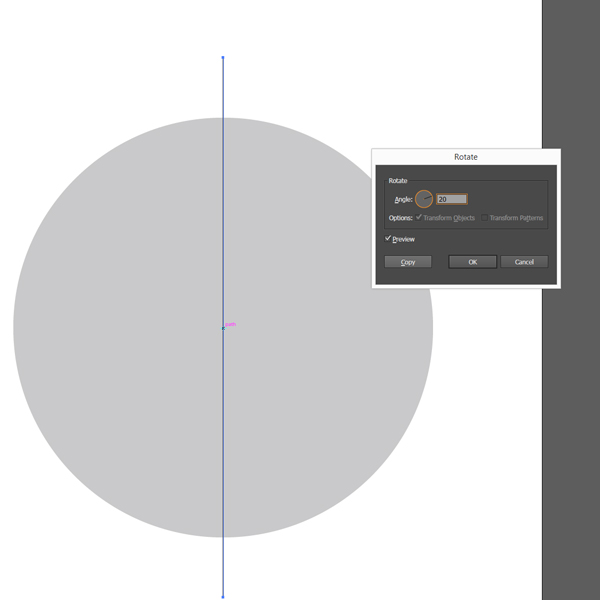
Place your mouse in the middle of the line and press R+ALT+click, Rotation Panel will pop up. Put in 20 and press Copy and Ctrl+D, to repeat the transformation.
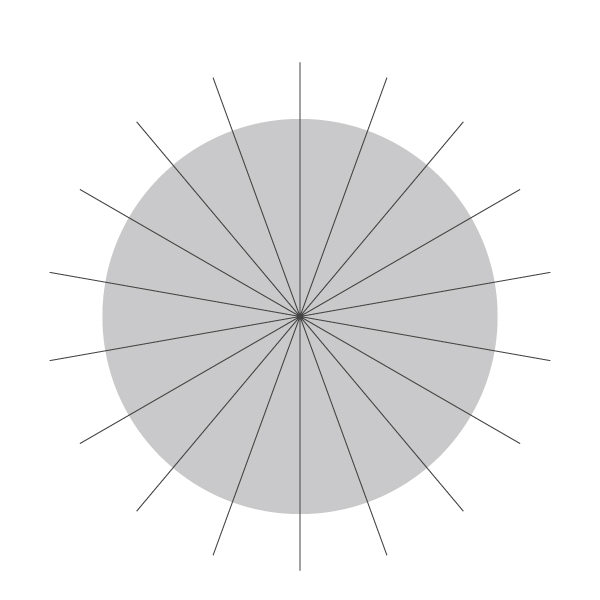
Select everything and go to Pathfinder Panel, click Divide.
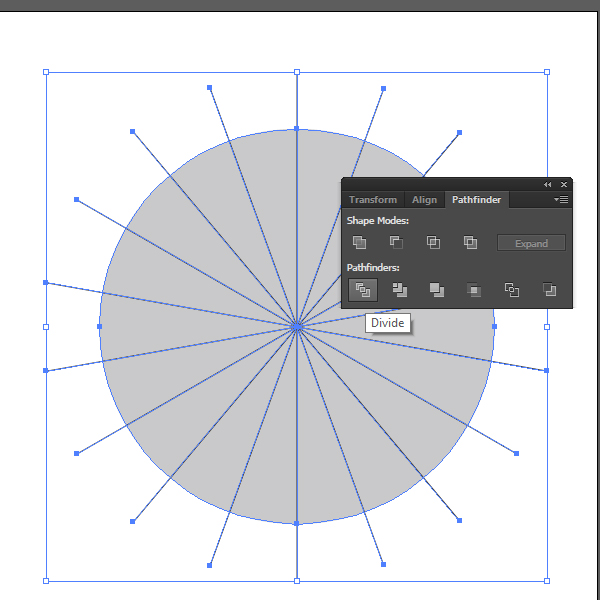
Create another 155 x 155 px circle, place it in the center of first circle, select everything and click Trim on Pathfinder Panel. Delete the smaller circle.
Step 2
Create another 485x485px circle and repeat everything, only in Rotation Panel put in 45°. Now you should have two different pie charts in two different shapes.

With the Direct Selection Tool, delete unnecessary pieces like this:

And using Unite function in the Pathfinder panel, unite pieces as in the image below.
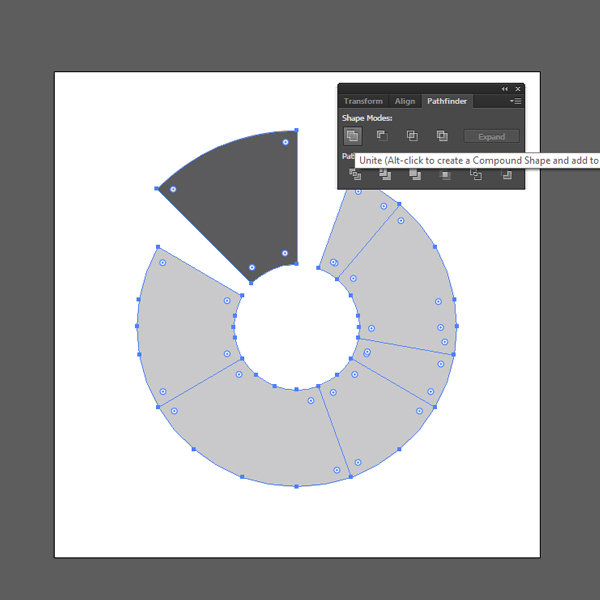
Bring out one of the pieces. And group everything.

Step 3
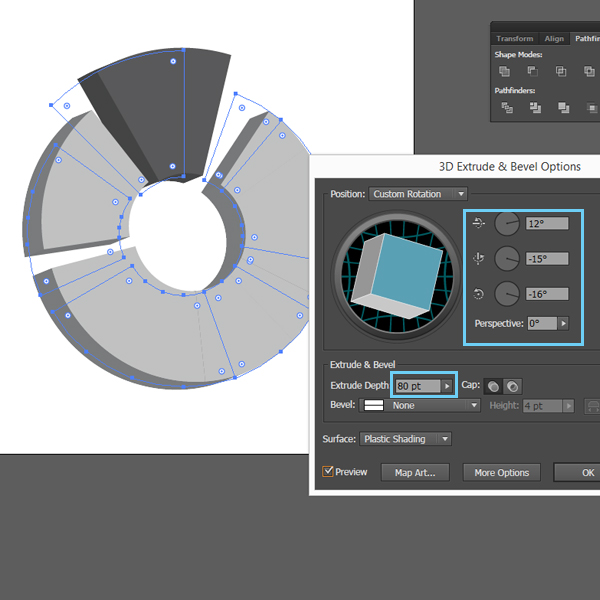
Go to Effects – 3D – Extrude&Bevel and put in these numbers:
Step 4
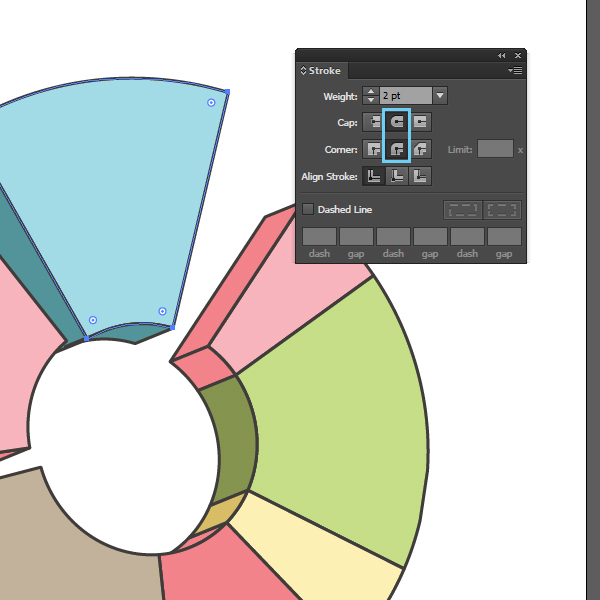
Go to Object – Expand Appearance. Now you can choose colors. Select shapes using Direct Selection Tool.
- Pink #f8b4bc, darker #f4838a
- Blue #a3dce5, darker #529299
- Brown #c1b299, darker #8f8272
- Yellow #ffeeb3. darker #d8bd65
- Green #c5de87, darker #84934d
- Stroke #3f3c3a, 2pt
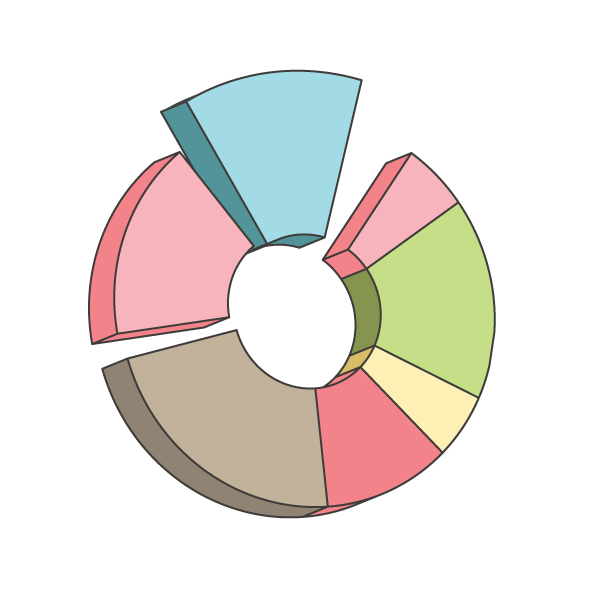
Also for strokes, use Round Cap and Round Join.
Step 5
One by one round the corners of all shapes, make sure you don’t round them too much.
Using Direct Selection Tool delete unnecessary points and draw with the Pen Tool. Use Smooth Tool to smooth everything up, but be careful to not overdo it.
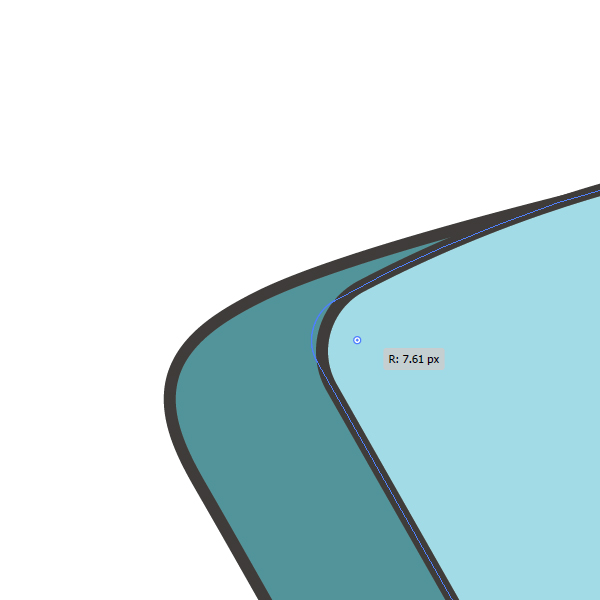
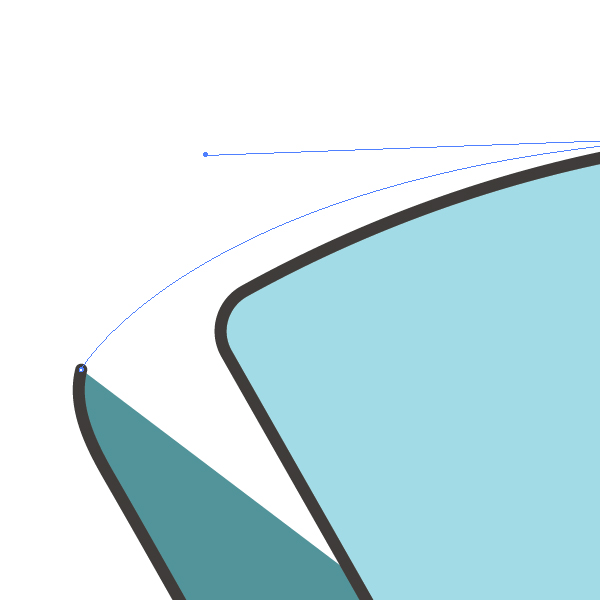
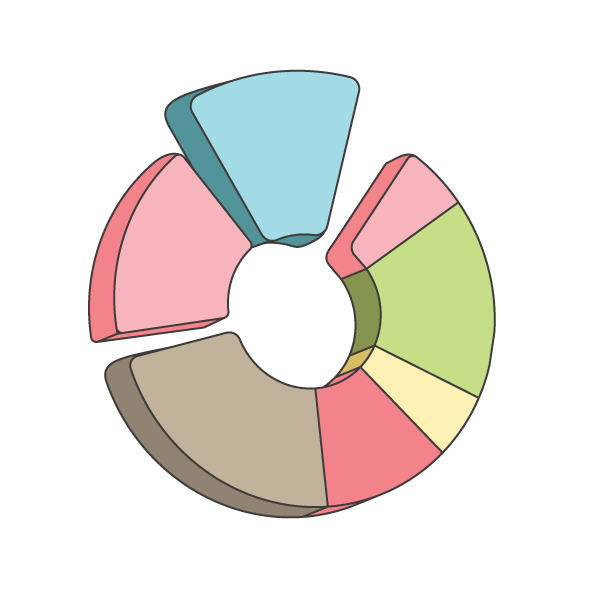
In the end you should have something similar to this. Make sure you don’t round the insides.
Step 6
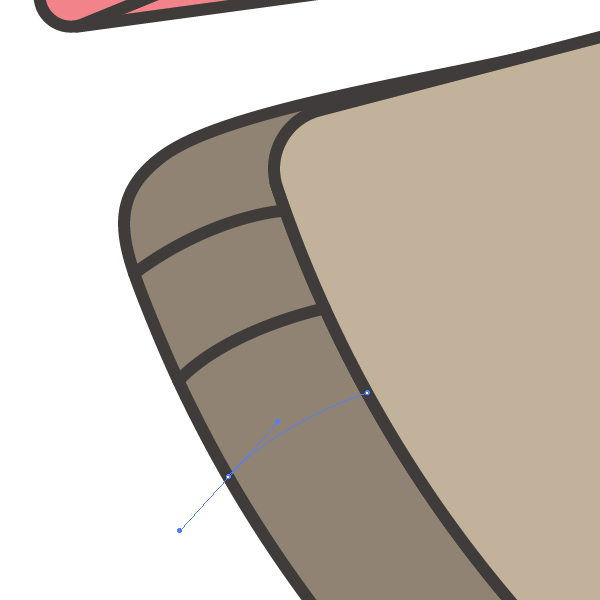
Using the Pen Tool draw lines on the one side of the brown shape with the same color weight as before.
Use 6pt, white color, to draw light. Add small circles.
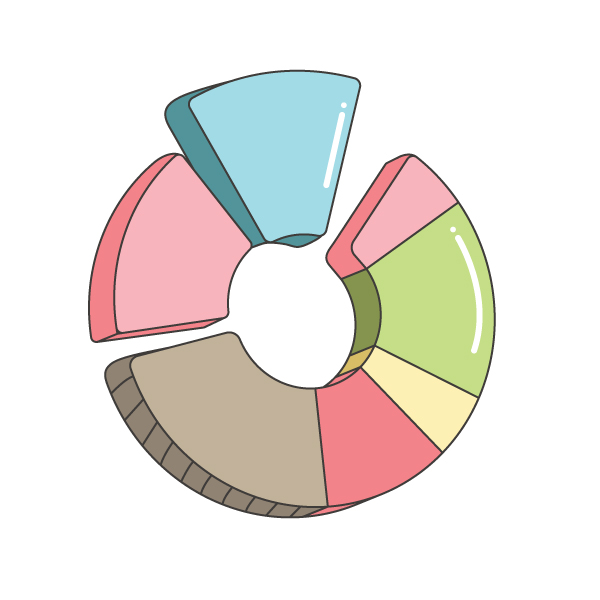
To create shadows, using the Direct Selection Tool take the shape you need and using the Pen Tool, draw the shadow over it, select both shapes and click on Divide in Pathfinder Panel. Lose the stroke and place it over the original shape. Change blending mode to Multiply. Repeat the same with the blue shape.
For more depth create a small ellipse underneath our Pie chart (#cccccc) and for background color I used #f8f4e8.
And We’re Done!
Hope you enjoyed this tutorial and learned something new, let me know! See you for the next one!
