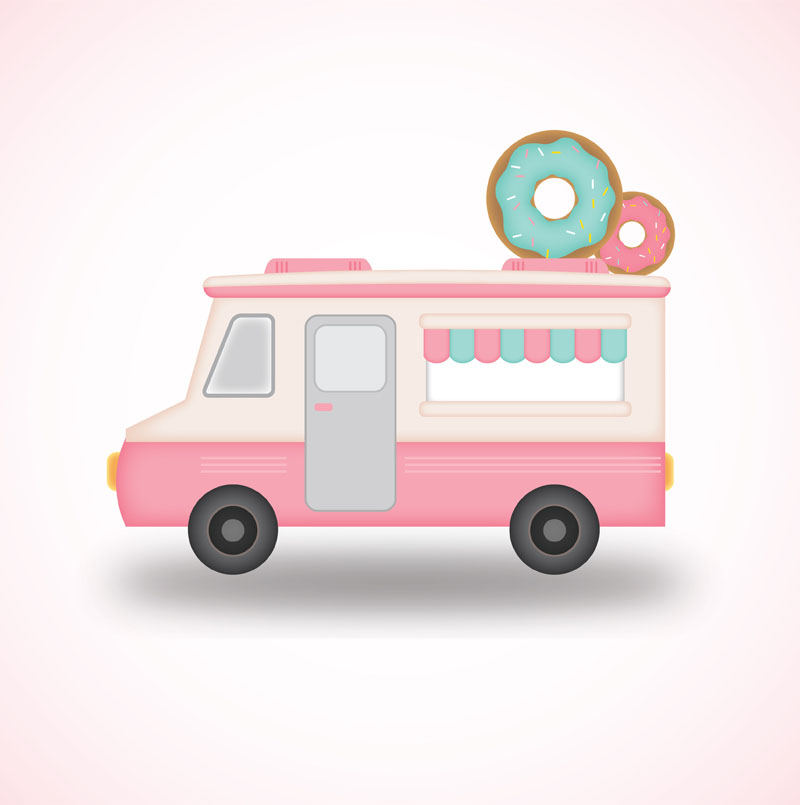
In this Illustrator tutorial, you will learn how to illustrate a food truck using very simple techniques.
We will use the effects along with some basic vector shapes to achieve the final outcome in a short time. Hopefully, you will learn some useful work tips. Have fun while learning this Adobe Illustrator tutorial! We start now!
Final Image
As always, this is the final image that we’ll be creating:

Tutorial Details
- Program: Adobe Illustrator CS6
- Estimated Completion Time: 30 minutes
- Difficulty: Beginner-Intermediate
Step 1
Let’s create a new document first. Make sure to set the dimensions to 800 x 800 pixels and the Color Mode to CMYK.
Starting with the Pen Tool (P), we’ll create the main shapes as shown in the image below, feel free to play around while you’re drawing.
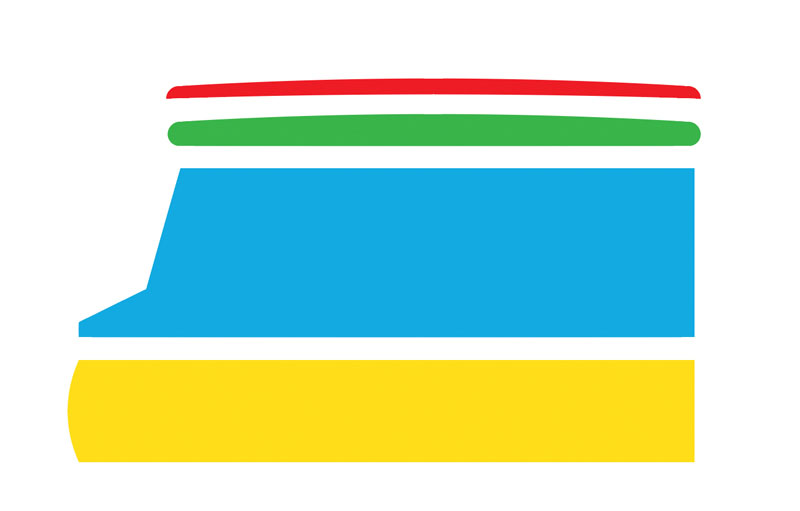
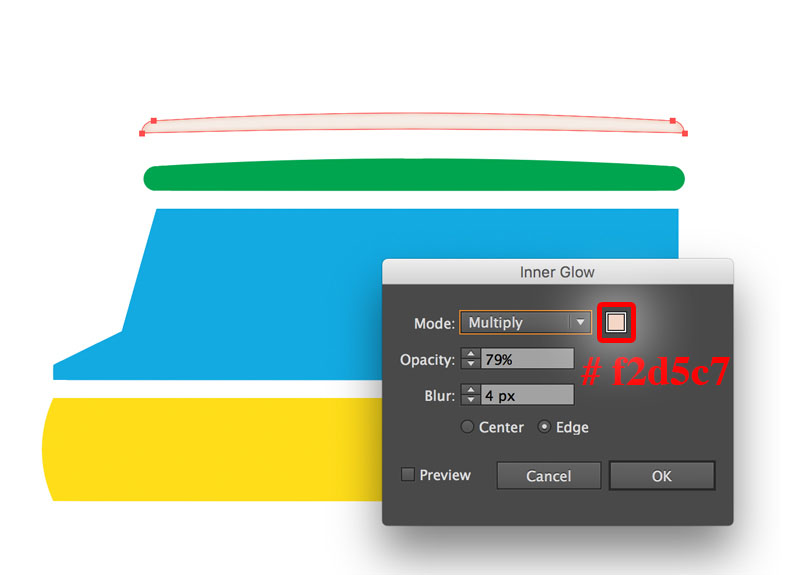
Keep this red shape selected and fill it with color #f4eae3, then go to Effect > Style > Inner Glow, enter the properties shown in the following image and then click the OK button.
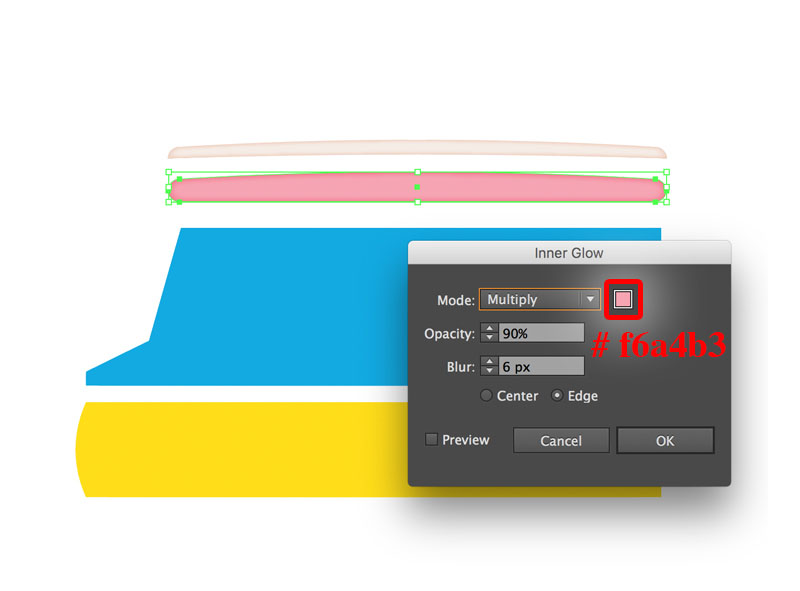
Now select the green shape and fill it with color #f6a4b3, then go to Effect > Style > Inner Glow, enter the properties shown in the following image and then click the OK button.
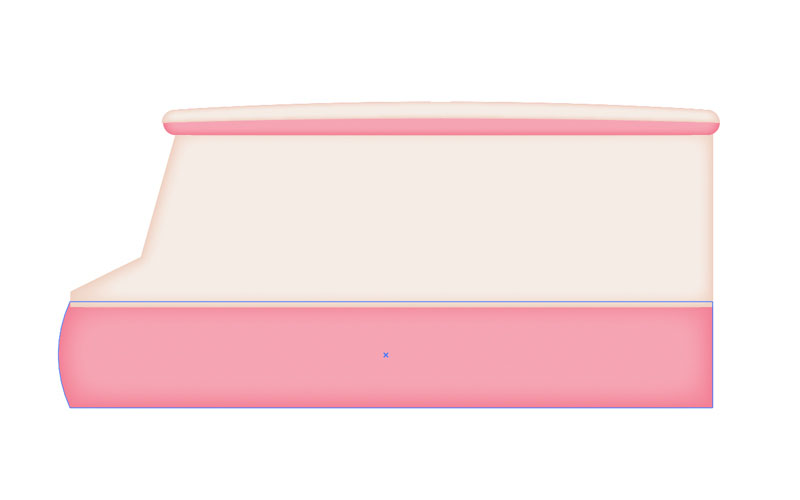
Now we apply this techniques for the rest of food truck shape.
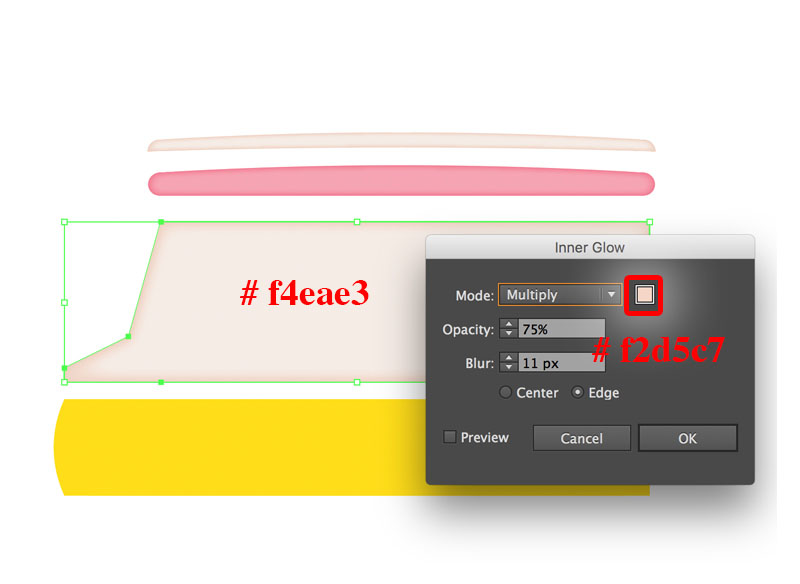
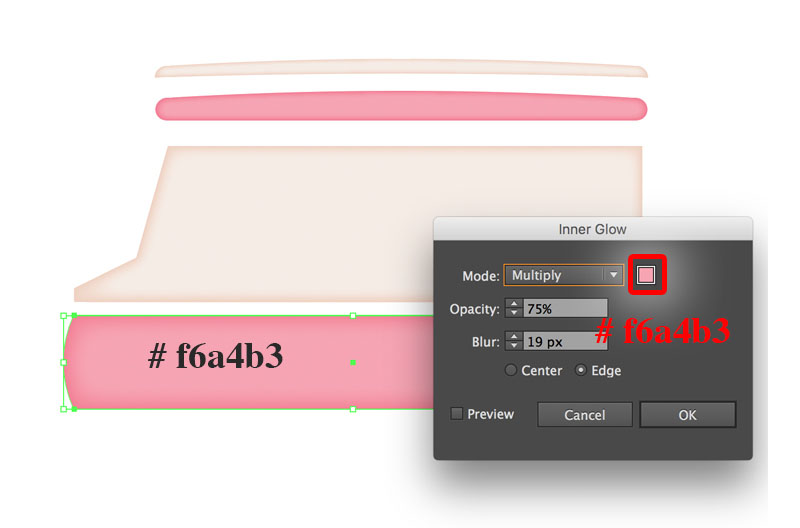
The resulting object should look like the last image below.
Step 2
We’ll be adding more details to the truck.
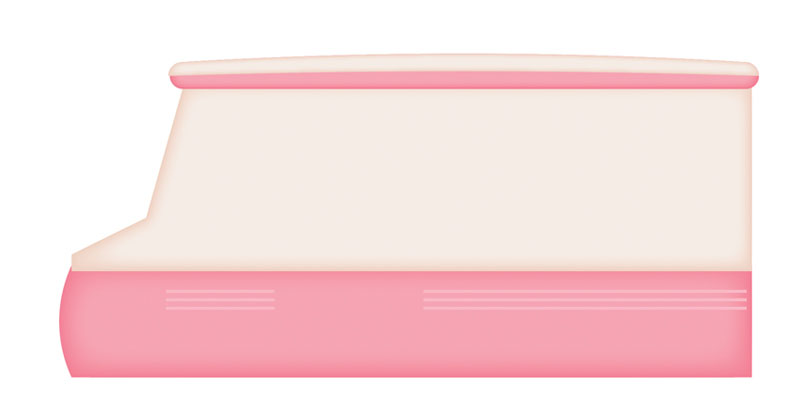
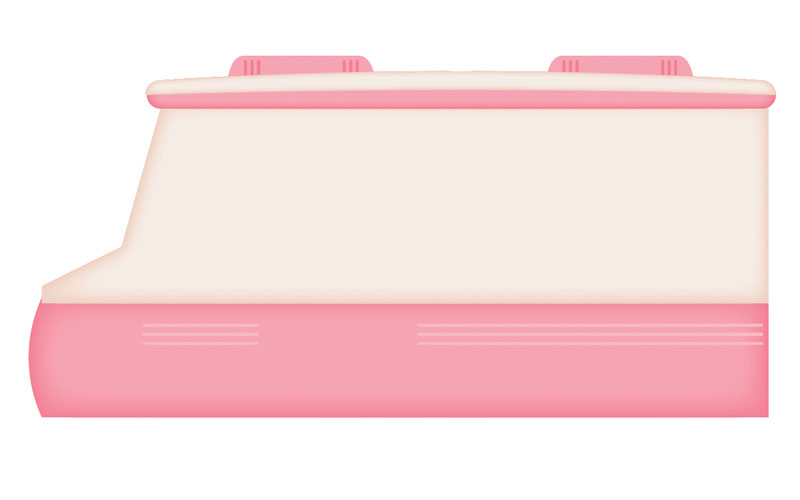
With the help of the Rectangle Tool (M), create six rectangles and then place them in the positions shown the last image below.
Fill them with color #f8b9c4.
Next, with the help of the Pen Tool (P), create two red and yellow shapes as you see in this image below.
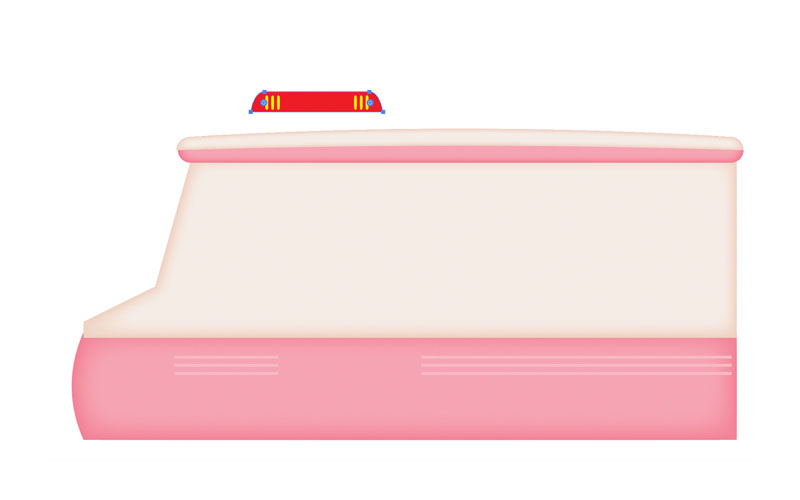
Fill the red shape with color #f6a4b3 and #f37f93 for the yellow shape. Select and group (Ctrl + G) the newly created shapes, and make a copy (Ctrl +C, Ctrl +F). At this point your food truck should look like this:
Step 3
Pick the Rounded Rectangle Tool(M) and create light, fill it with color #f3ab54. Make sure that the newly created rectangle is still selected, then go to Effect > Stylize > Inner Glow.
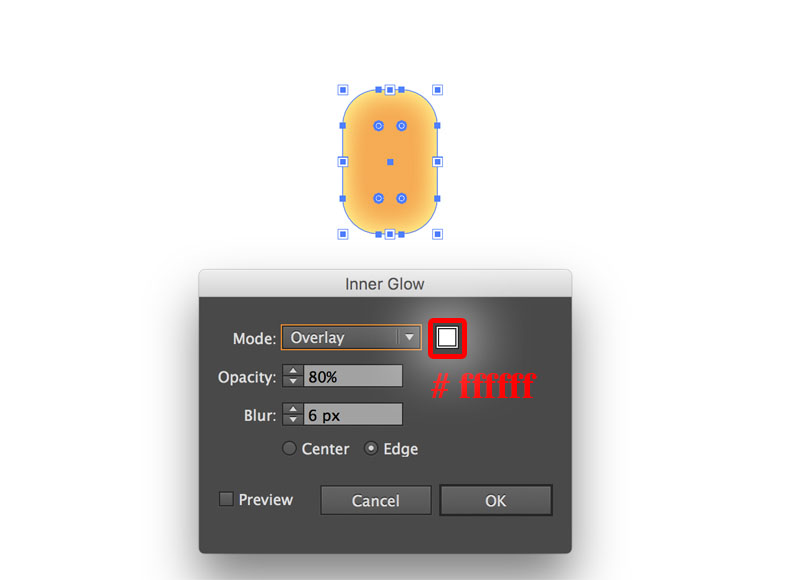
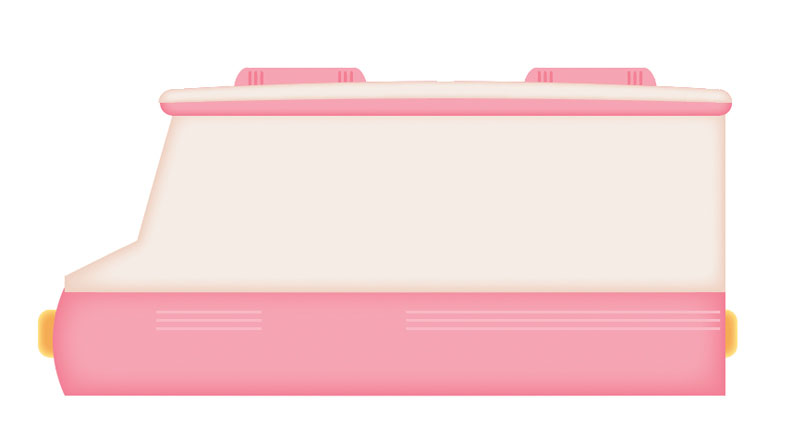
With the shape still selected, make a copy (Ctrl +C, Ctrl +F). Then place it behind the food truck, go to Object > Arrange > Send to Back.
Step 4
Pick the Pen tool (P) to draw the window shape, fill it with color #d0d0d0. Make sure that the newly created rectangle is still selected, then go to Effect > Stylize > Inner Glow.
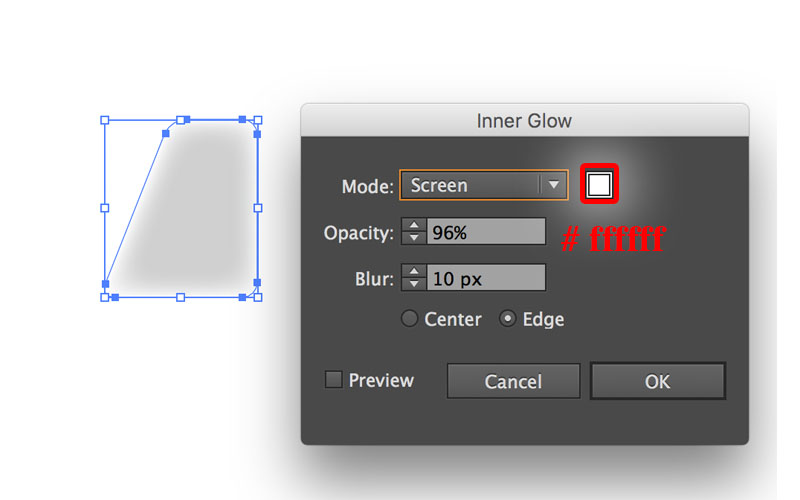
Pick again the Pen tool (P) to draw the border, make sure that no fill is selected, then apply a 4pt stroke with color #acadae. Place the border in front of the window shape.
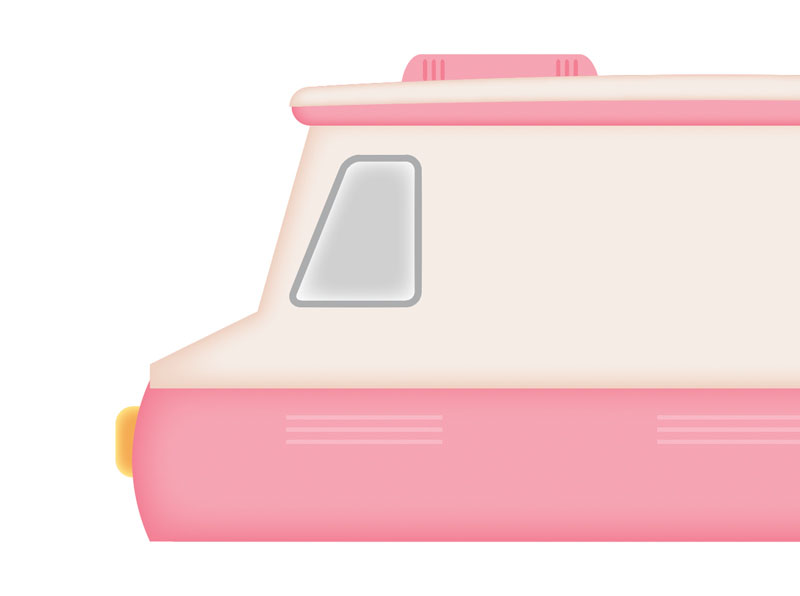
Step 5
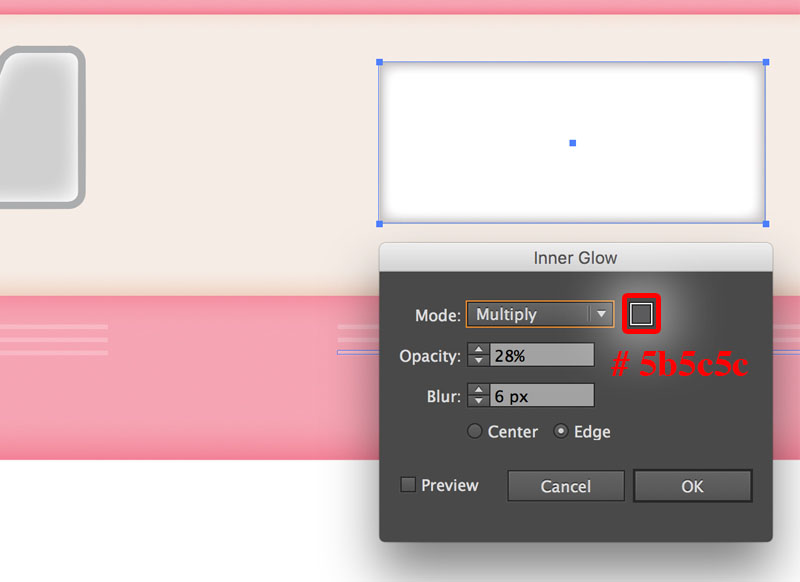
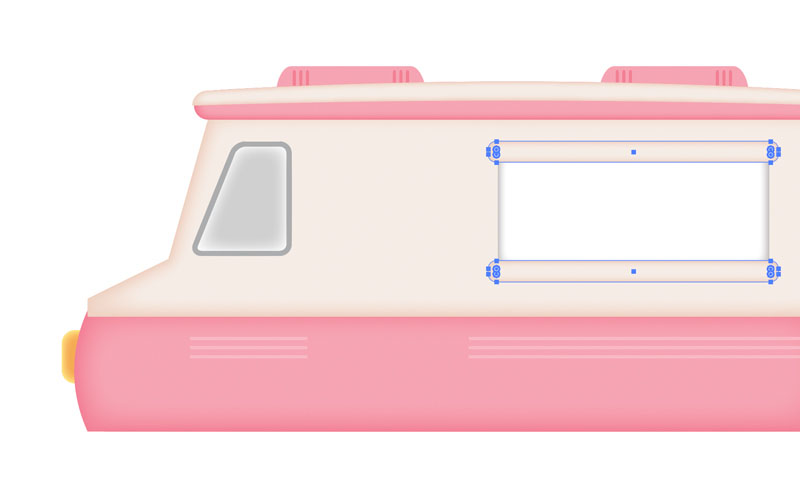
Pick the Rectangle Tool(M) create a 197 by 82px shape and fill it with white color. Make sure that the newly created rectangle is still selected, then go to Effect > Stylize > Inner Glow.
Pick the Rounded Rectangle Tool(M) create a 211 by 15px shape and fill it with color #f4eae3. Make sure that the newly created rectangle is still selected, then go to Effect > Stylize > Inner Glow.
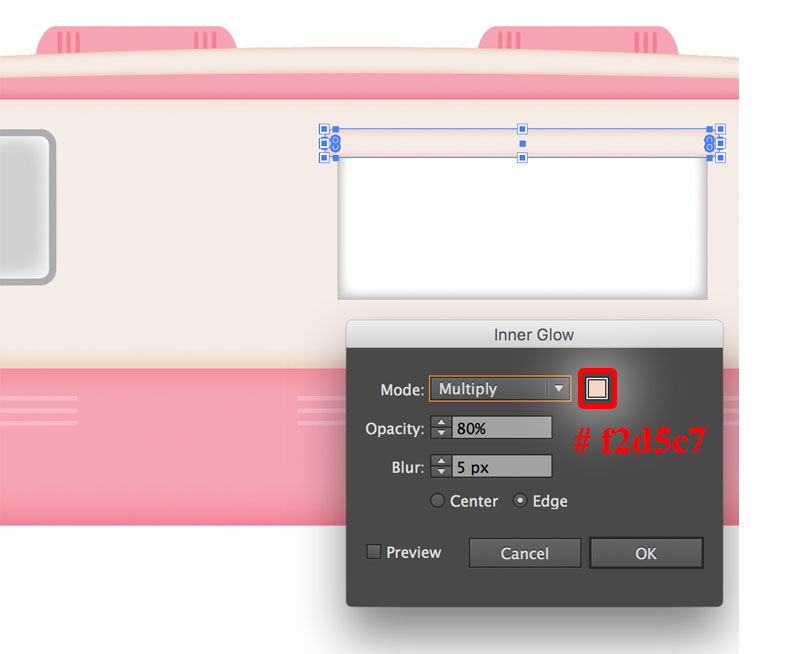
Make a copy of this shape (Control + C , Control + F), and place the copy in the position shown in the below image.
Step 6
With the help of the Pen Tool (P), create an object as you see in the below image. Then make a copy (Ctrl +C, Ctrl +F) of it.
Fill the first one with color #f6a4b3, and fill the second one with color #a0d9d3.
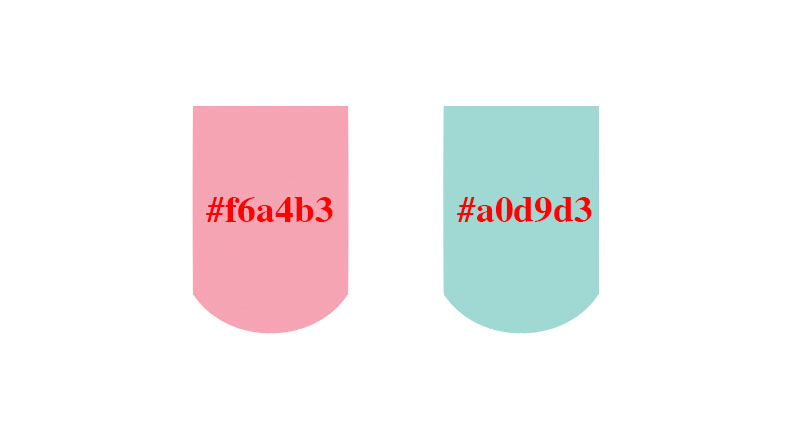
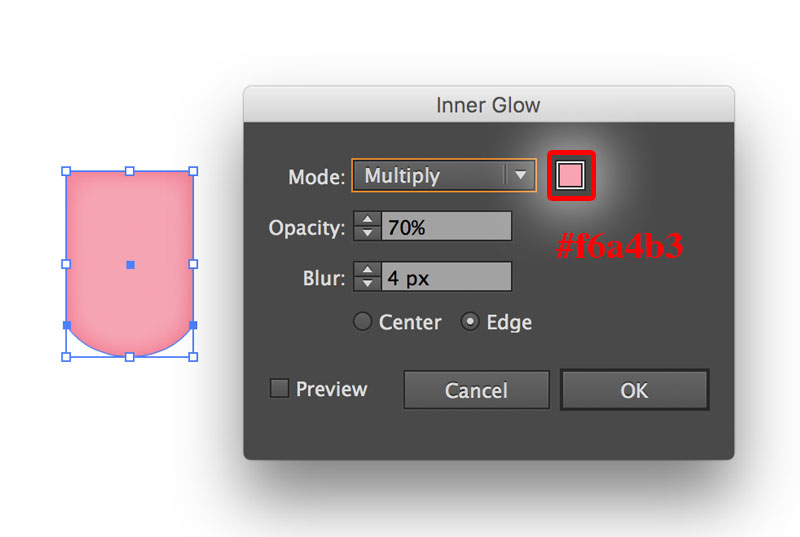
With the first shape still selected, go to Effect > Stylize > Inner Glow.
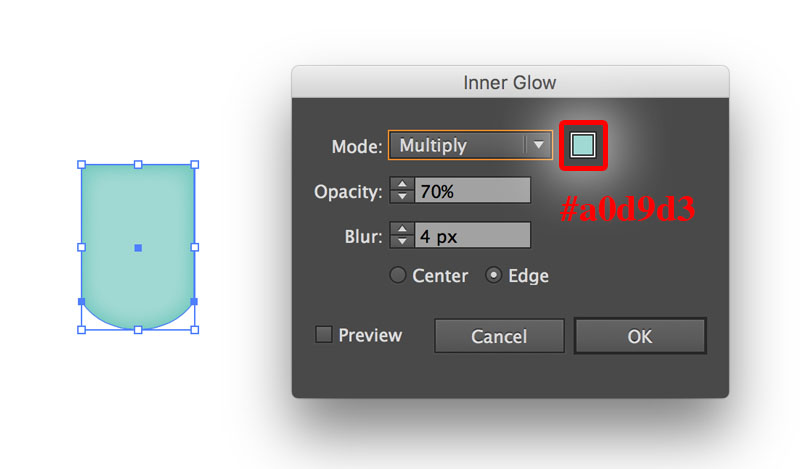
Repeat the previous step for the second one.
Make a copy (Ctrl +C, Ctrl +F) of the newly created shapes, then place them in the correct position as you see in the image below.
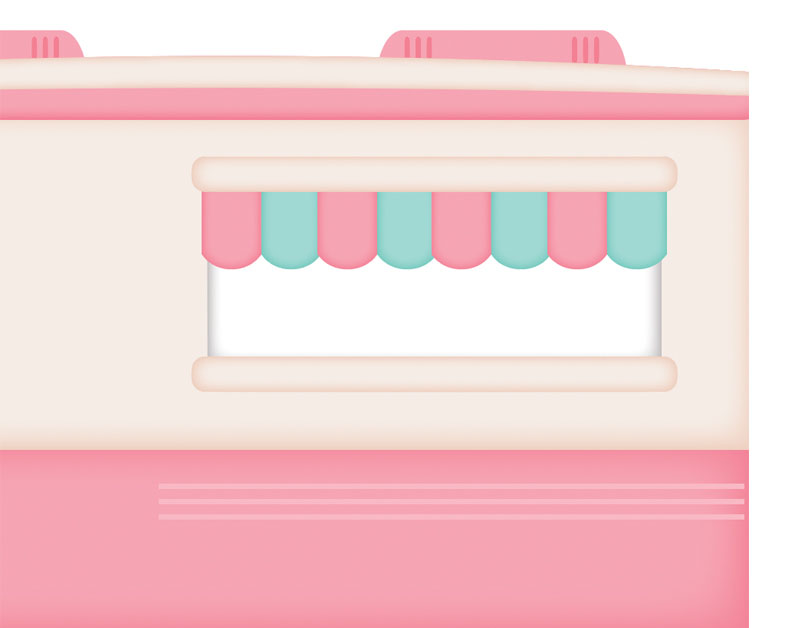
Step 7
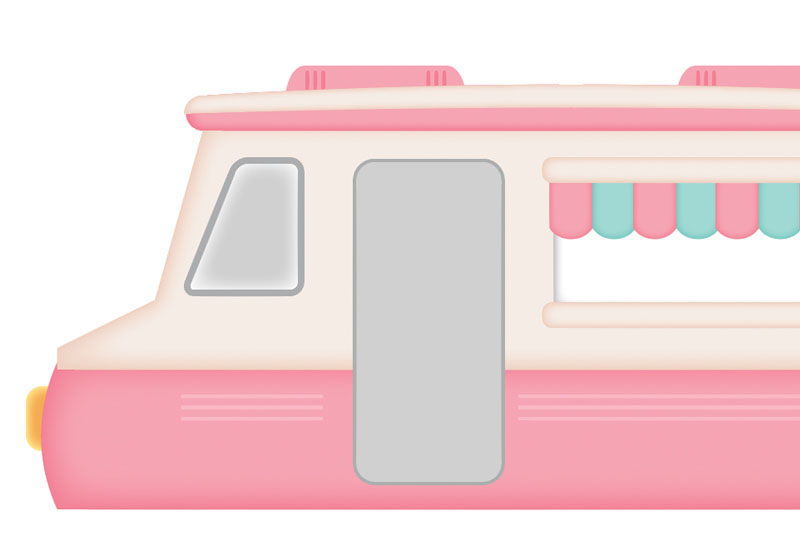
Next comes the entrance door. Pick the Rectangle Tool (M) and create an 89 by 194px rectangle, fill it with color #d0d0d0, then change the stroke weight of it to 2px, fill the Stroke with color #adadae, then place it in the correct position as shown below.
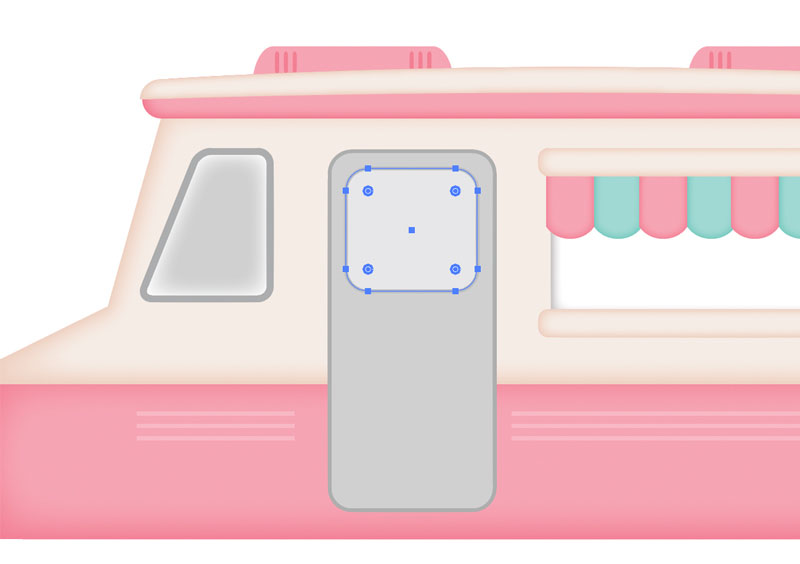
With the help of the Rounded Rectangle Tool (M) and create a 71 by 66px rectangle, fill it with color #e6e7e8, then change the stroke weight of it to 2px, fill the Stroke with color #bcbec0, then place it in the correct position as shown below.
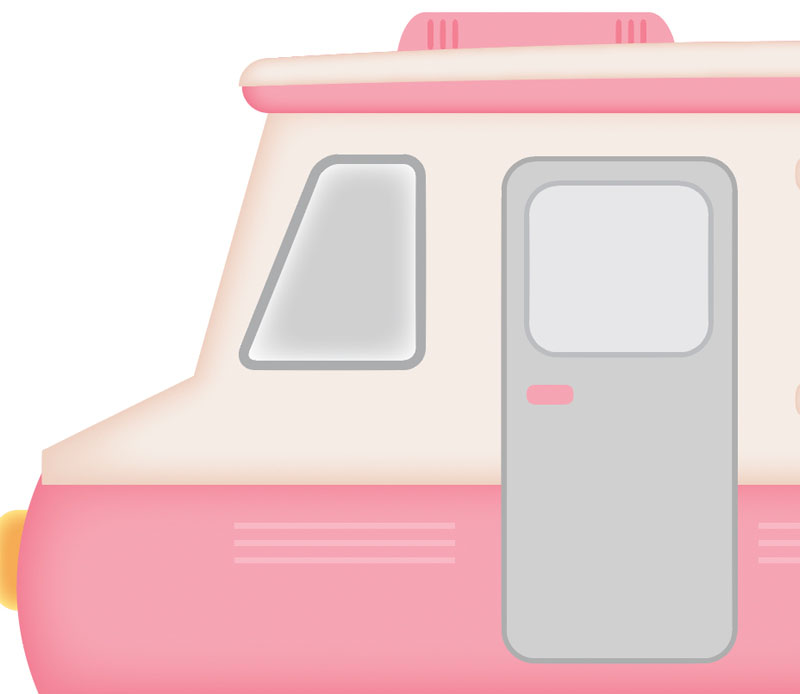
Finally, with the help of the Rounded Rectangle Tool (M) create an 18 by 7px rectangle, fill it with color #f6a4b3.
Step 8
It’s time to draw the wheels. Pick the Ellipse Tool (L) and create an 89 by 89px ellipse, fill it with color #6d6e71. Make sure that the newly created shape is still selected, then go to Effect > Stylize > Inner Glow.
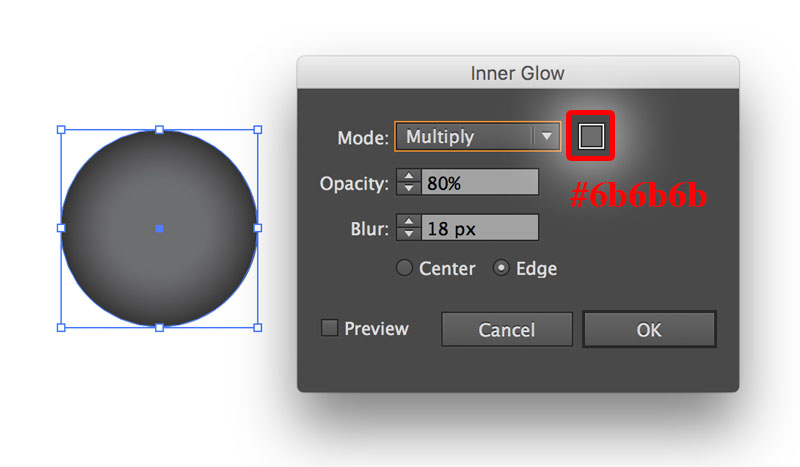
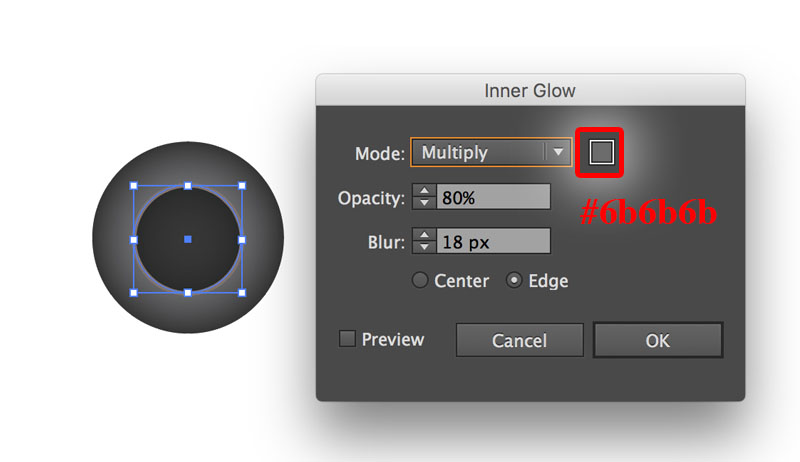
With the help of the Ellipse Tool (L) create a second circle with 50 by 50px ellipse, fill it with color #424040, then change the stroke weight of it to 2px, fill the Stroke with color #f2d5c7.
Make sure that the newly created shape is still selected, then go to Effect > Stylize > Inner Glow, then place it in the correct position as shown below.
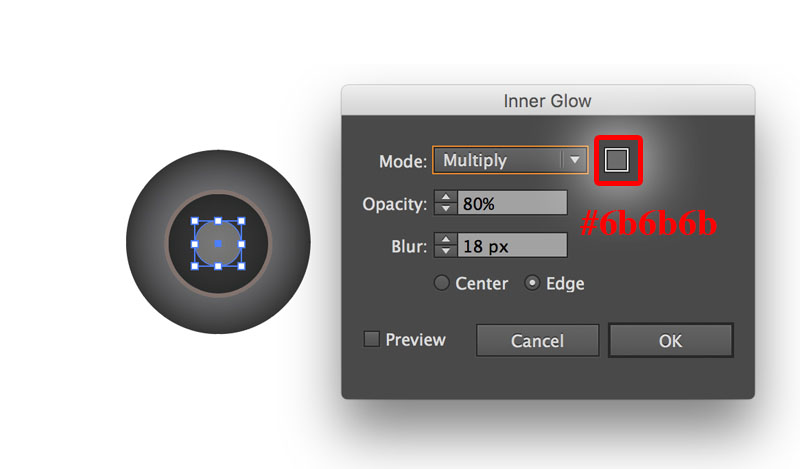
With the help of the Ellipse Tool (L) create a third circle with 22 by 22px ellipse, fill it with color #d0d0d0.
Make sure that the newly created shape is still selected, then go to Effect > Stylize > Inner Glow, then place it in the correct position as shown below.
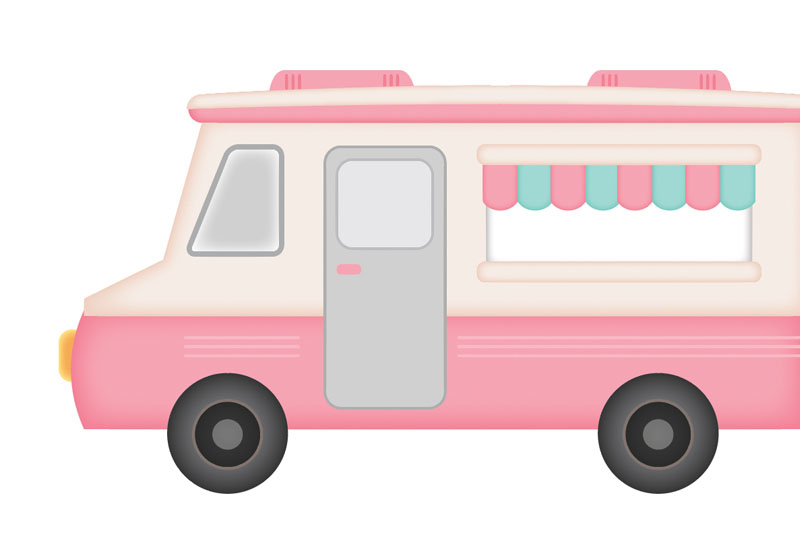
Now reselect and group (Ctrl +G) the three newly created ellipses and make a copy (Ctrl +C, Ctrl +F) , then place it in the correct position as shown below.
Step 8
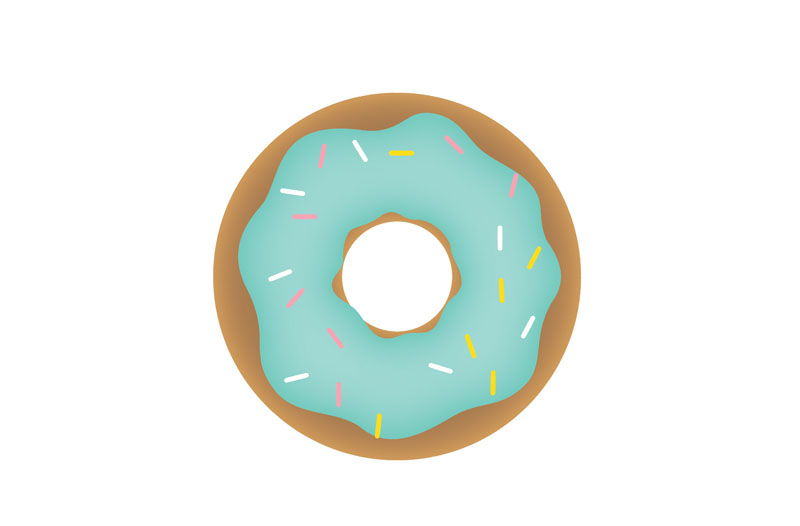
It’s time to create a basic donut. Pick the Ellipse Tool (L) and create 2 ellipses and place them as shown below. Open the Pathfinder palette (Window > Pathfinder) and click on the Minus Front button.
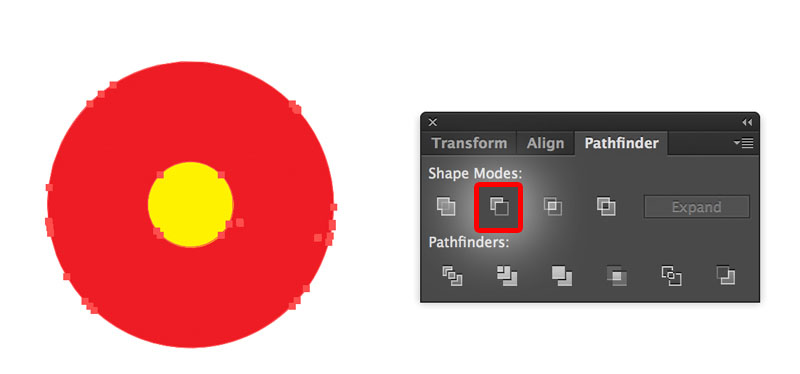
This is how it should look.
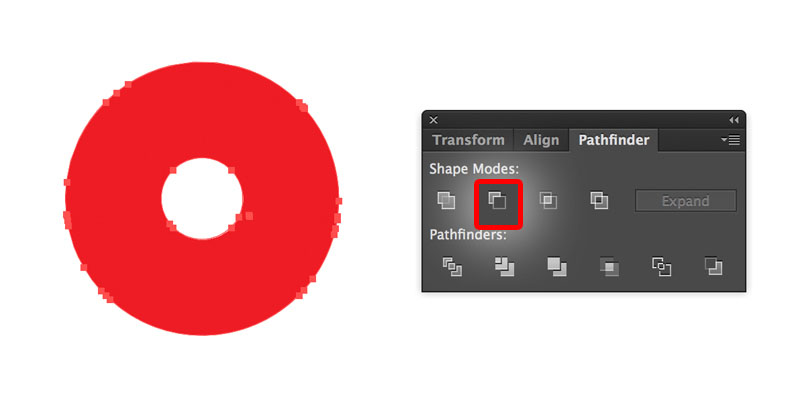
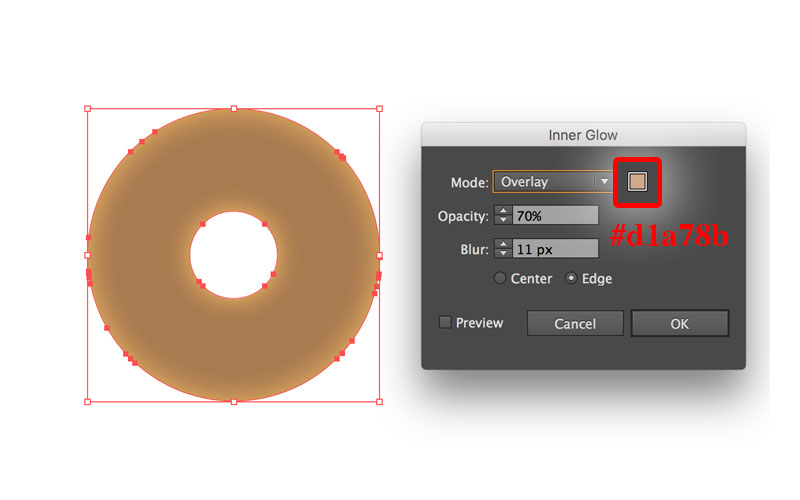
Fill it with color #a97c50. Make sure that the newly created shape is still selected, then go to Effect > Stylize > Inner Glow.
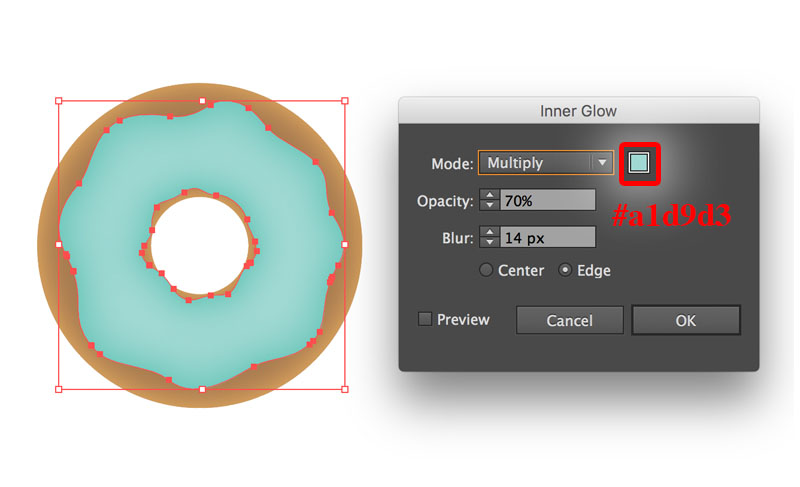
Pick the Pen tool (P) to draw the icing shape, fill it with color #a0d9d3. Make sure that the newly created shaped is still selected, then go to Effect > Stylize > Inner Glow.
With the help of the Rounded Rectangle Tool (M), you can create some basic shapes as sprinkles, you can fill any color for the shapes to create different colored sprinkles.
Make a copy (Ctrl +C, Ctrl +F) of the donut. Change the color #f6a4b3 for icing shape and sprinkles.
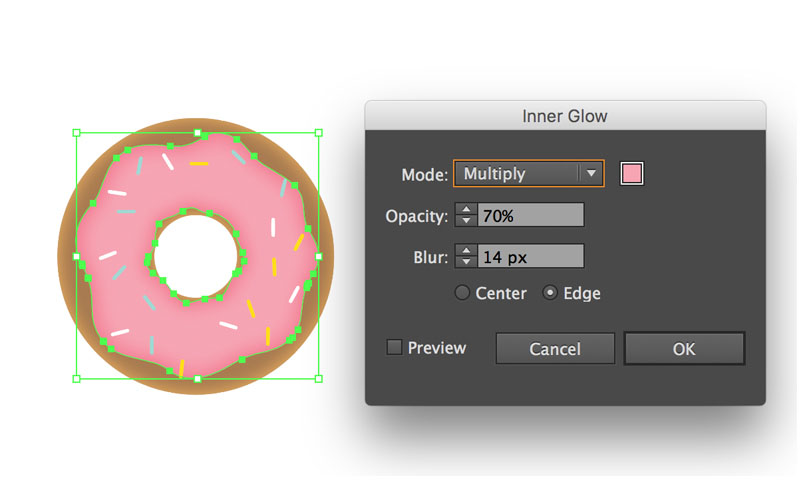
Here is my result.
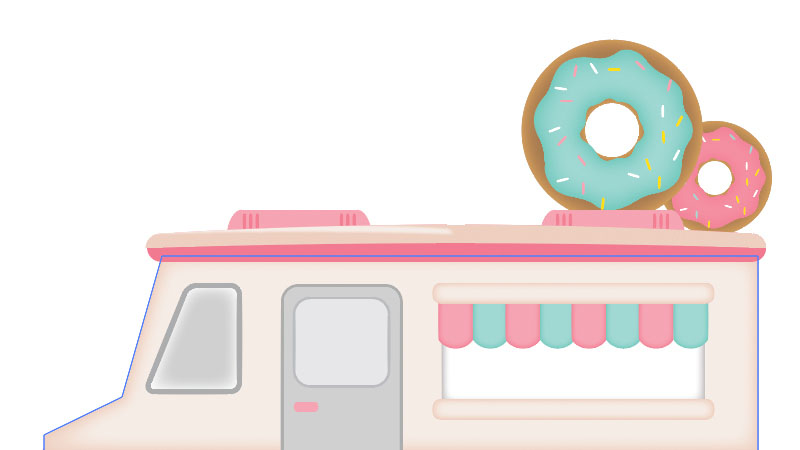
Step 9
It’s time to add shadow for the truck. Pick the Ellipse Tool (L) and create an ellipse and place it as shown below. Fill it with color #000000. Make sure that the newly created shape is still selected, then go to Effect > Blur > Gaussian blur.
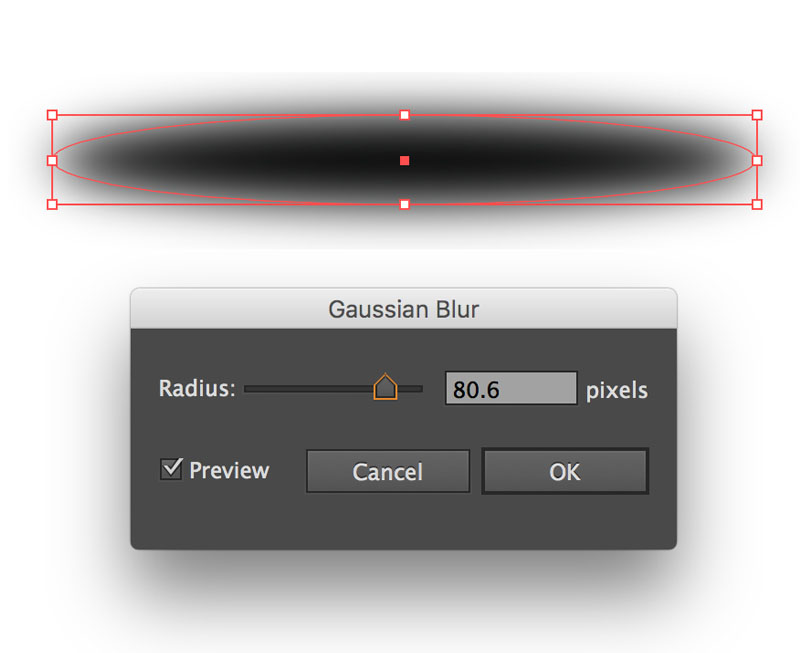
Then lower the Opacity = 40%
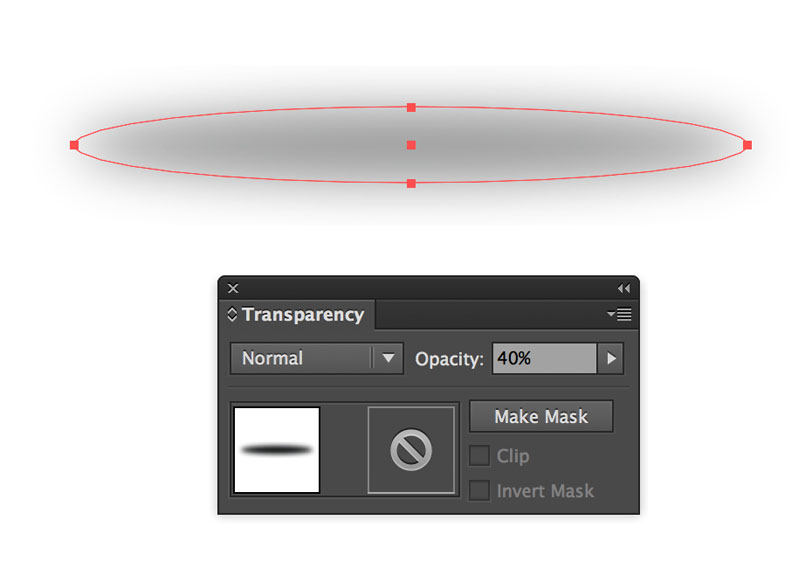
Here is my result.
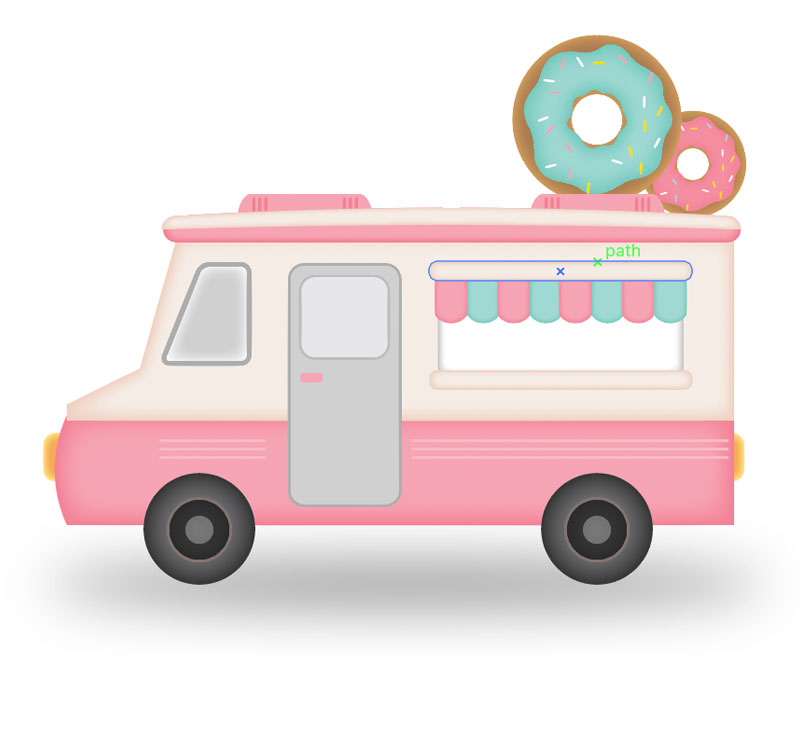
Step 10
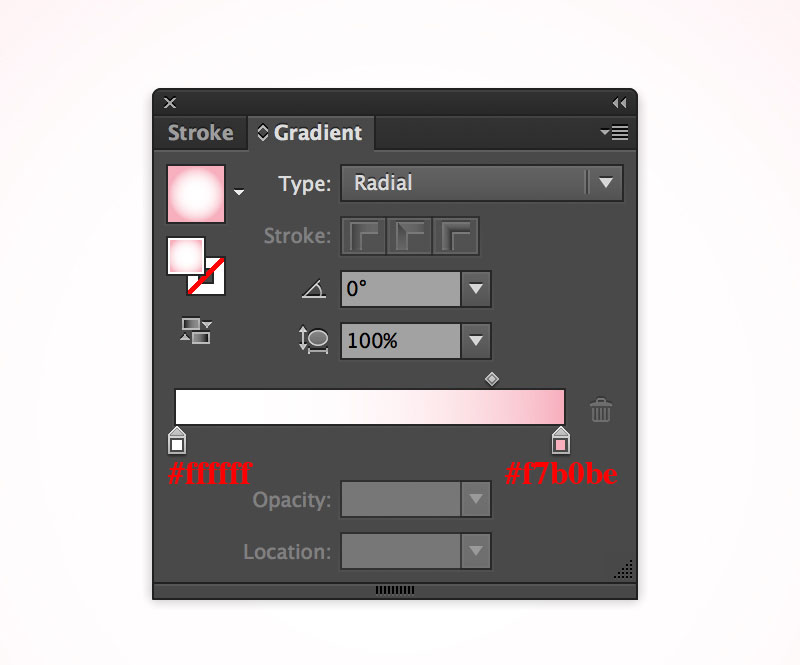
Create the background. Take the Rectangle Tool (M) and draw a rectangle and fill it with this gradient.
And we’re done
