In this tutorial you will learn how to use envelope distort with warp in adobe illustrator.
We’ll talk about all the methods of deformation of objects used in Illustrator with the help of the Envelope Distort feature. Hopefully, this tutorial will broaden your options and will save you plenty of time in the future.
Final Image

Tutorial Details
- Program: Adobe Illustrator CS3 – CS5
- Estimated Completion Time: 30 minutes
- Difficulty: Beginner
Envelope Distort with Warp
To demonstrate this feature, let’s create a rectangle filled with a random color.
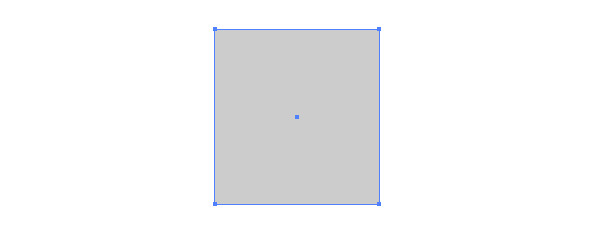
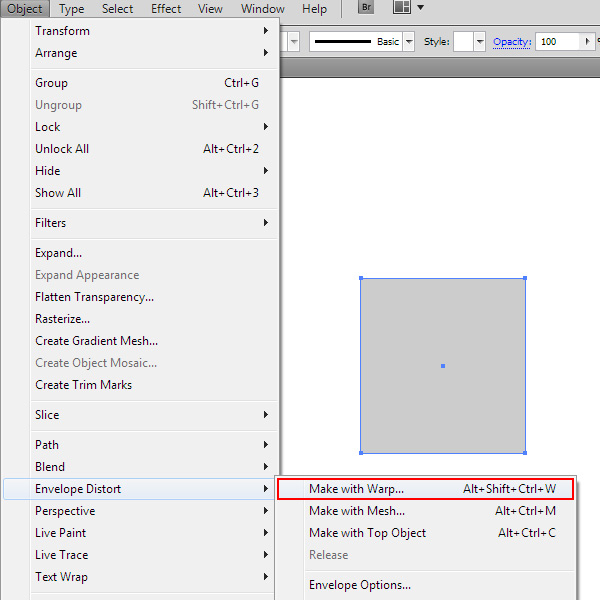
Select the rectangle, then go to Object > Envelope Distort > Make with Warp….
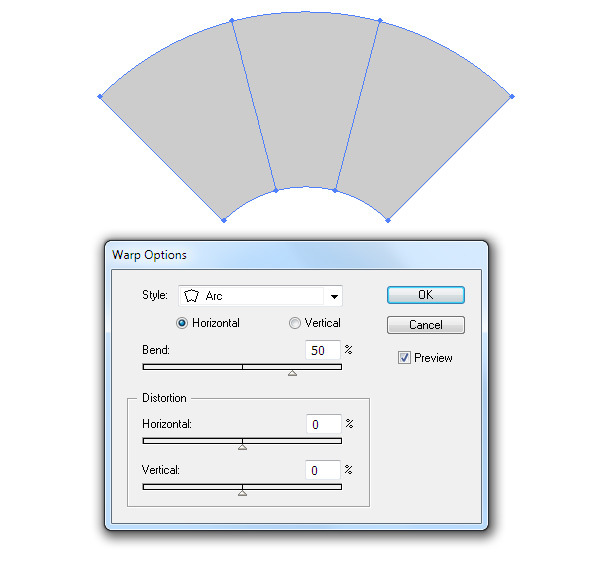
As a result of these actions, the Warp Options dialog box opens, where you can select the type of effect and set its parameters. Tick the “Preview” option to watch the changes that occur with the object.
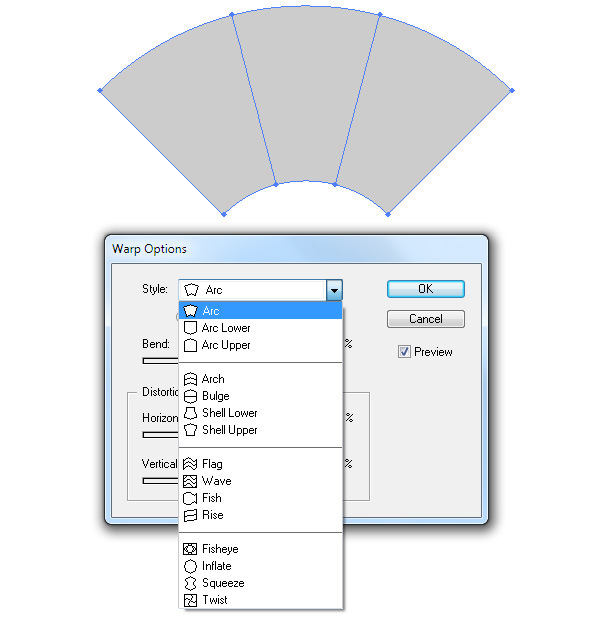
Adobe Illustrator has a total of 15 styles of distortion that you can choose from in the drop-down menu.
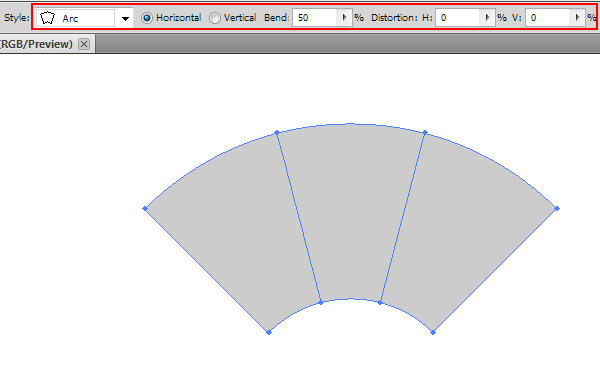
After applying the command Make with Warp… we have the access to the distortion parameters on the Control panel as long as you choose the Edit Envelope mode.
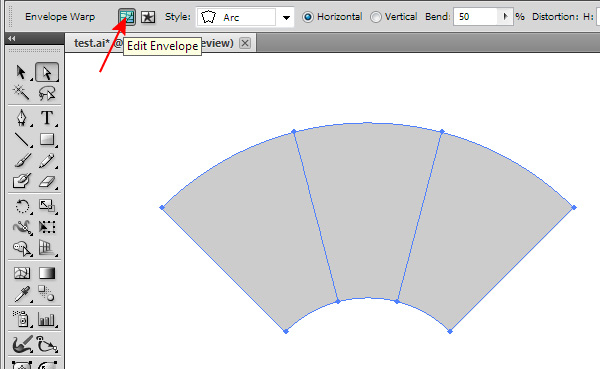
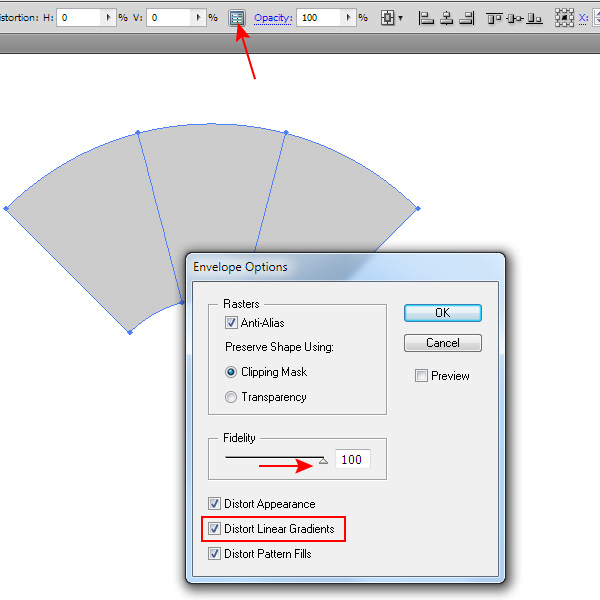
By clicking on the Envelope Options button, you get access to all the commands that are in the Envelope Distort group. In the open dialog box, tick Distort Linear Gradient and set 100 for the Fidelity parameter. This parameter corresponds to the quality of gradient distortion.
To edit the source object, for example to change its fill, we need to enable the Edit Contents mode.
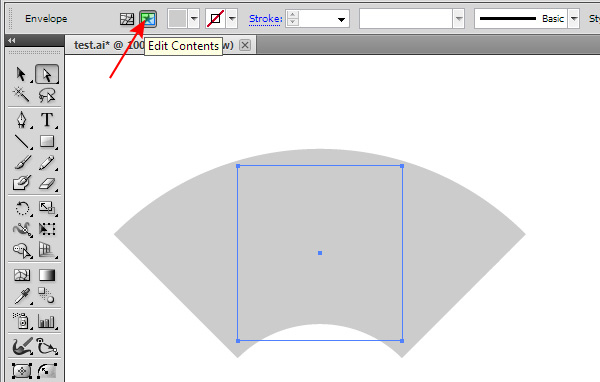
Now let’s fill the rectangle with a linear gradient. As you can see, the gradient has also deformed according to the chosen style of distortion. This property of the Envelope Distort allows us to obtain gradients of any shape. In this example, we got a conical gradient.
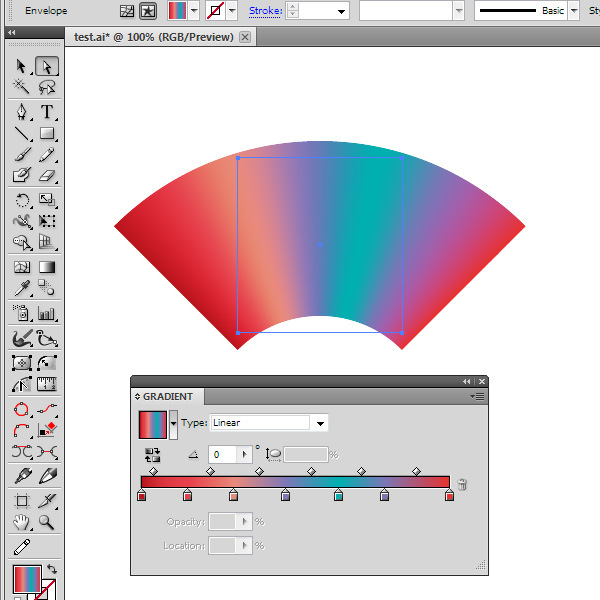
Now let’s switch back to the Edit Envelope mode.
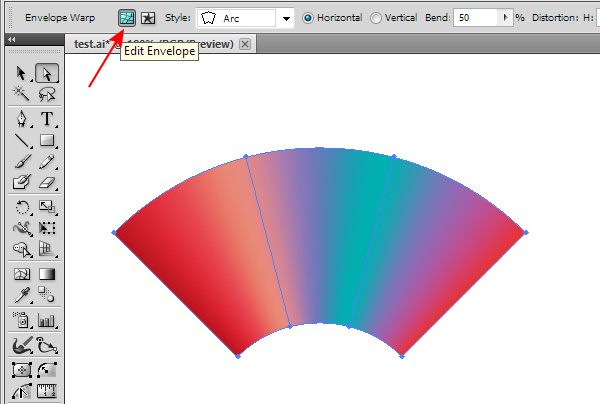
Container or envelope in which there is an object represents a Gradient Mesh. This allows us to edit its mesh points with the Direction Tool (A); at the same time the gradient fill will also be distorted.
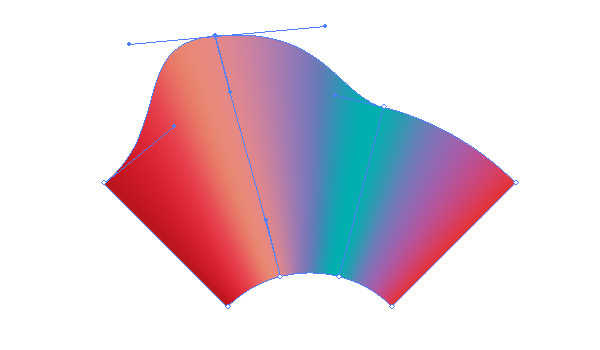
For various reasons, you may need to convert the envelope object into a simpler vector object. Such a requirement, for example, is known to the contributors of microstock websites. Select the envelope object, then go to Object > Expand or Object > Envelope Distort > Expand.
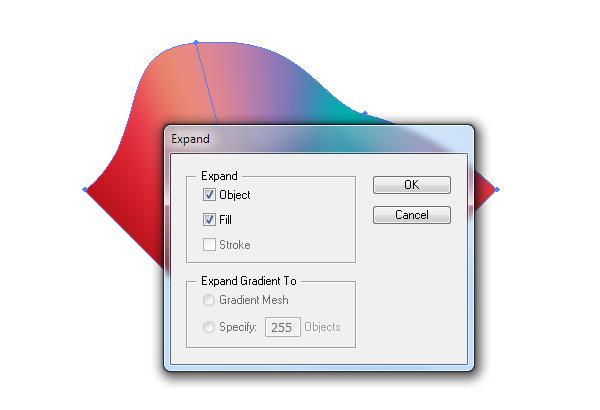
As a result, we got a couple of groups and Clipping path.
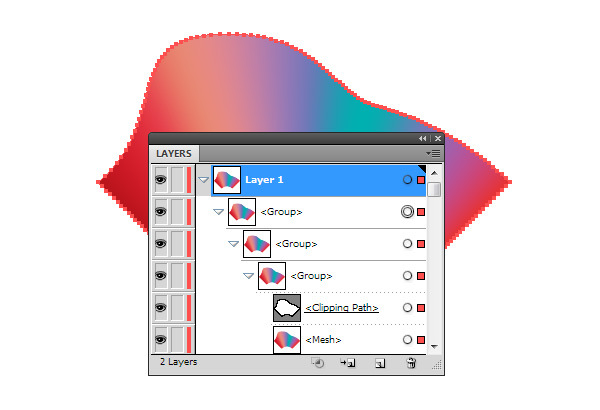
We don’t need such a complex structure, so go to Object > Clipping Mask > Release, then to Object > Path > Clean Up….
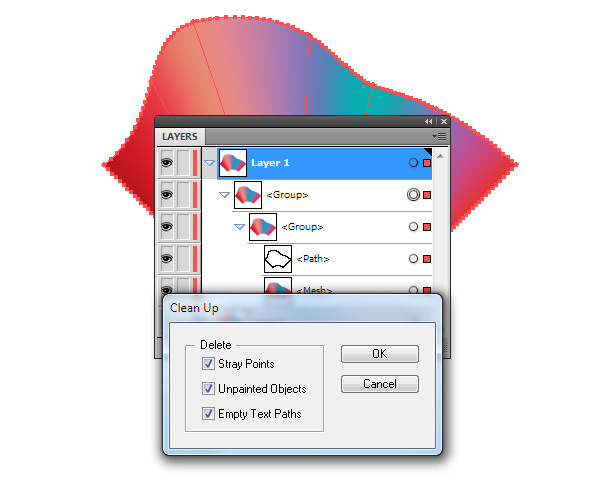
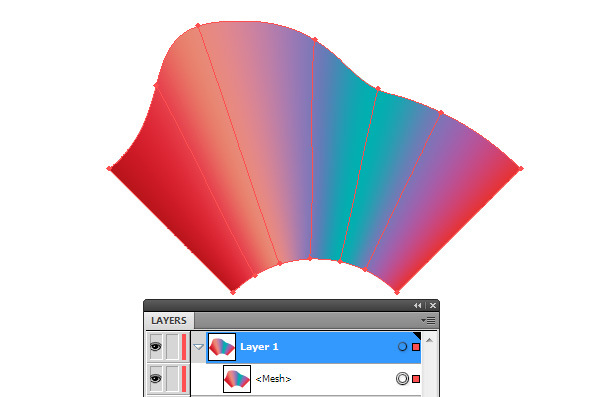
Now ungroup the resulting object two times (Cmd / Ctrl Shift G twice). As you can see, we have got a simple gradient mesh.
In case of conversion of the object with solid color we will obtain a group with one vector object, which will have an excessive amount of extra points.
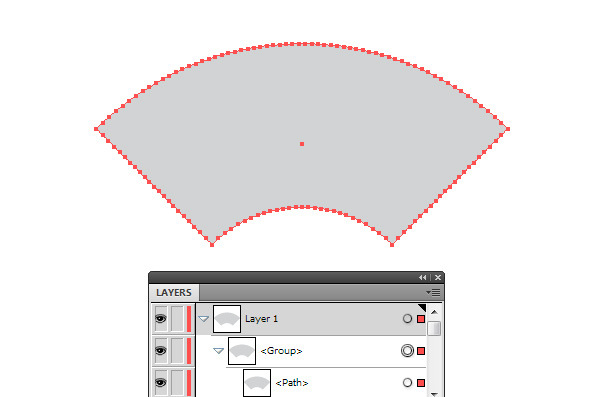
Please memorize this unpleasant feature; we will soon get back to this.
Warp Effects
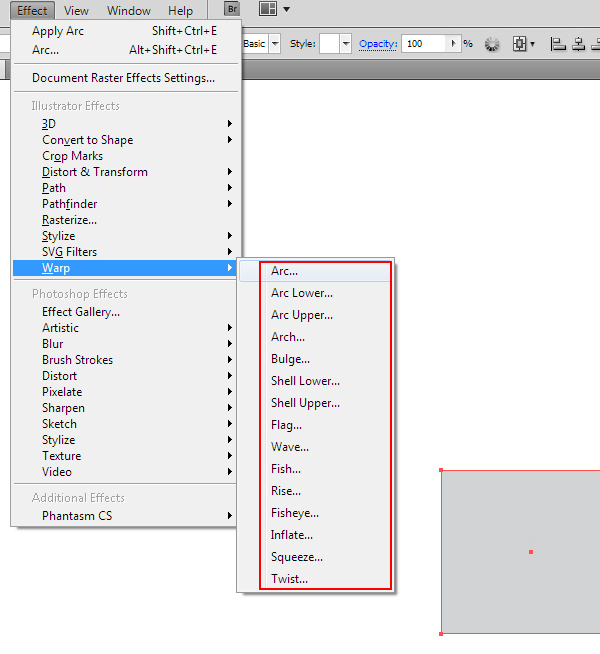
Warp Effects in Adobe Illustrator have the same styles as the Make with Warp command. To apply these effects, go to Effect > Warp > ….
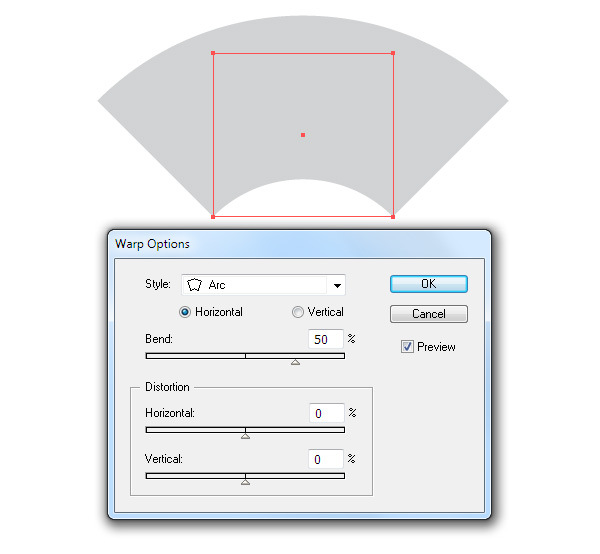
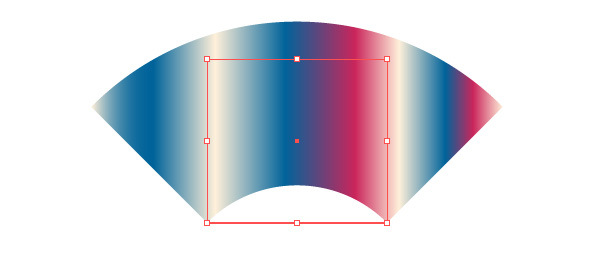
However, there are two fundamental differences between the effect and a similar command. First, if we apply to the shape distorted by the effect a linear gradient, we will see that it cannot be distorted. If you want to distort the gradient fill, then use the Make with Warp command (Object > Envelope Distort > Make with Warp …).
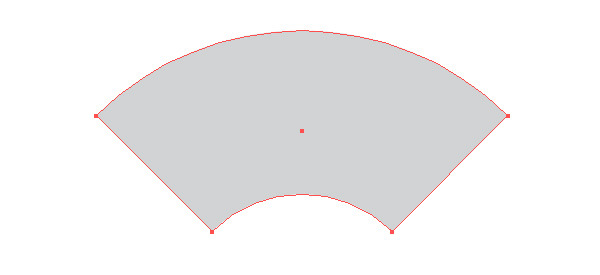
Second, after applying the command Object > Expand we will not get extra points which is an advantage of using this effect.
Envelope Distort with Mesh
To apply this command to the object go to Object > Envelope Distort > Make with Mesh….
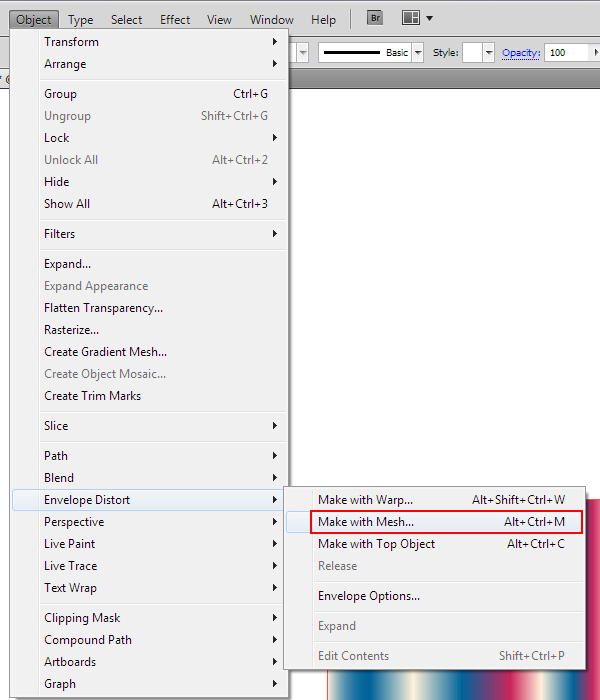
Now set the number of columns and rows in the open dialog box. I believe that the amount of cells should not be large, in order not to complicate the process of further editing. You can always add more mesh points with the help of the Mesh Tool (U).
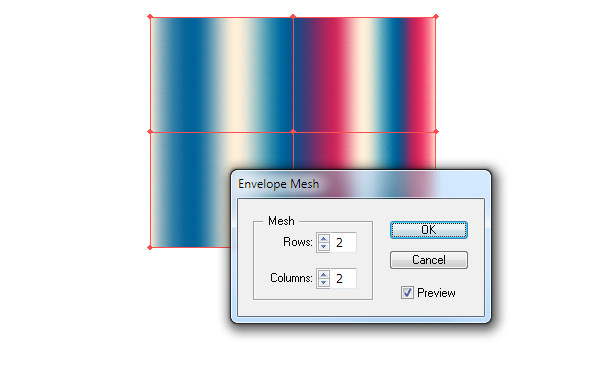
To create the desired shape, we need to move the mesh points, and manage their handles with the help of the Direct Selection Tool (A).
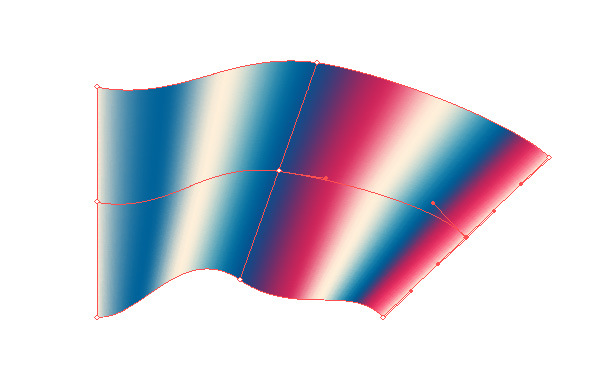
If the attempt fails, go to Object > Envelope Distort > Release. As a result of this action, we will get an undistorted original object and the gradient mesh with grey filling.
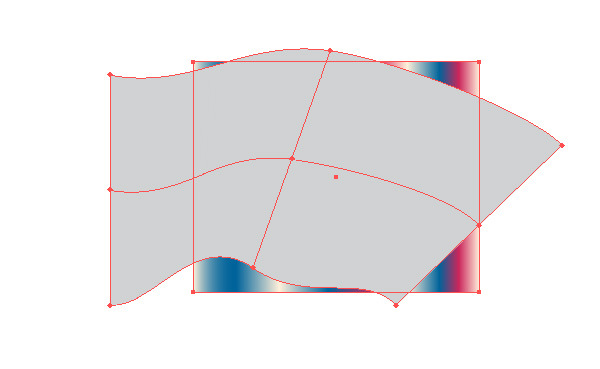
Delete the gradient mesh and try again. By the way, the command Object > Envelope Distort > Release works on a similar principle with all the commands of the Envelope Distort.
Envelope Distort with Top Object
Let’s create a text object with the help of the Type Tool (T) and an arbitrary shape using the Pen Tool (P). This object of grey color should necessarily lie above the text object; otherwise the focus fails.
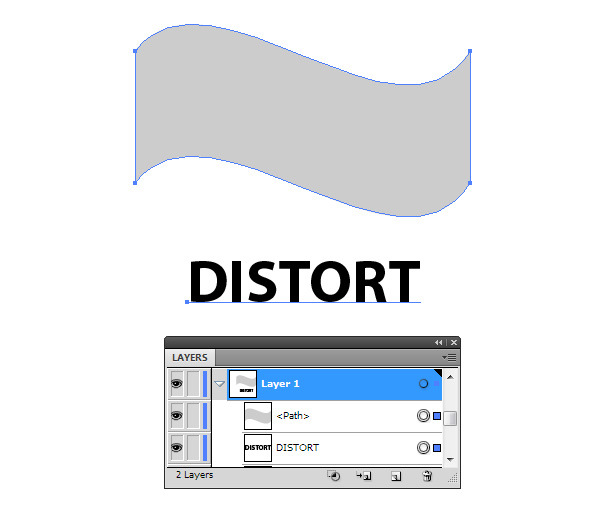
Select both objects, then go to Object > Envelope Distort > Make with Top Object.
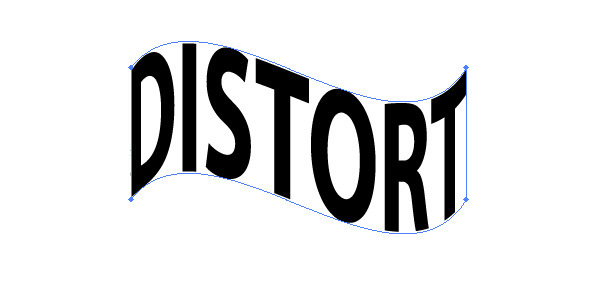
Note that the text object remains editable.
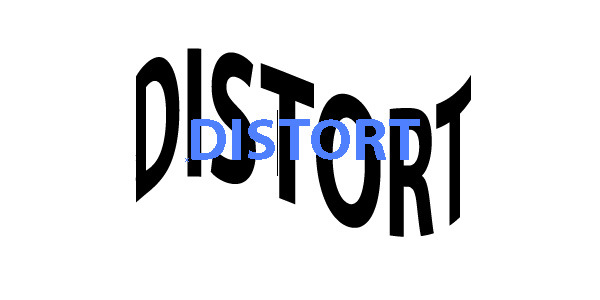
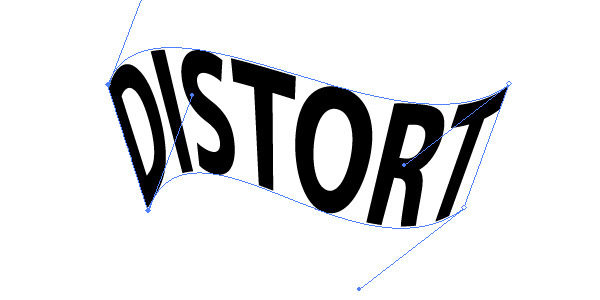
In addition, you will be able to edit the nodes of the container which, as it is in all cases, is a gradient mesh.
I used the Envelope Distort with Mesh to create the northern lights effect.

Now understanding the nature of the Envelope Distort in Illustrator, you can easily obtain the desired shape of objects, gradient fills, and text objects. See you next time!