In this tutorial I will show you how to create a cute Hipster Santa icon, using Adobe Illustrator. Hopefully you will learn some new tricks, let me know! Let`s start!
Final Image
![]()
Step 1
Using the Rectangle Tool (M) create a 600 x 260px rectangle and fill it with blue color #BAE5E1.
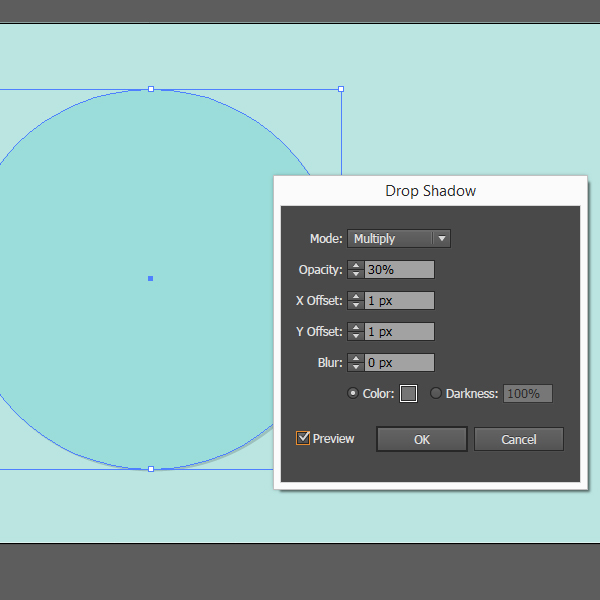
Take the Ellipse Tool (L) and create a 190 x 190px circle (#9BDDDA).
Go to Effects-Stylize-Drop shadow, make Opacity 30%, X Offset 1px, Y Offset 1px and click OK.

Step 2
Using the Ellipse Tool (L) create a 60 x 60px circle (fill #F2EFE4, stroke #655F70, 2pt stroke size) and with the Direct Selection Tool (A) selected, delete the upper point of the circle.

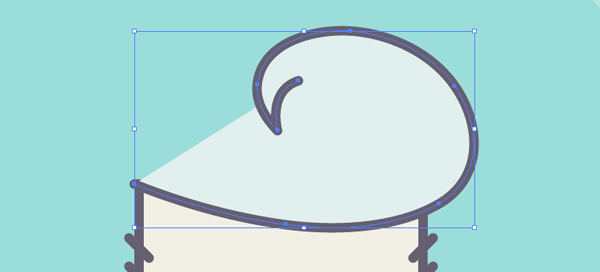
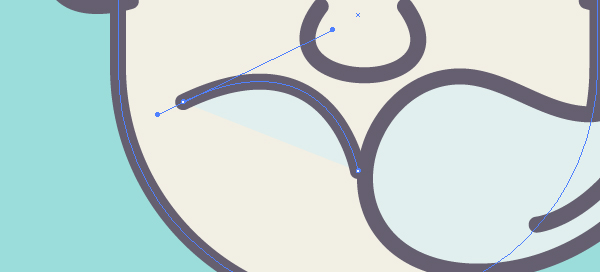
Now with the Pen Tool (P) selected draw a head about 40px high.

Using the Pen Tool create ears on each side of the head.
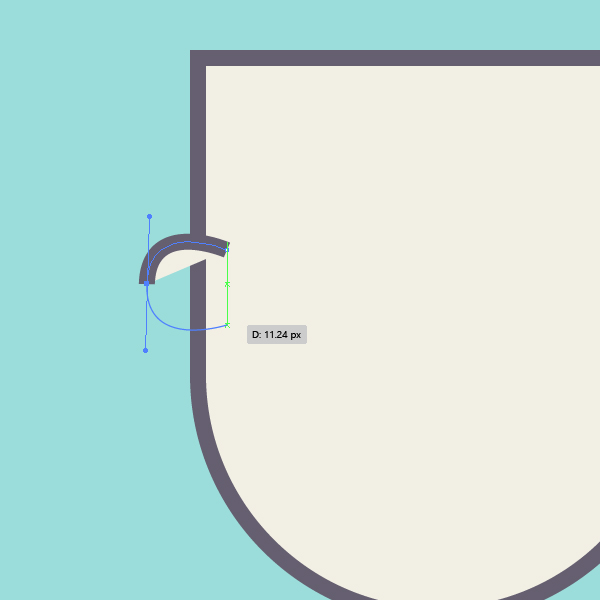
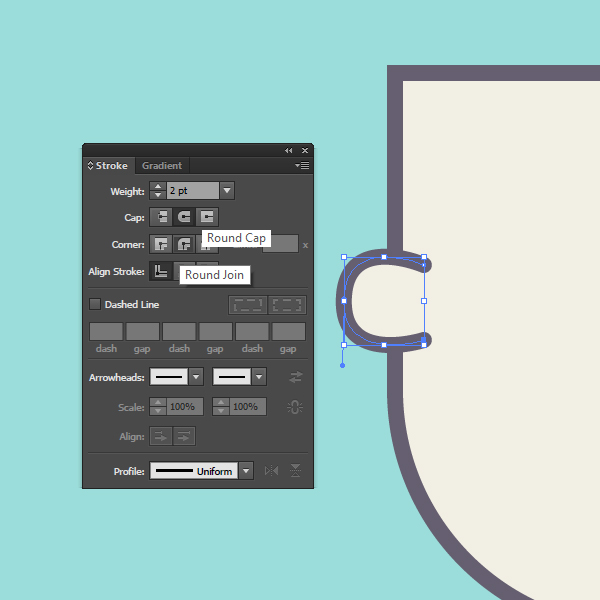
Open the Stroke Panel and choose Round Join and Round Cup. Use these settings in the next steps also. Do the same for the nose.

Using the Pen Tool create a line 6px long.
With the line selected, hold the Alt key and drag the line to the right to copy it. Ctrl+D until you have 6 lines.

Use them to create the eyes and hair lines.

Step 3
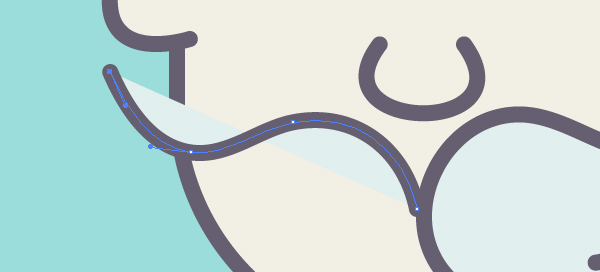
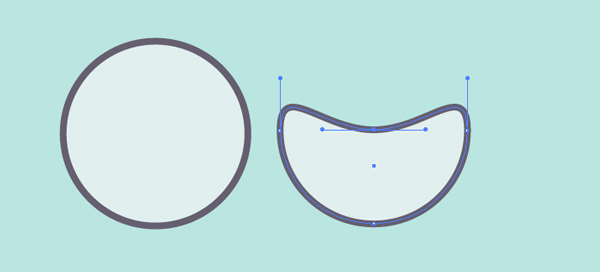
To create the hair, take the Pen Tool and first create a shape similar to this (fill #E1EFEE).
Hold Alt to control handlers, Shift to straighten out your point.
Create another shape and place it under the first one.
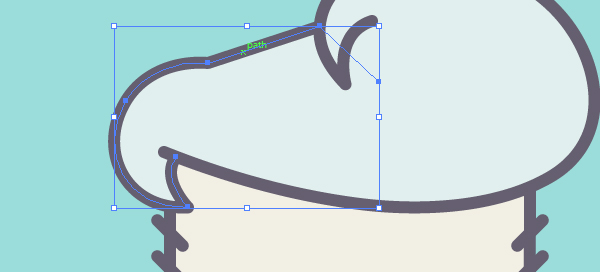
Add some details.

Step 4
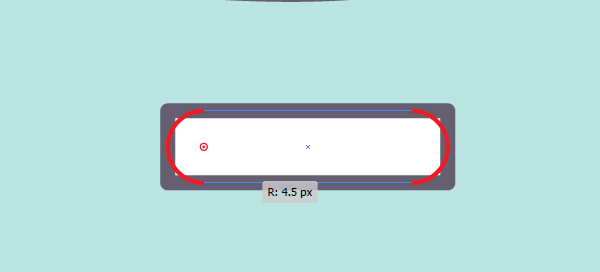
Let’s create a hat. Using the Rectangle Tool create a 35 x 9px rectangle (#FFFFFF) and with the Direct Selection Tool selected, round the corners.
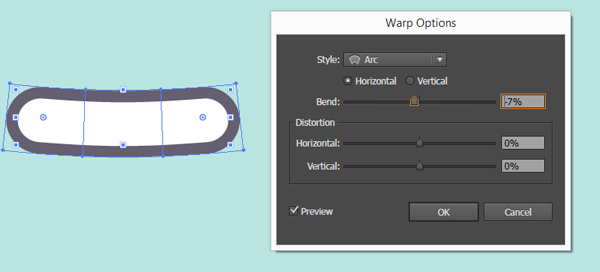
Go to Object – Envelope Distort – Make with Warp and select Bend / Horizontal / 7%.
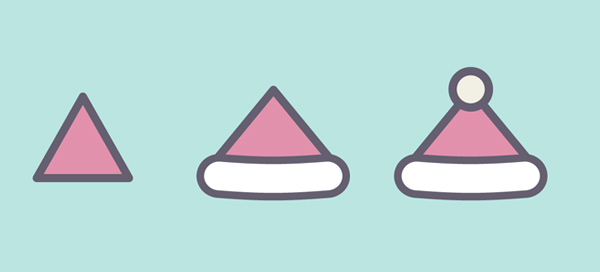
Using the Star Tool draw a star (#E291AC) and while still holding the mouse, press arrow down on the keyboard two times, till you see a triangle.
Adjust the triangle to fit the hat and add a small circle on the top.
Put the hat on top of the Santas head.
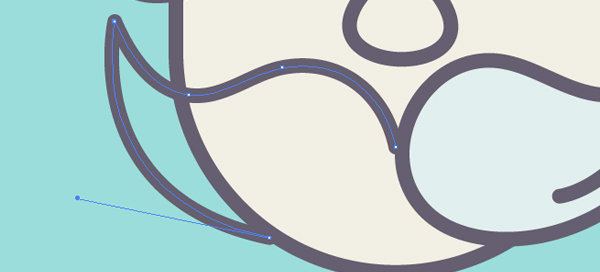
When we created the hair, we used two shapes, bring the first shape on top of the hat by selecting the shape and hitting Ctrl-Shift – ], or go to Object-Arrange- Bring to front.

Step 5
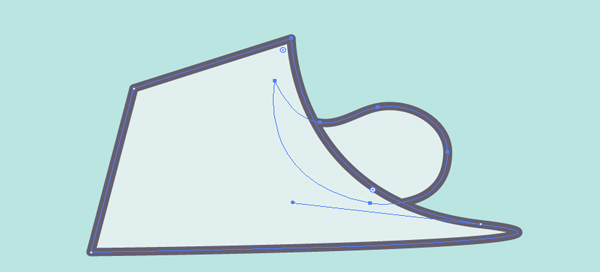
Create the mustache using the Pen Tool, if you are not happy with shape you created, use the Smooth Tool to soften the edges.

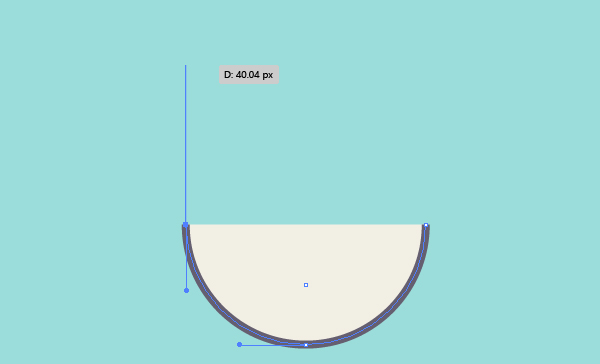
For the beard, create a 55 x 55px circle and using the Direct Selection Tool select the upper point and slide it down a bit like this:

Step 6
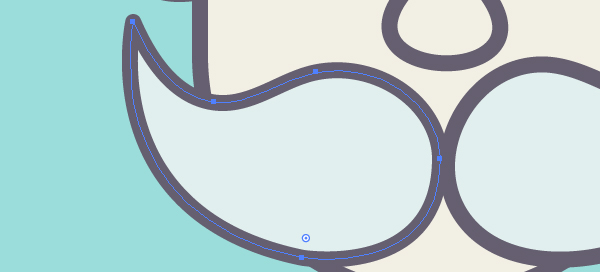
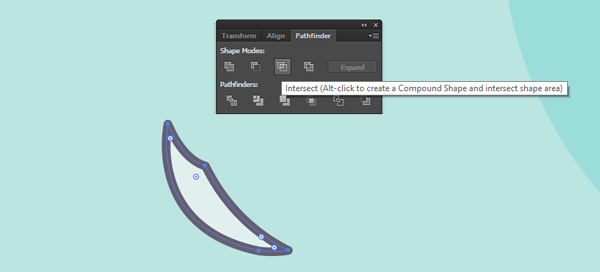
We are almost done! Let’s add some shadows! To create a shadow for the mustache, copy it and create a shape similar to this:
Go to the Pathfinder Panel and click on Intersect.
Delete the stroke, set blending mode to Multiply and Opacity to 40%.
Repeat these steps for the face, hat, forehead and any other parts you want.
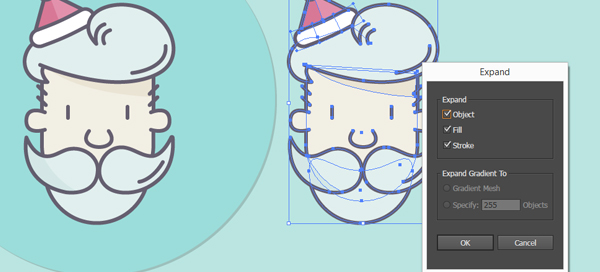
Now select all the shapes of Santa and hit Ctrl-G to group.
Copy the group and go to Object-Expand and click OK.
Go to the Pathfinder Panel and click Unite.
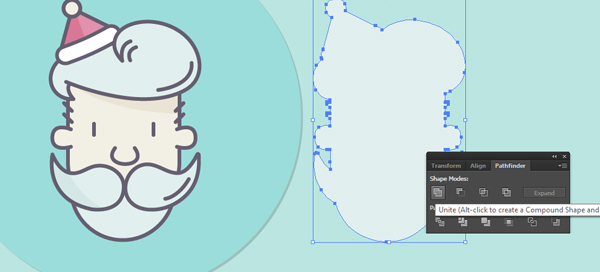
Place this shape under the Santa and fill with the same blue color, blending mode Multiply, Opacity 70 %.
And We’re Done!
Hope you enjoyed this tutorial – see you for the next one!
![]()
