In this Illustrator tutorial we will learn how to create a fire text effect using very simple techniques like basic brush and vector shapes.
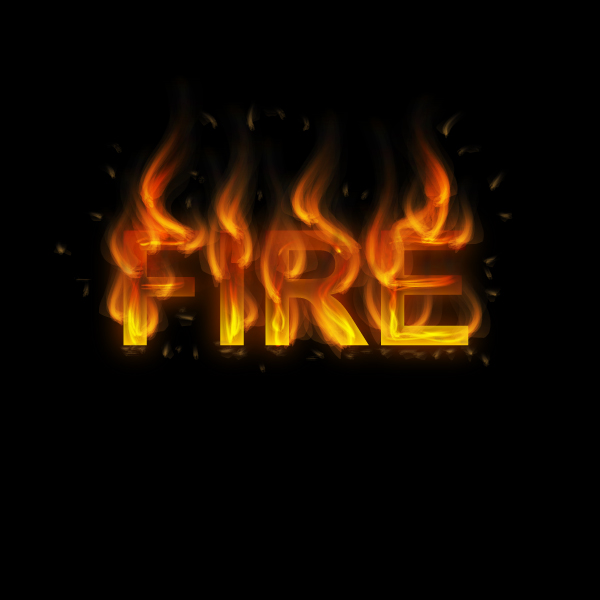
Final Image
As always, this is the final image that we’ll be creating:
Tutorial Details
- Program: Adobe Illustrator CS6
- Estimated Completion Time: 15 minutes
- Difficulty: Beginner-Intermediate
Step 1
Let’s create a new document first. Make sure to set the dimensions to 600 x 600 pixels and the Color Mode to RGB.
Use the Rectangle Tool (M) to draw a rectangle and fill it with black #000000 for our background.

Step 2
Start with the Type Tool (T), and type whatever word you wish to light on fire. In this case, I chose Arial Bold font and typed the letter FIRE.

With the FIRE letters still selected, just press right – click and choose Create Outline. Then we apply the gradient to it.
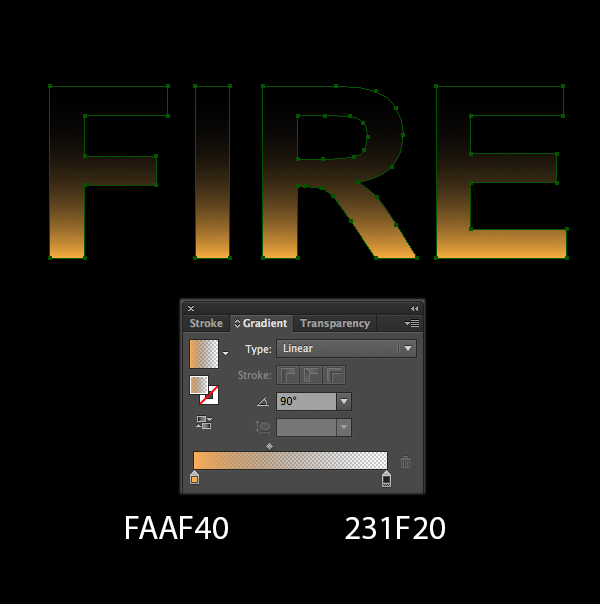
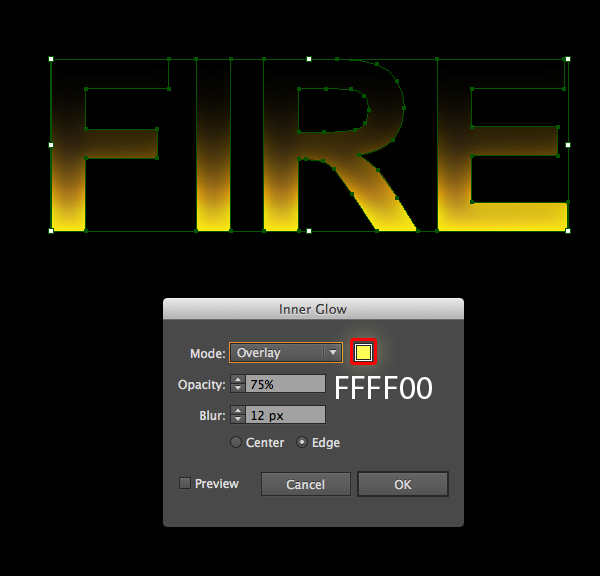
Then go to Effect > Stylize > Inner Glow and set the values.
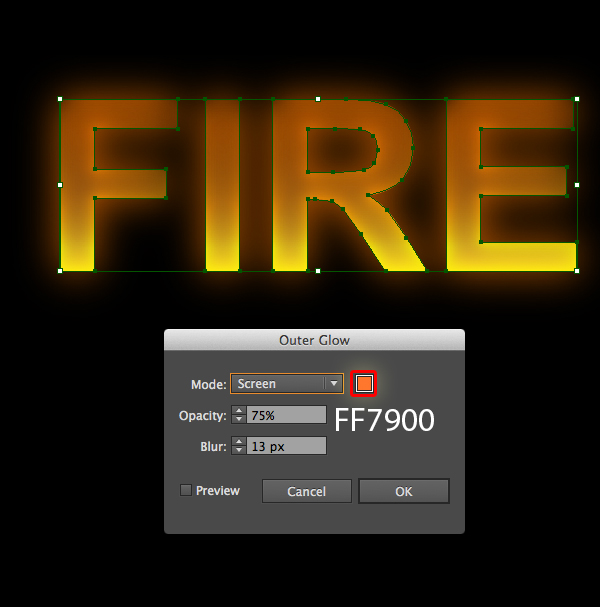
Next, go to Effect > Stylize > Outer Glow and set the values.
Step 3
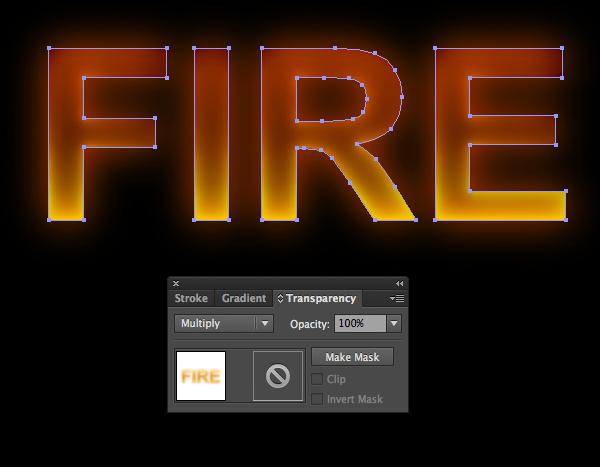
Duplicate the word FIRE and paste in front (Ctrl / Cmd + C, Ctrl / Cmd + F), then apply Multiply blending mode for the copy.
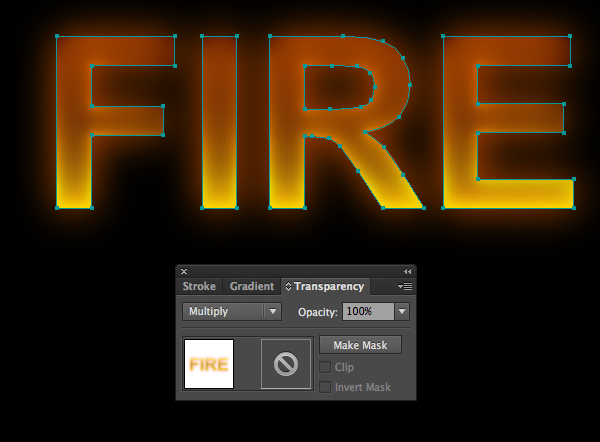
Repeat the previous step one more time and we have a result like in the image below.
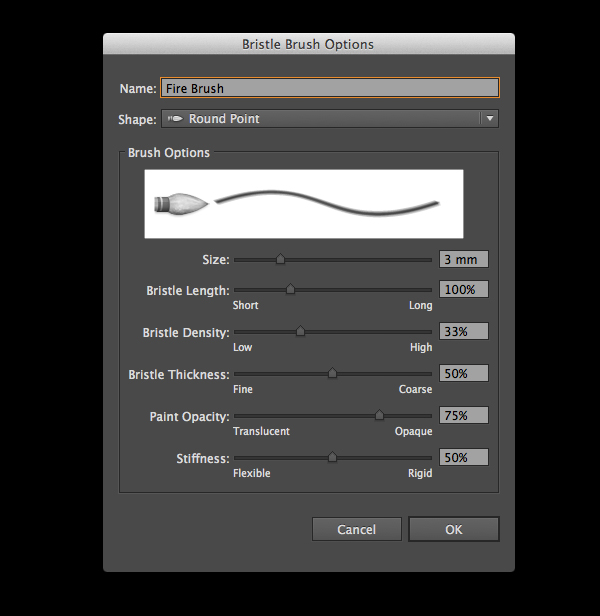
Step 4
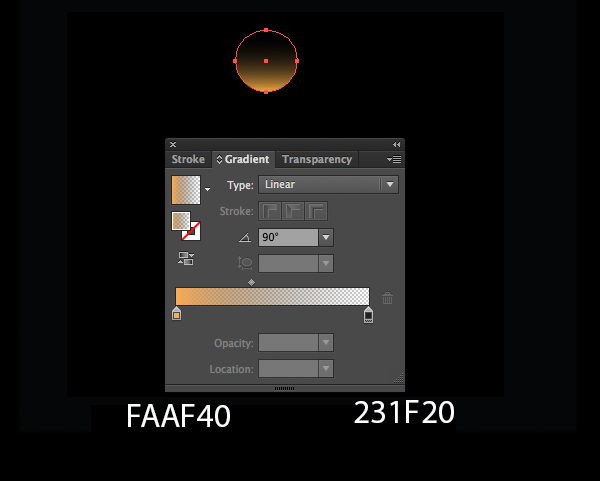
In this step, we are going to create a flame brush. First, we draw a circle and fill it with this gradient.
Now, you can drag it into the Brushes panel and choose Bristle Brush.
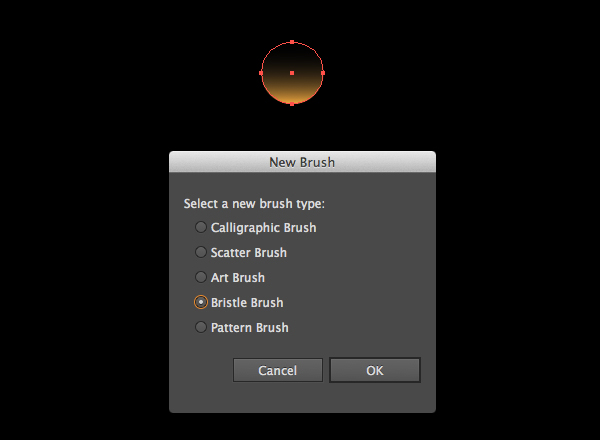
In the window that opens, type a name ” Fire brush “ then hit OK and then you can find your brush in the Brushes panel along with the default brushes.
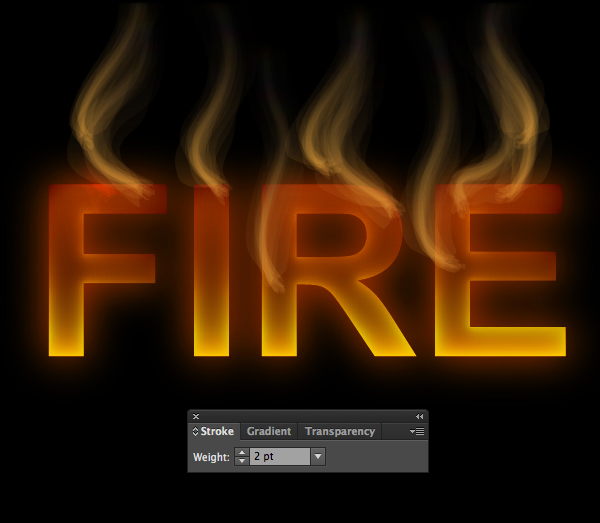
Step 5
Grab the Pencil Tool (N) and draw wavy paths on your word FIRE. Apply the “Fire Brush”that we created to the stroke. In this step, we set Stroke = 2pt
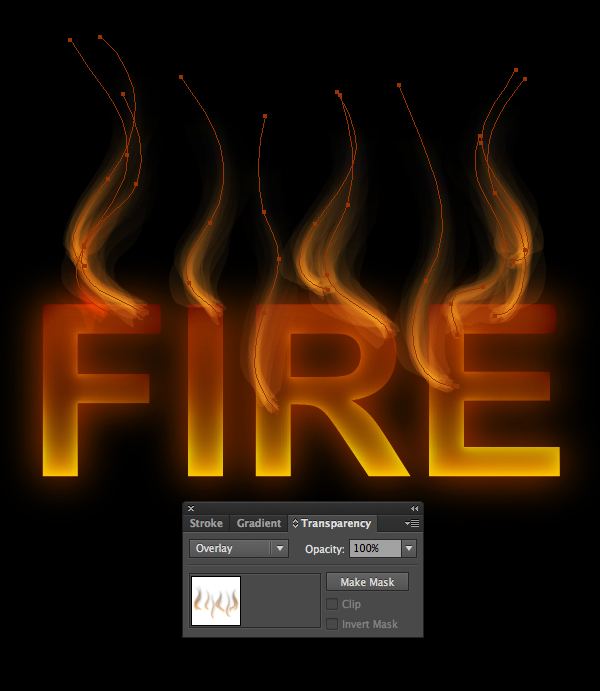
Step 6
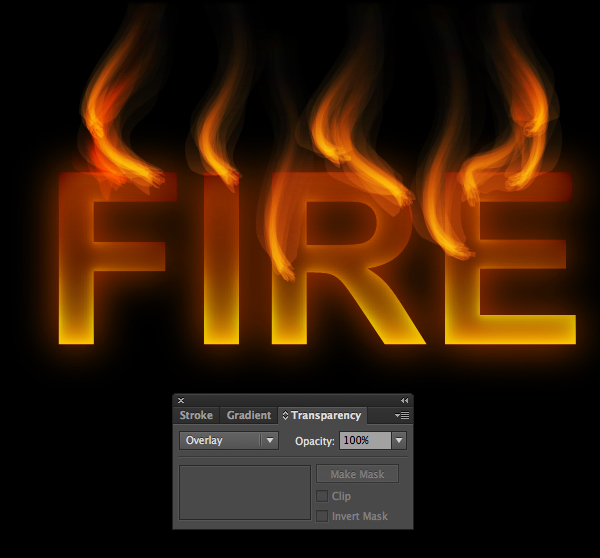
Duplicate the flame and paste in front (Ctrl / Cmd + C, Ctrl / Cmd + F), then we apply Overlay blending mode to the copy.
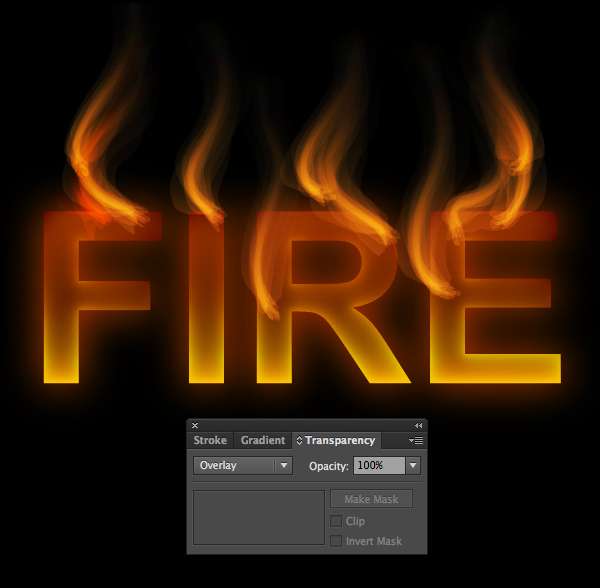
Step 7
Repeat Step 6 and you should get a result like this.
Step 8
I want the flames to look more attractive so I repeated Step 6 one more time. And here is the result.
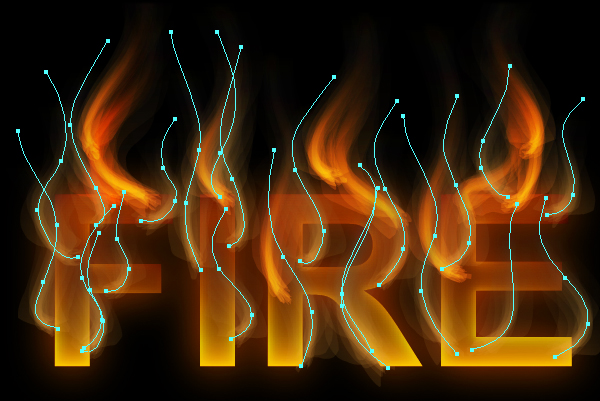
Step 9
Grab the Pencil Tool (N) and draw more wavy paths on the word FIRE. Apply “Fire Brush” to the stroke. In this step, we set Stroke = 2pt
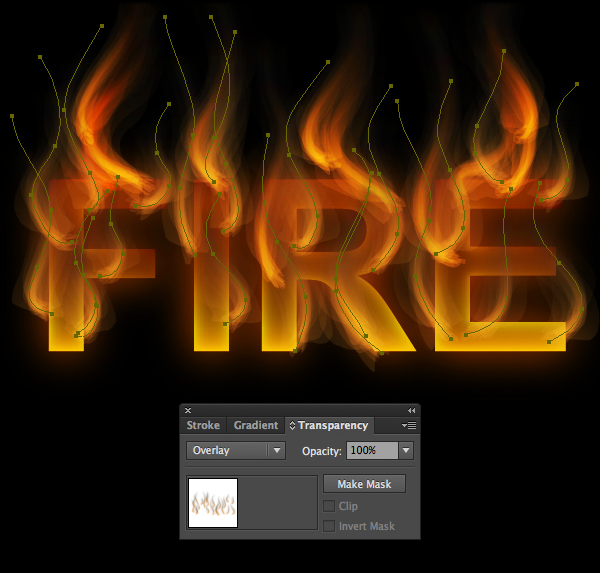
Step 10
Duplicate the flame in Step 9 and paste in front (Ctrl / Cmd + C, Ctrl / Cmd + F), then we apply Overlay blending mode to the copy.
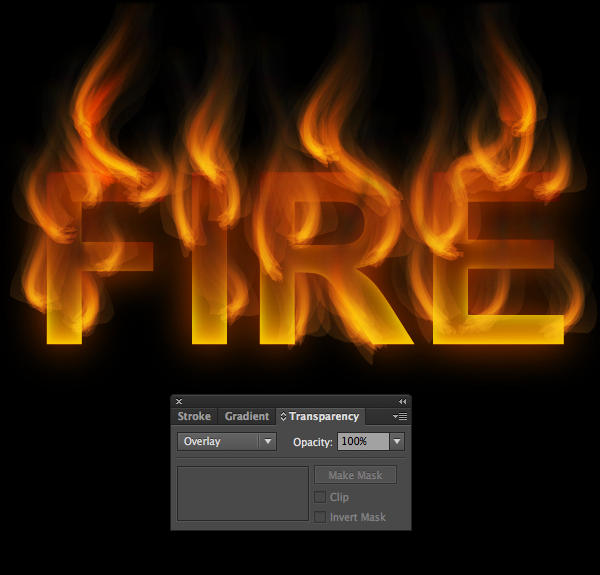
Step 11
Repeat Step 10 one more time and you will get a result as shown in the image below.
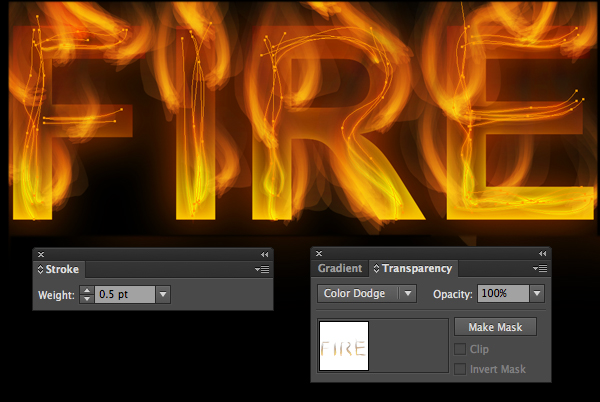
Step 12
Now we grab the Pencil Tool (N) and draw more wavy paths as in the image below. Apply “Fire Brush” to the stroke. In this step, we set Stroke = 0,5pt and apply Color Dodge blending mode to the paths.
Step 13
Duplicate the flame in Step 12 and paste in front (Ctrl / Cmd + C, Ctrl / Cmd + F) and we get a result like this.
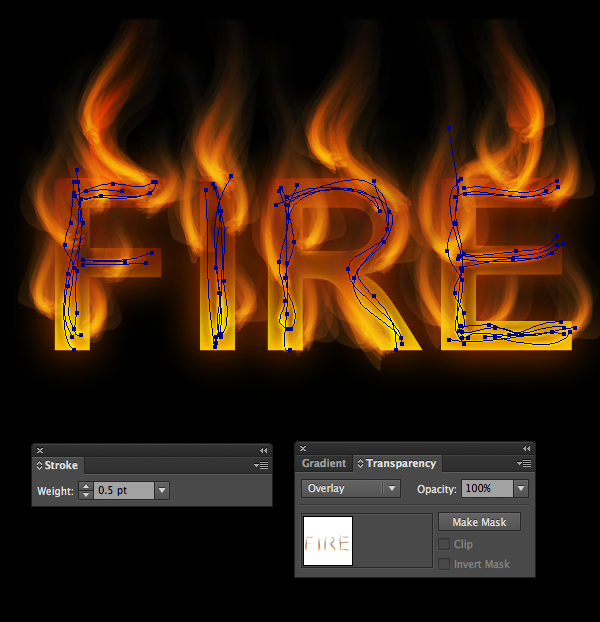
Step 14
Draw more wavy paths and apply “Fire Brush” and set Stroke = 5pt, then apply Overlay blending mode to the paths.

Step 15
Using this technique, create a couple of glowing points. Now we use “Fire Brush” with Stroke = 1pt and draw some paths as shown in this image.
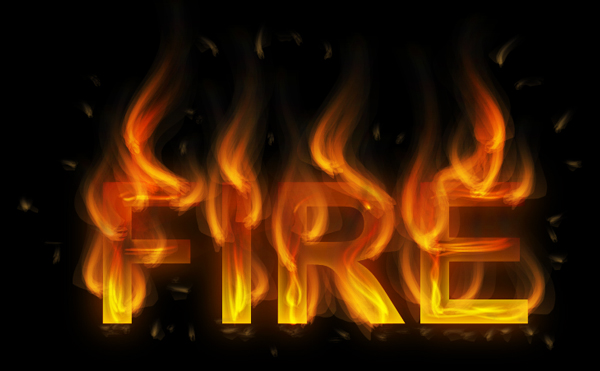
And We’re Done!
Here is how it should look. I hope you’ve enjoyed this tutorial and can apply these techniques in your future projects.
