In this Illustrator tutorial you will learn how to use the advantages of Open Type Fonts and create your own splashed text. You will work with the Discretionary ligature, Contextual alternates, Glyph, and with the Character palette.
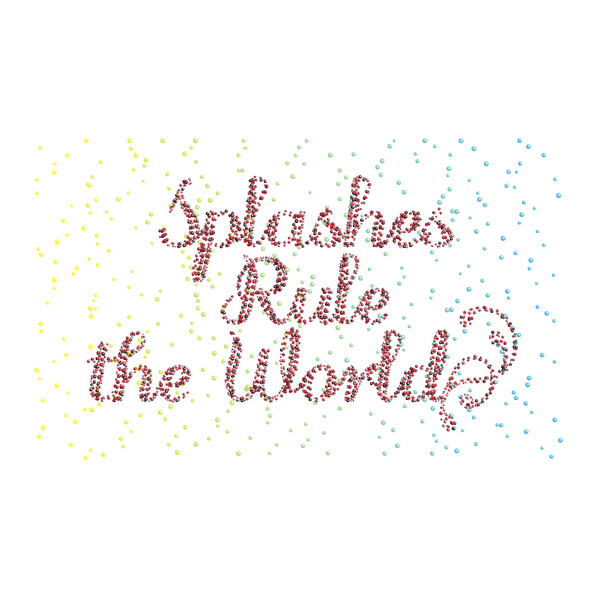
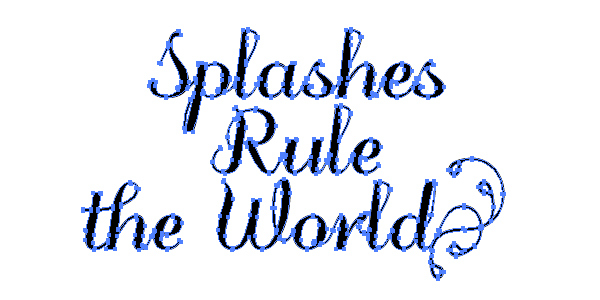
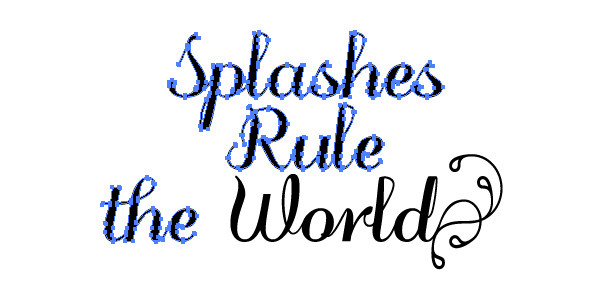
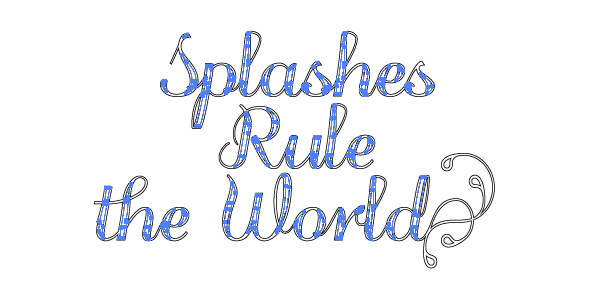
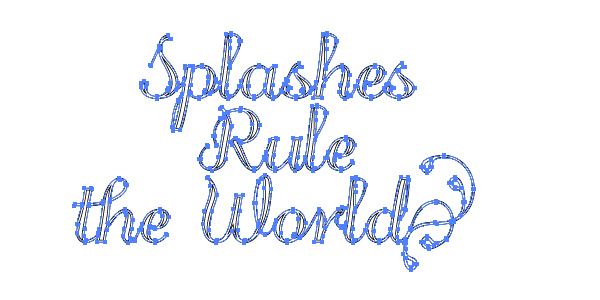
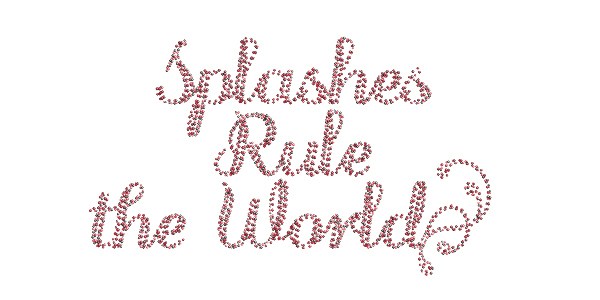
Final Image
Tutorial Details:
- Program: Adobe Illustrator CS3 – CS6
- Difficulty: Intermediate
- Estimated Completion Time: 1 hour
Resources
Step 1
Download and unzip downloaded archive, select both fonts,…
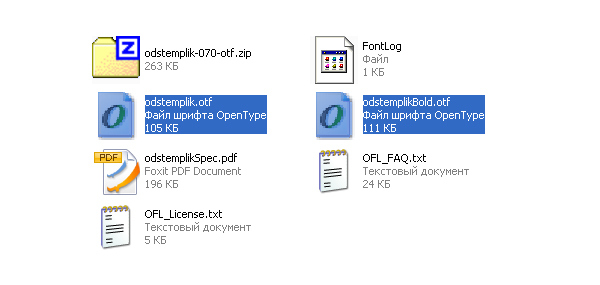 …and copy them into your system fonts folder (C:\WINDOWS\Fonts on my computer).
Step 2
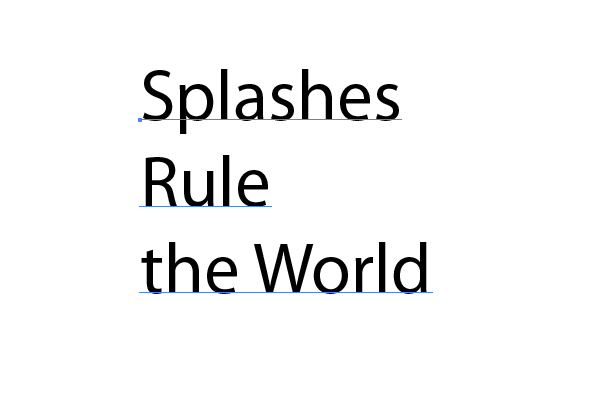
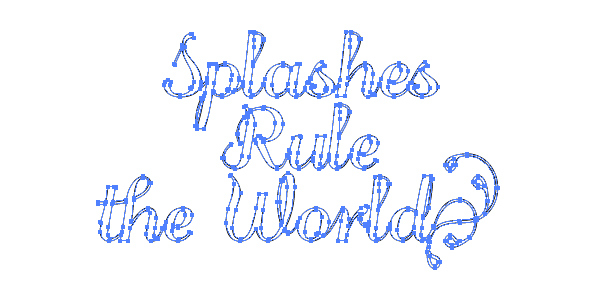
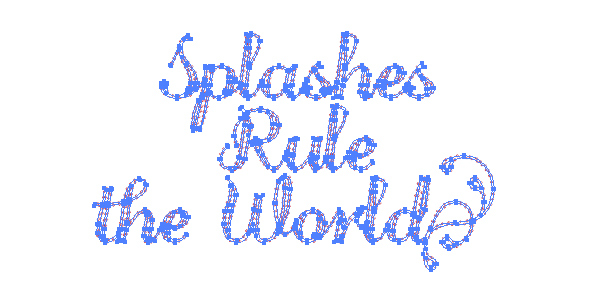
Then open Illustrator, take the Type Tool (T), and type the text that you desire.
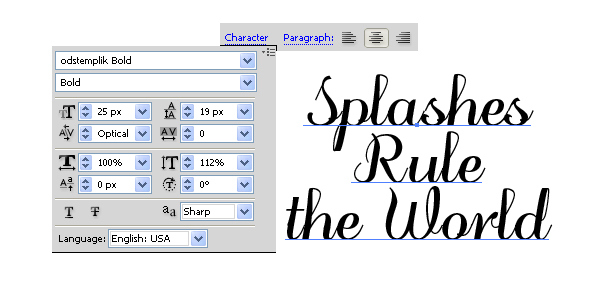
 Open the Character panel after that, set the font family and the style. Use the font that you have downloaded. Align your text to center. See the helpful image below.
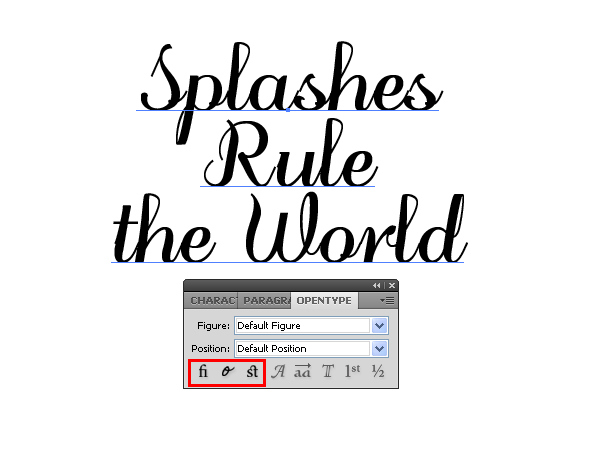
Step 3
Go to Window > Type > Open Type. Here you will see the advantages of Open Type fonts which have the “otf” extensions in comparison with the True Type fonts which have the “ttf” extensions. Open Type fonts usually have additional options which increase their usage. Those options can be applied with the help of the corresponding buttons on the Open Type panel. See the image below where the available options for the Odstemplik font are shown in red.
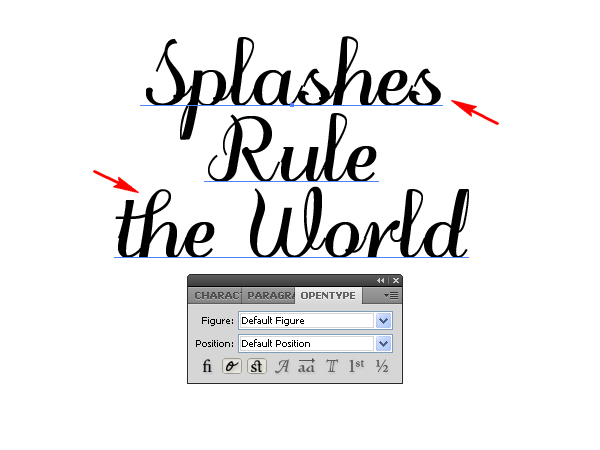
 Click the buttons shown below and watch the changes of your text indicated by red arrows.
Step 4
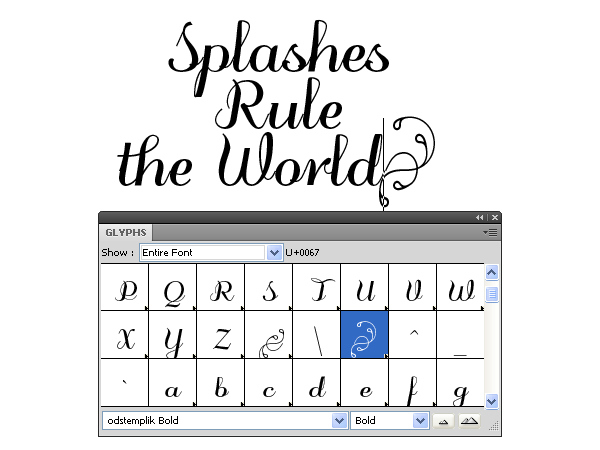
Go to Window > Type > Glyphs (or go to Type > Glyphs), grab the Type Tool (T) again, click at the end of your text, and insert a symbol which you want from the Glyphs panel by double-clicking on it.
Step 5
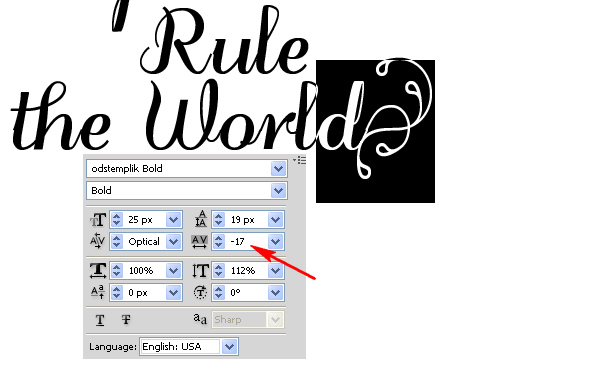
Select both: the glyph and the end letter of your text, open the Character panel, and set the tracking for the selected characters in order to unite them. In other words, you should place them so as to avoid the blank space between them. Follow the diagrams below.


Step 6
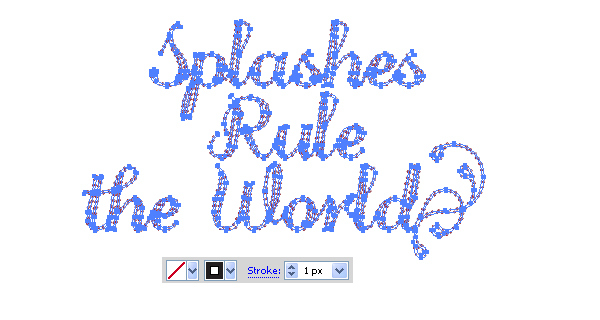
Go to Type > Create Outlines (Command + Shift + O).
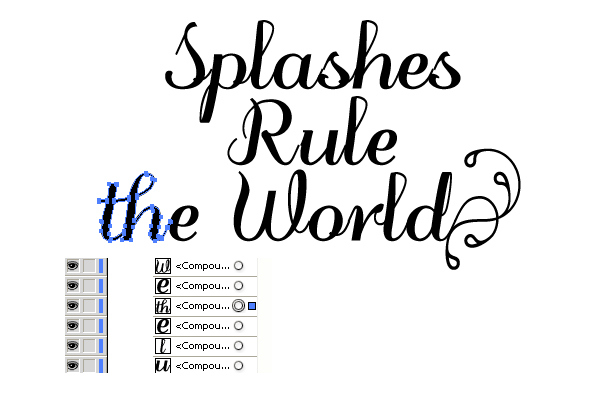
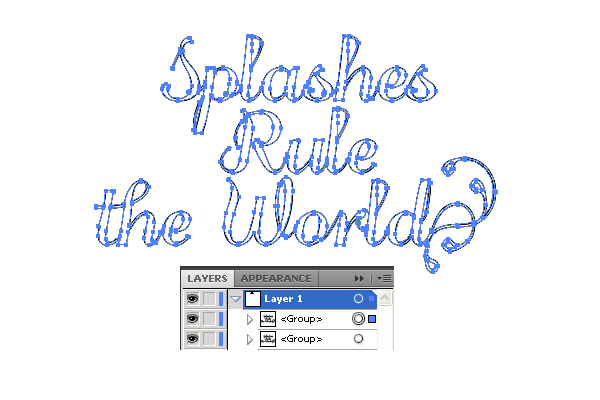
 Pay attention here that after expanding this text made by using an Open Type font, the combination “th” is only one path in the Layers palette. It is the consequence of applying the Discretionary Ligatures.
Step 7
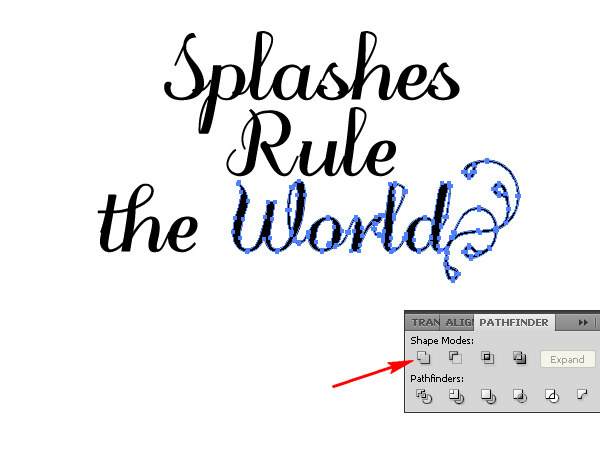
Select all the characters of a word,…
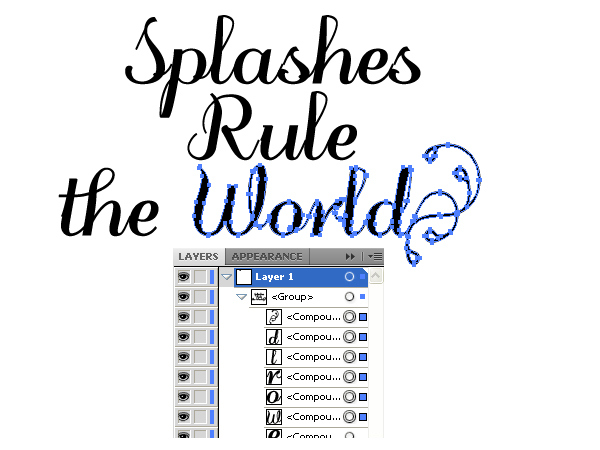 …and go to the Pathfinder palette, and click the Unite button.
 Repeat these manipulations with all other words.
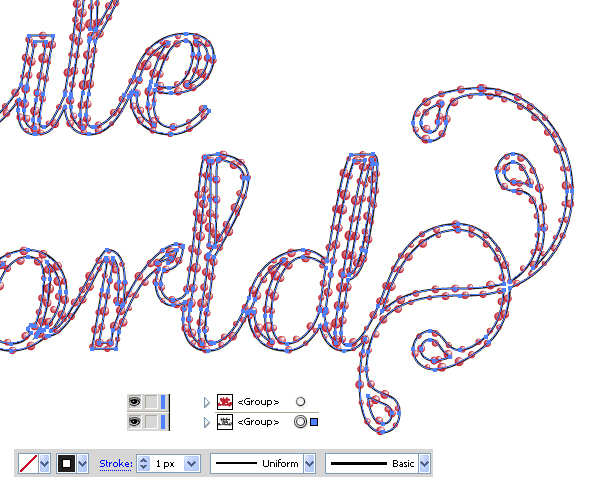
Step 8
Select the text, and swap the fills and the strokes (Shift + X).
 Group the text by going to Object > Group (Command + G). Copy it and Paste in Front (Command + C then Command + F).
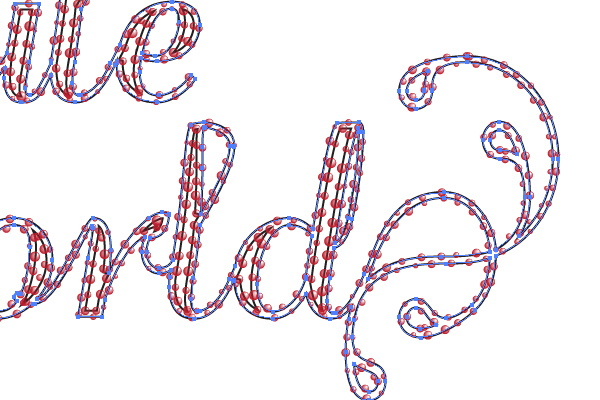
Step 9
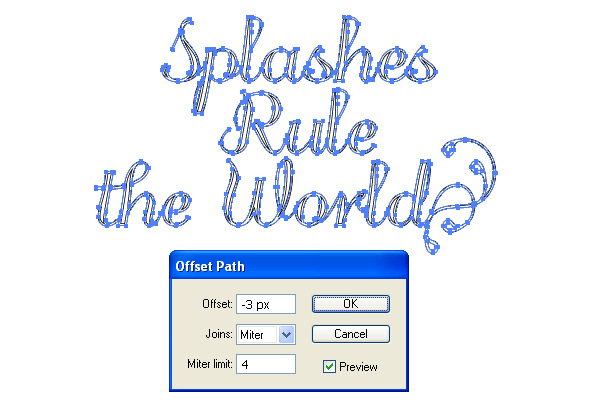
Go to Effect > Path > Offset Path, and choose the options that you can see in the image below.
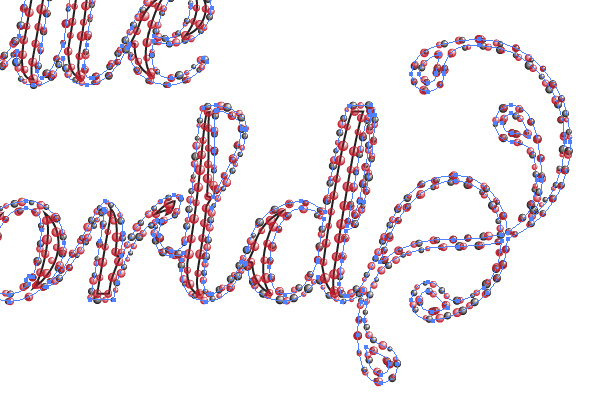
 Then go to Object > Expand Appearance. Object > Ungroup twice, and then go to Object > Group in order to decrease the number of groups in the Layers palette.
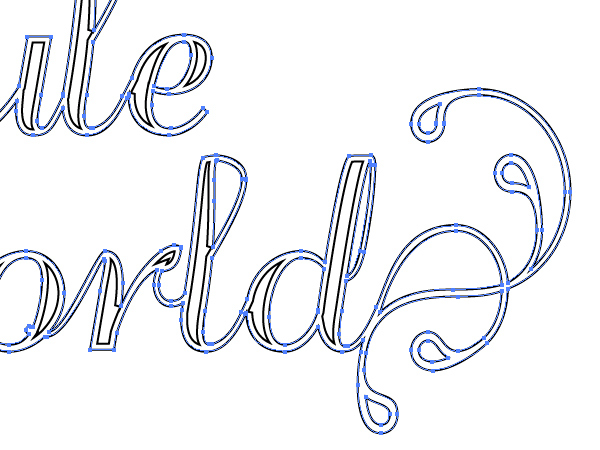
 After that you should achieve the next result. Do you like it? And this is not the final effect?
Step 10
Take the Ellipse Tool (L), and draw a circle filled with cherry which is about 8 or 10 pixels in diameter. The Stroke should be set to None.
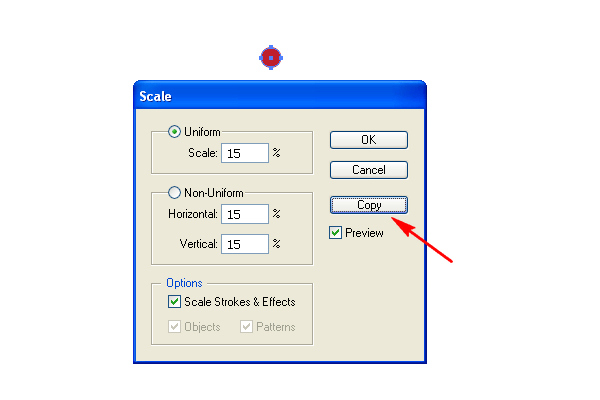
 Go to Object > Transform > Scale and decrease the Uniform Scale option as you can see in the diagram below. Then click the Copy button.
 You should get the following image.

Step 11
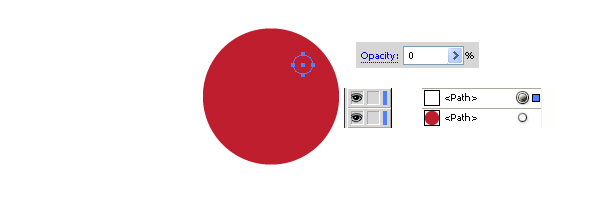
Move the smallest circle as shown below.
 Then change its Opacity to 0.
Step 12
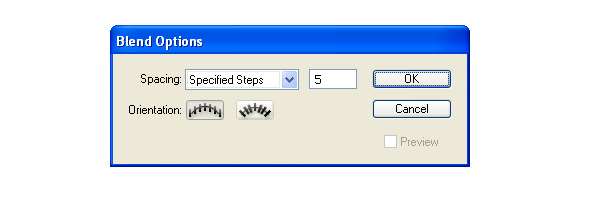
Now go to Object > Blend > Blend Options and set the Spacing to Specified Steps, and the number of steps to 5 as shown in the diagram below.
 Select both circles,…
 …and go to Object > Blend > Make (Command + Alt + B).

Step 13
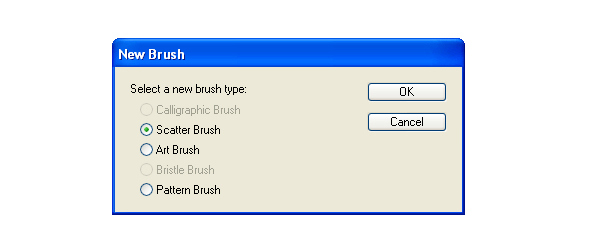
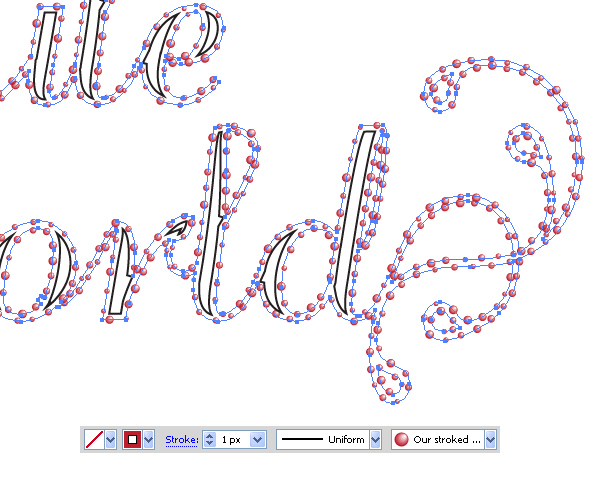
Drag and drop this blend into the Brushes palette, and choose the Scatter brush option in the dialog box.
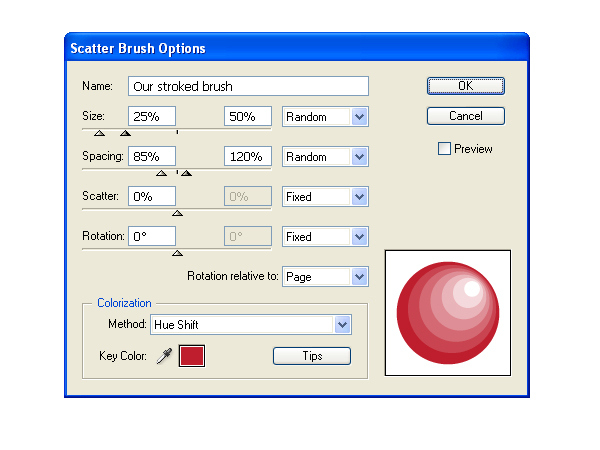
 Set the items for the brush as you can see on the diagram below. Name the brush “Our stroked brush.” This brush should be used for the outer strokes of the text further in the tutorial. Change the Method of the Colorization to Hue Shift in order to have the possibility to manage the color of the brush more effectively.
Step 14
Create “Our inner brush” the same way. This one brush should be used for the inner strokes of the text further in the tutorial.
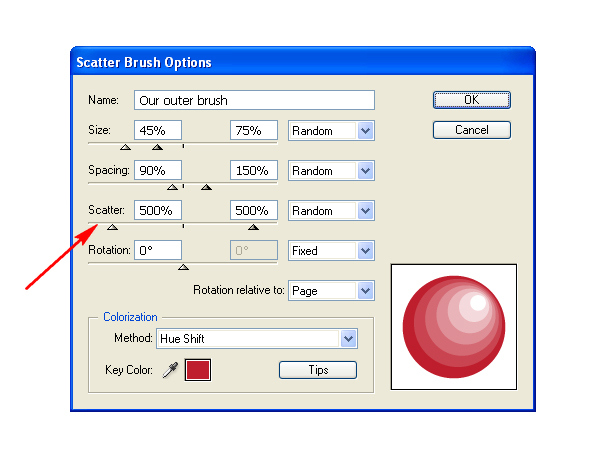
 And create “Our outer brush” the same way. And this brush will be used for the background. Pay attention here to the Scatter values of the brush.
Step 15
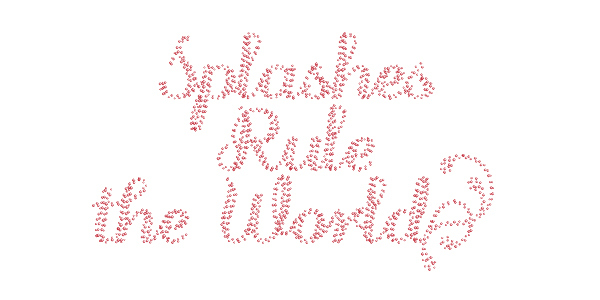
Select the first group of the text, the outer strokes of it. See the diagrams below for reference.
 Change the Stroke color to cherry, and apply “Our stroked brush” to the paths.
Step 16
Do the same with the second group of the text, the inner strokes of it. Apply “Our inner brush” to all of them. Follow the image below.
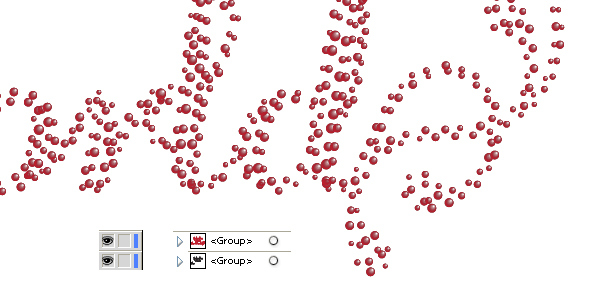
 And after these manipulations you will have something as the following.
 Group all the paths of the text (Command + G).
Step 17
Now select all the paths of the text,…
 …Copy them and Paste in Back (Command + C then Command + B). And change the Stroke color to black.
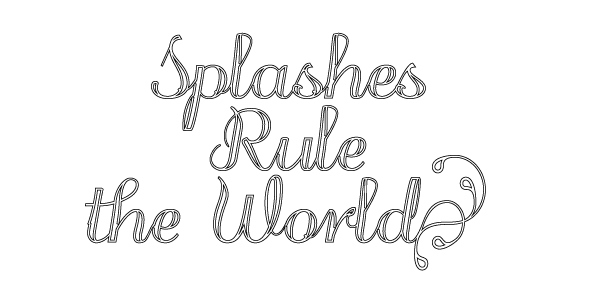
 If you blow up the resulting image, you will not see any important changes. It is because the splashes are located over one another. Let’s fix this problem…
Step 18
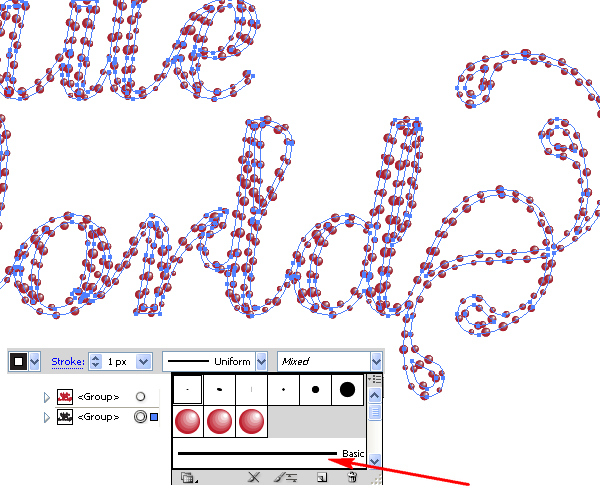
Select the black paths, and change the Brush Definition from Mixed to Basic. Follow the diagrams below.
Step 19
Then select the outer paths of the text,…
 …and apply “Our stroked brush” to them.
 Then select the inner paths of the text,…
 …and apply “Our inner brush” to them.
 You should have something similar to the next image.
 And after that, if you want, you may expand the paths by going to Object > Expand Appearance in order to fix the splashes in their places.
Step 20
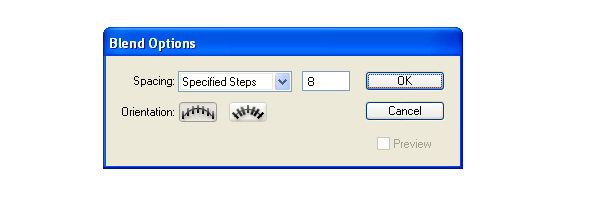
Go to Object > Blend > Blend Options and change the number of steps to 8 as shown below.
Step 21
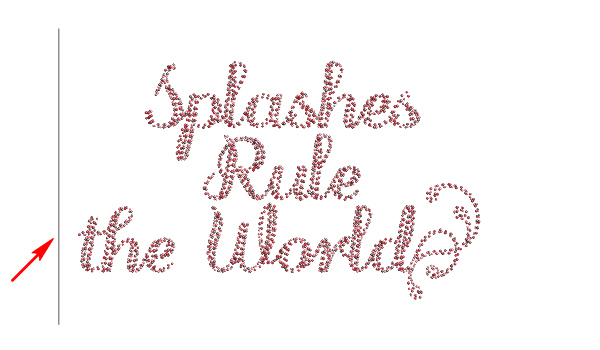
Take the Pen Tool (P) and draw a vertical line as shown.
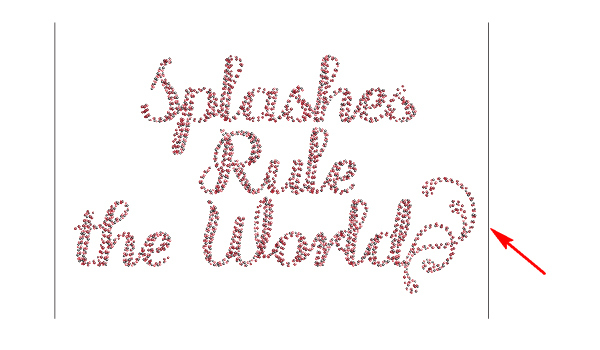
 Copy it and Paste in Front (Command + C then Command + F). Move the copy to the right.
Step 22
Apply “Our outer brush” to the left vertical line and change the Stroke color to yellow.
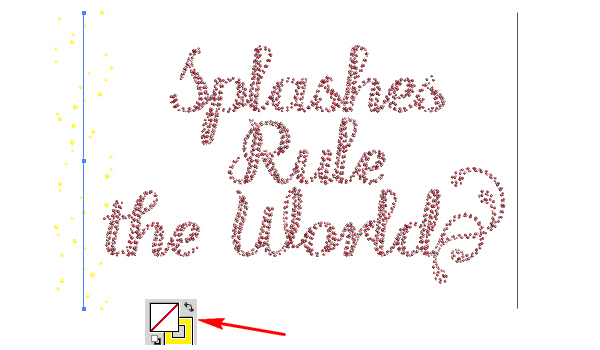 Apply “Our outer brush” to the right vertical line and change the Stroke color to blue.

Step 23
Select both paths,…
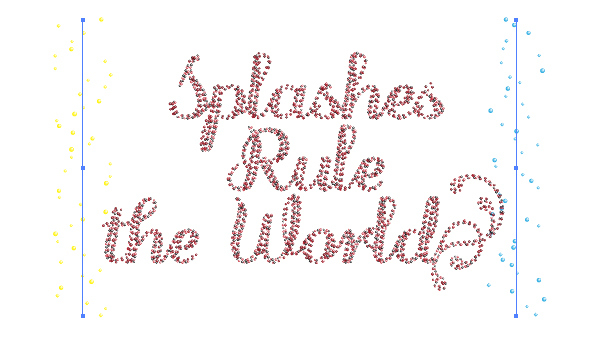 …and go to Object > Blend > Make (Command + Alt + B).
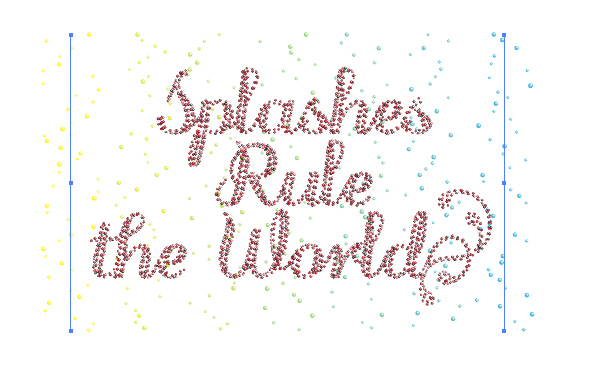 And you may, if you desire, expand the blend by going to Object > Blend > Expand, then going to Object > Expand Appearance.
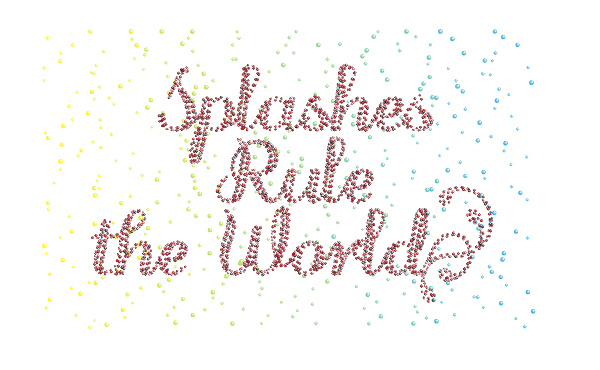
And We’re Done
The final image is below. Use the techniques you’ve learned here in your own artworks. I hope you’ve enjoyed this tutorial.
