In this tutorial we will have the opportunity to create a fancy icon of a top hat in Adobe Illustrator. As always, we are going to show how a few simple shapes can be turned into a great looking icon. So, lets get started.
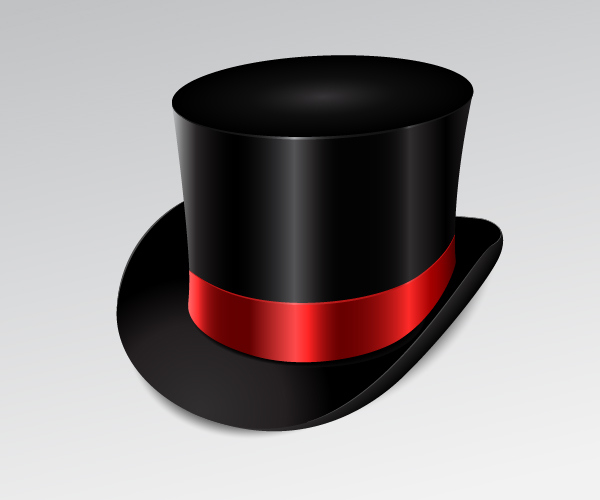
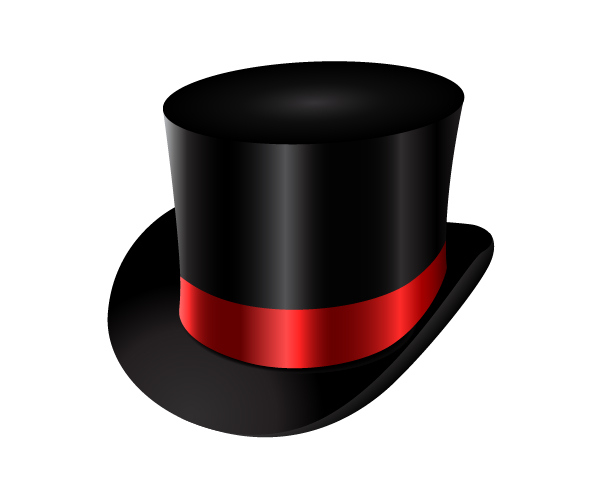
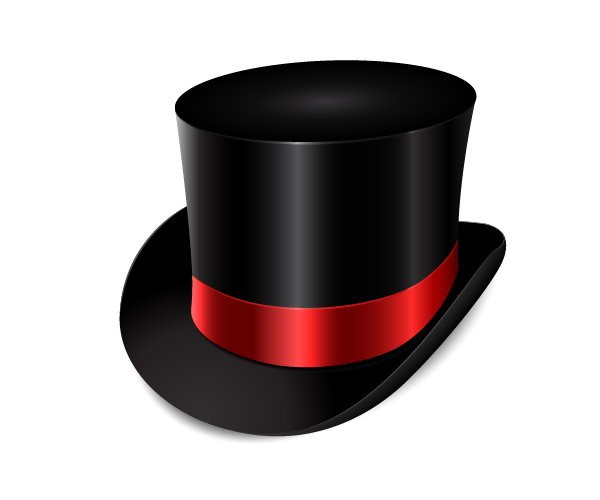
Final Image
Tutorial Details
- Program: Adobe Illustrator CS5
- Estimated Completion Time: 1 hour
- Difficulty: Intermediate
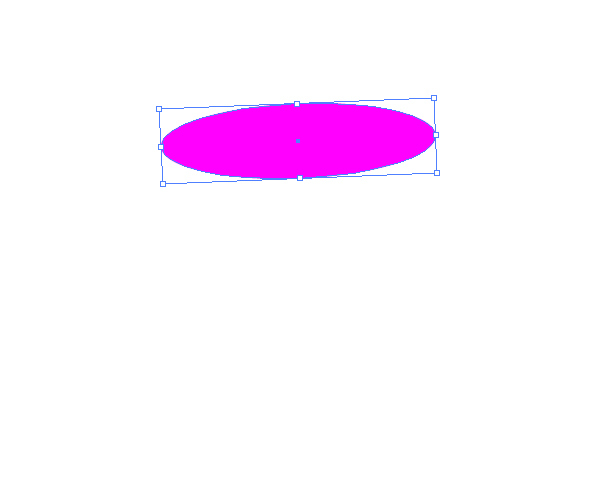
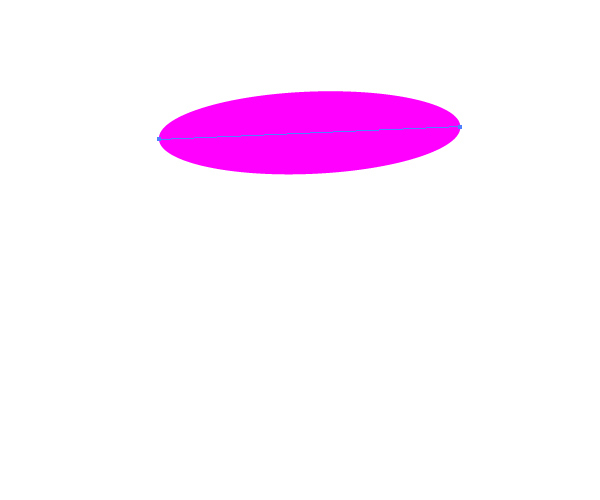
Step 1
To start, grab the Ellipse Tool (L) from the Tool Panel and create an ellipse and rotate it a little bit, as shown on the image below.
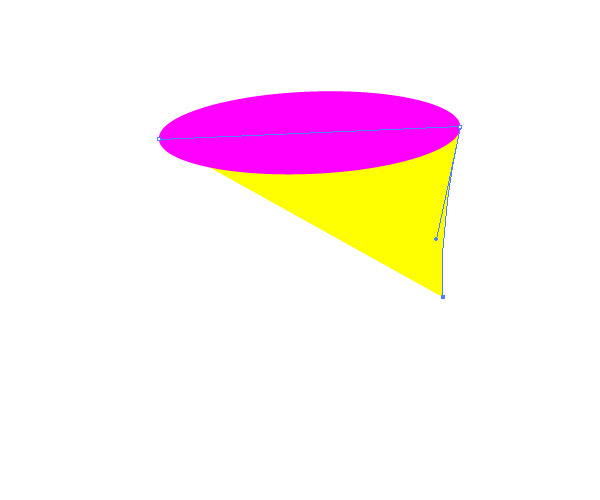
Step 2
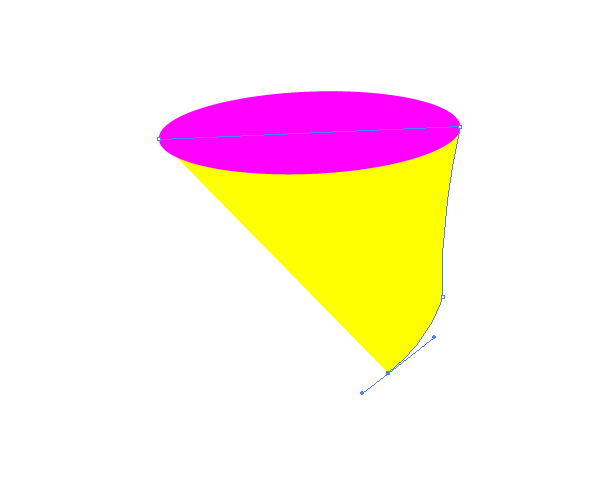
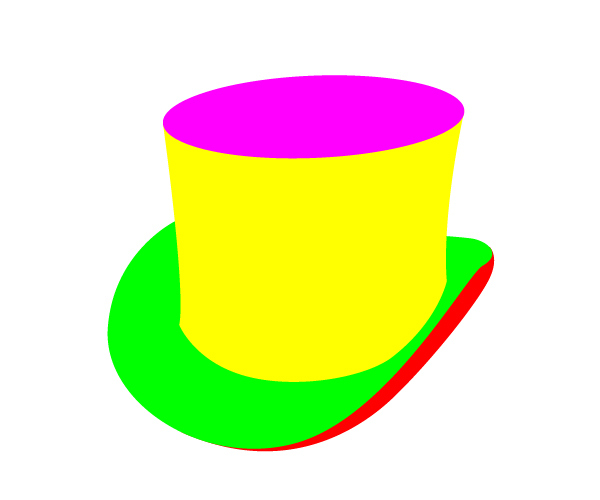
Now we are going to use th powerful Pen Tool (P). Select it from the Tool Panel and draw a shape like this:
Step 3
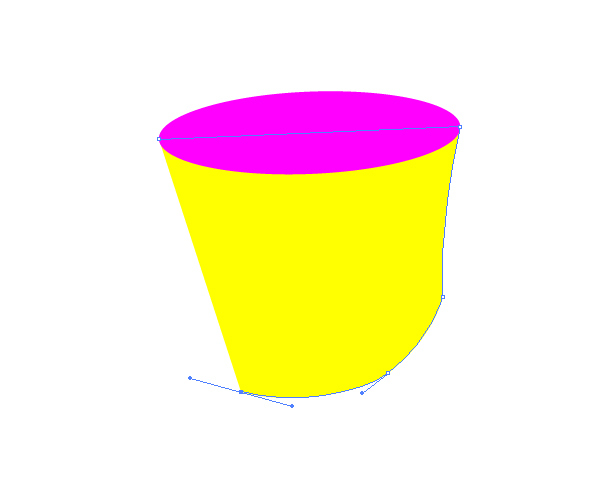
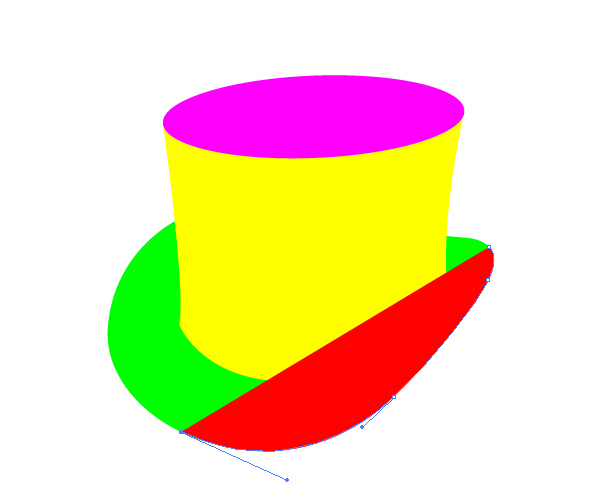
Lets’ draw the base of the hat – the brim. We will be using the Pen Tool (P) for this part of the hat as well.
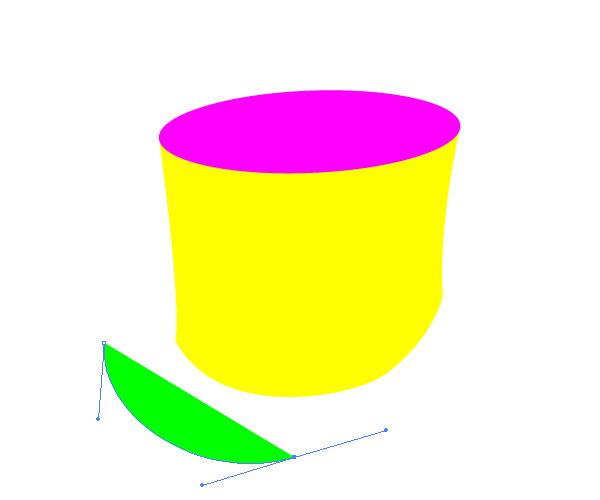
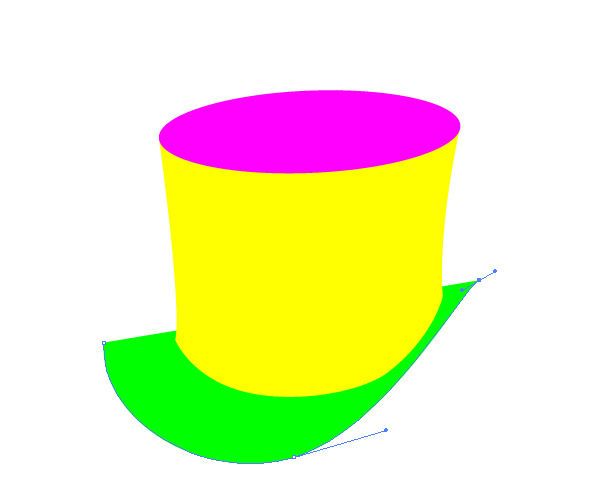
Step 4
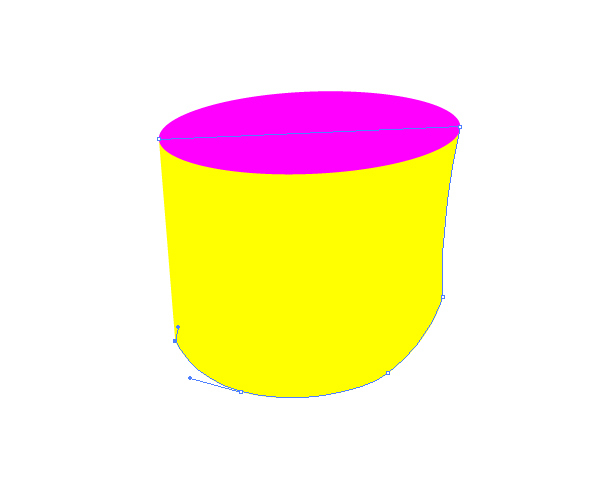
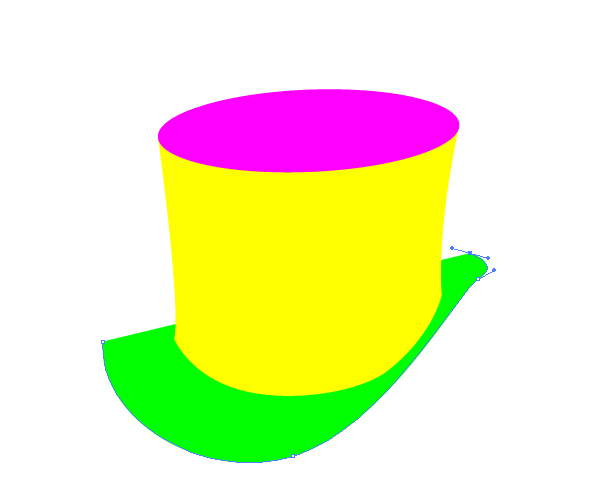
There is also a small side on the hat’s brim we need to create (as if the brim is curving upwards).

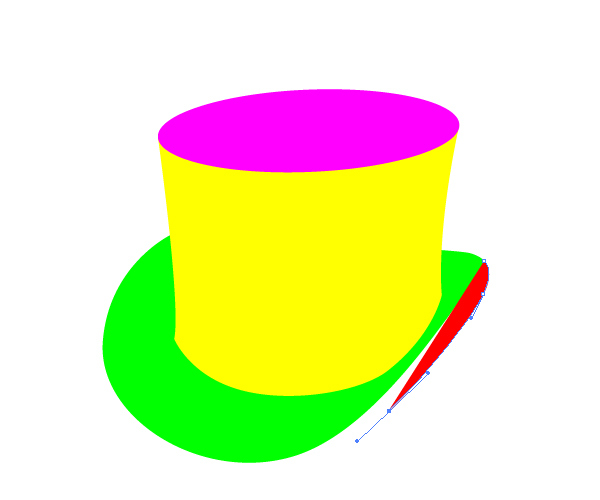
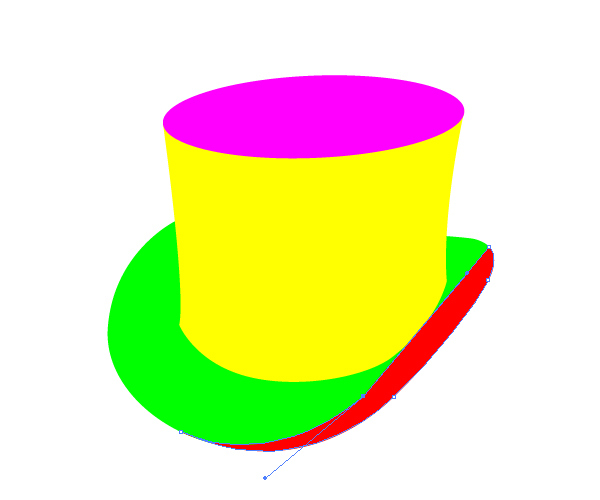
Make sure to place the red shape underneath all elements (Shift + Ctrl / Cmd + [ ).
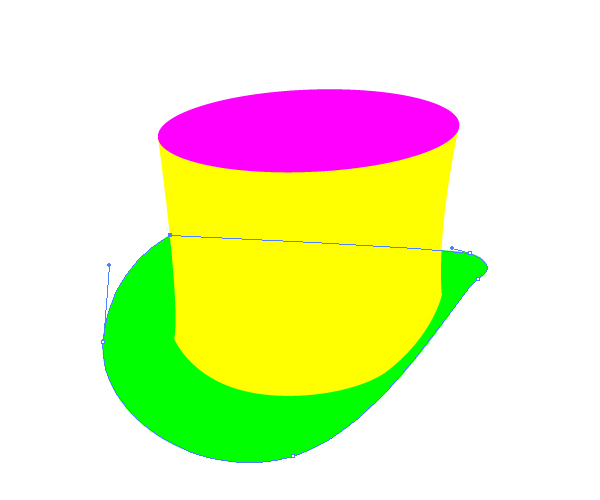
Step 5
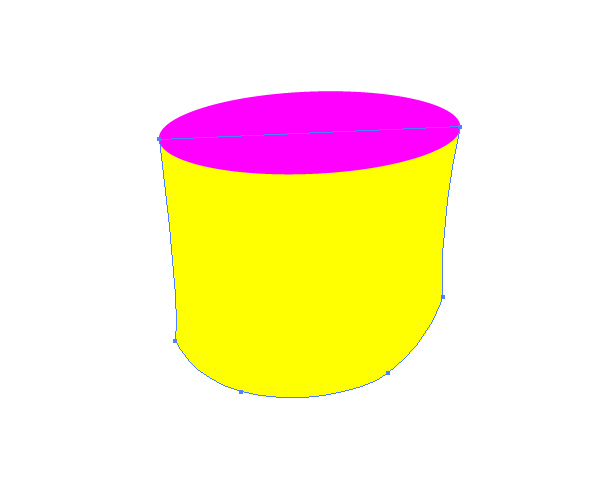
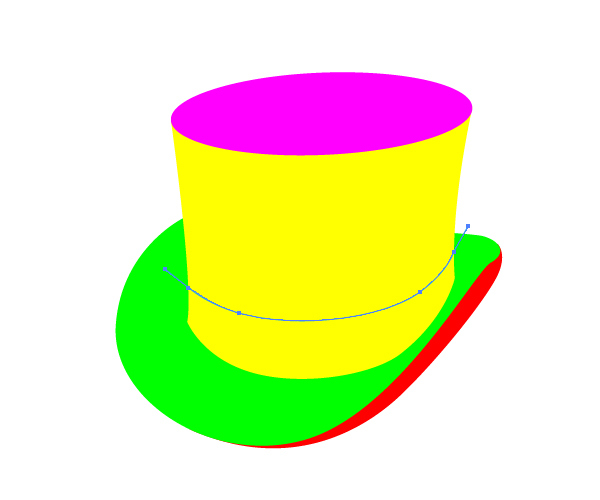
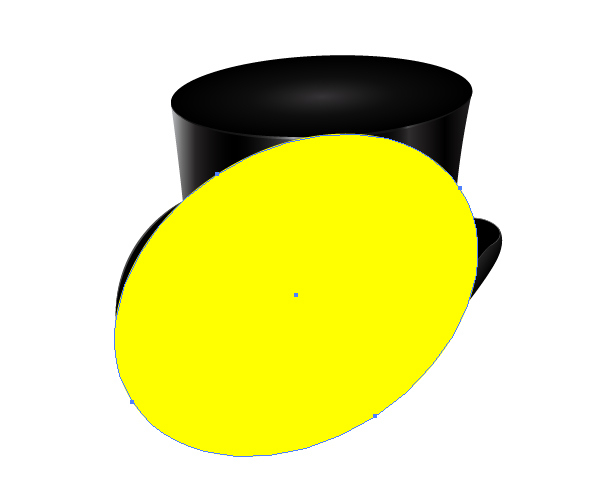
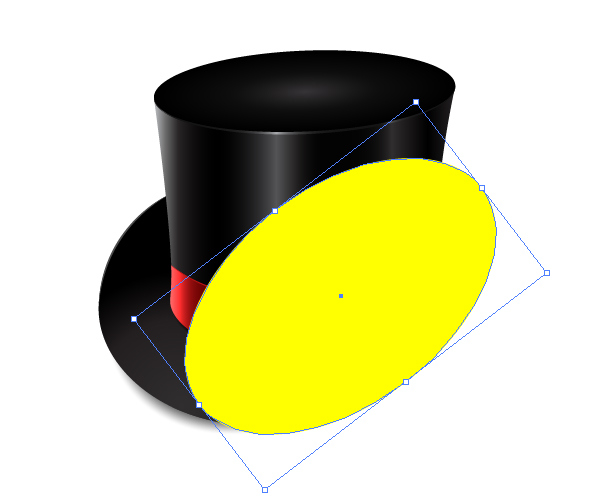
Now we need a nice ribbon for our hat. Duplicate the yellow shape (Ctrl / Cmd + C, Ctrl / Cmd + F). Grab the Pen Tool (P) from the Tool Panel and create a path as shown on the picture below.
Step 6
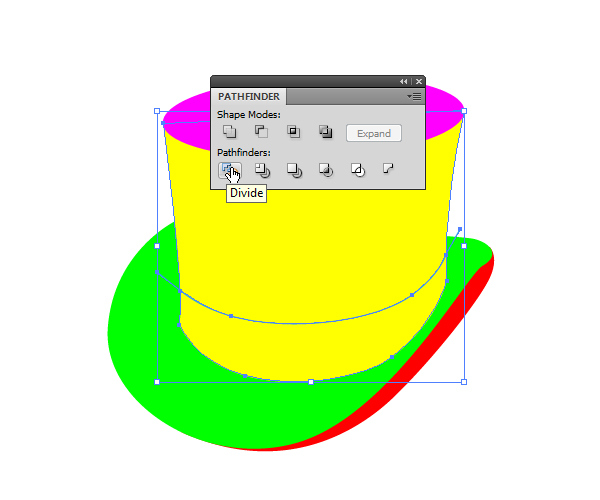
Select the copy of the yellow shape and the new path and under the Pathfinder Panel hit Divide button. It will split the yellow shape in half. As you can already assume, we need just the lower part of the new shape (that we will turn into a nice shiny ribbon).
Ungroup (Shift + Ctrl / Cmd + G) the new shape and remove the upper part by hitting the Delete key on your keyboard. Set the Fill color of the lower part to any color but yellow (color is not important at this time).
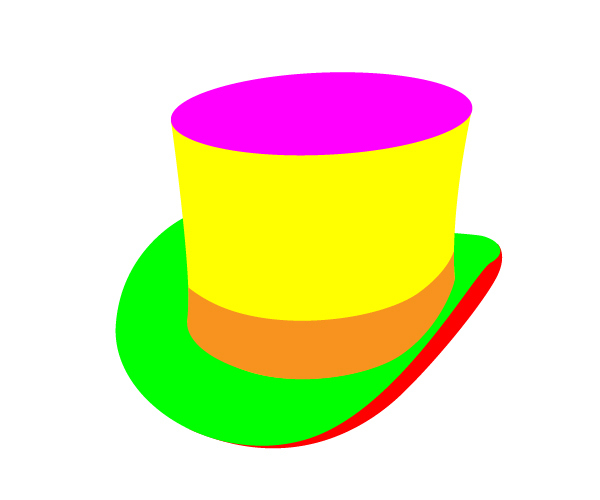
And we are done with drawing. As you can see, we have created only five simple shapes that constitute our hat. Let’s move on to the more interesting part of this tutorial – coloring.
Step 7
Get ready to mix and match some nice colors. Mostly, we will be using dark linear and radial gradients. For the ribbon we will create a nice red linear gradient. So, lets get started.
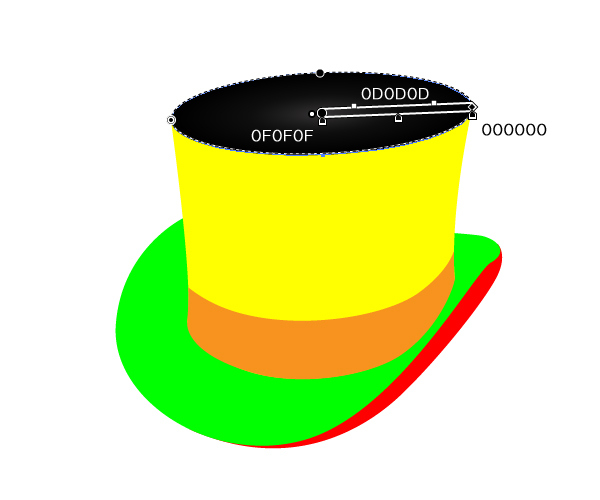
For the top of the hat we will use a simple radial gradient.
Step 8
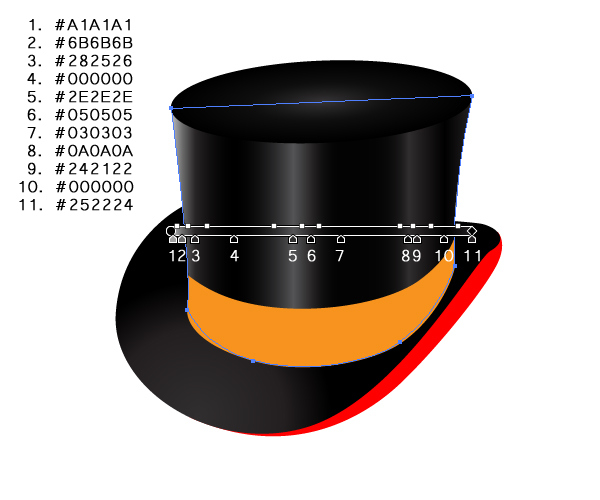
For the hat’s brim we will also apply a radial gradient. The light to dark tone in the gradient represents the direction of the light.
Step 9
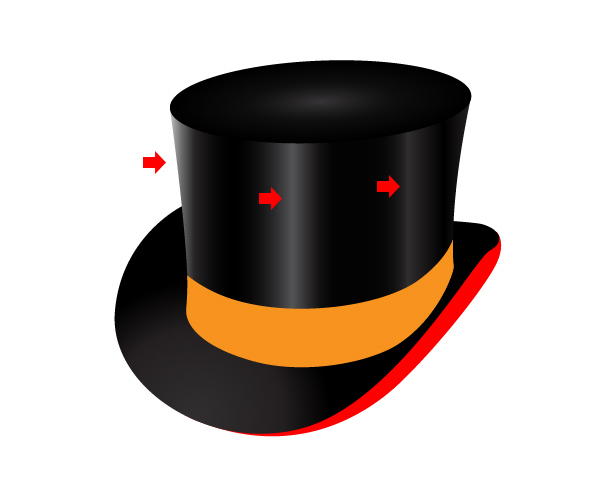
On the lateral side of the hat we will use a linear gradient. Some top hats are made of silk and as you all know, silk can make nice light reflections. We will try to simulate those reflections by finding the right balance between dark and light tones of the gray color.
As you can see, we have created two highlights in the middle and one on the left side.
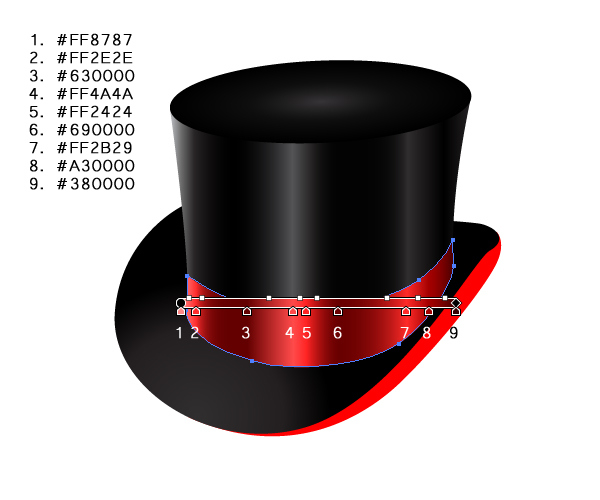
Step 10
In this step we are going to create a nice red linear gradient for the ribbon. The ribbon also needs to be shiny and to attract attention. Make sure to create a linear gradient for the ribbon that matches the linear gradient on the lateral side of the hat. It doesn’t need to be perfect.
Step 11
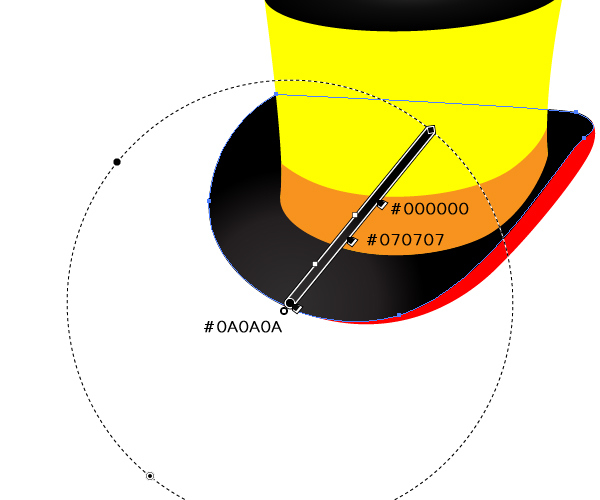
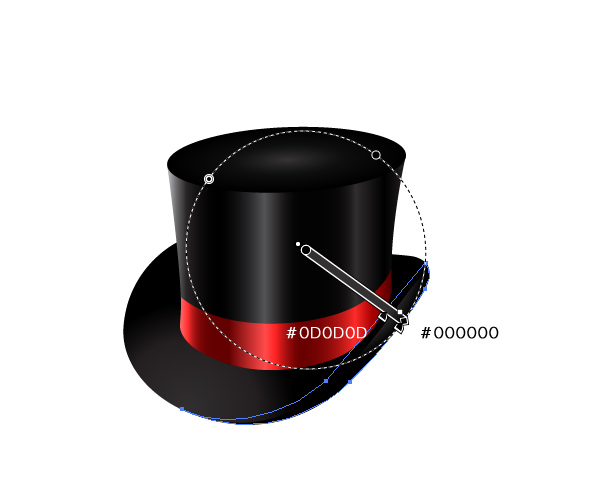
Don’t forget the small folded part of the brim. For that part of the hat we will use radial gradient. Actually, we are going to apply a radial gradient and then we will transform it into an elliptical gradient. So lets give it a try.
First grab the Gradient Tool (G) and drag the gradient as shown on the picture below.
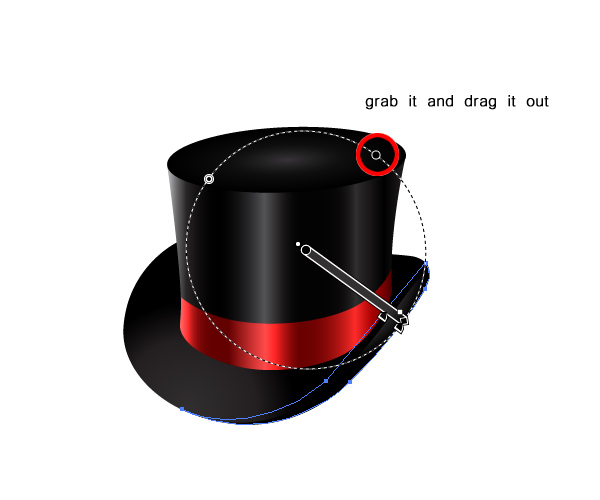
Now grab the selected point of the gradient circle and drag it out…
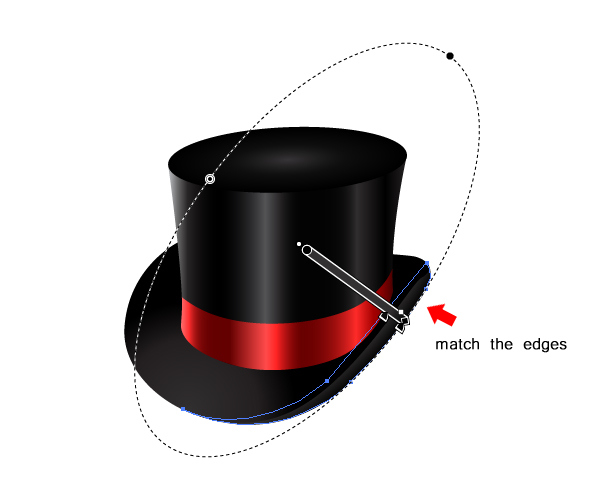
…until the edge of the gradient meets the edge of the brim.
Step 12
Our top hat looks pretty nice right now, but there is always room for improvement. We are going to try to increase the depth of our illustration.
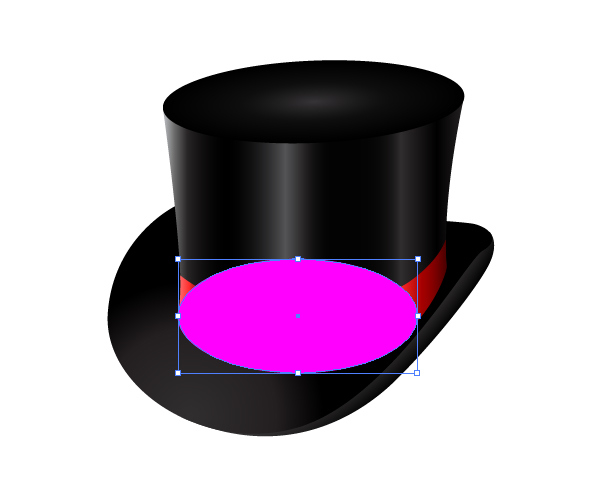
First of all we are going to create a small shadow right underneath the ribbon.
Grab the Ellipse Tool (L) from the Tool Panel and create an ellipse as shown on the picture below.
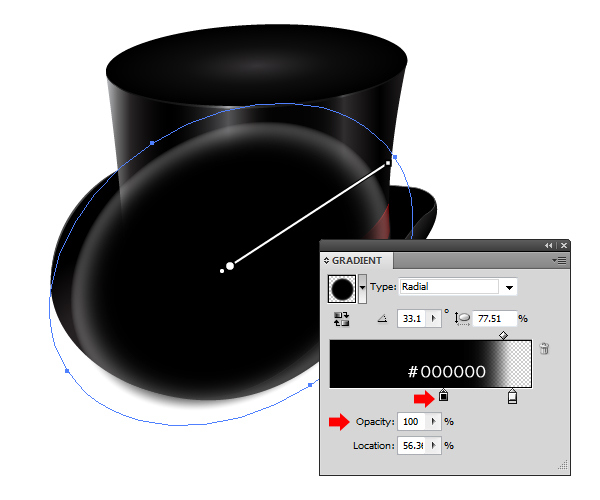
Step 13
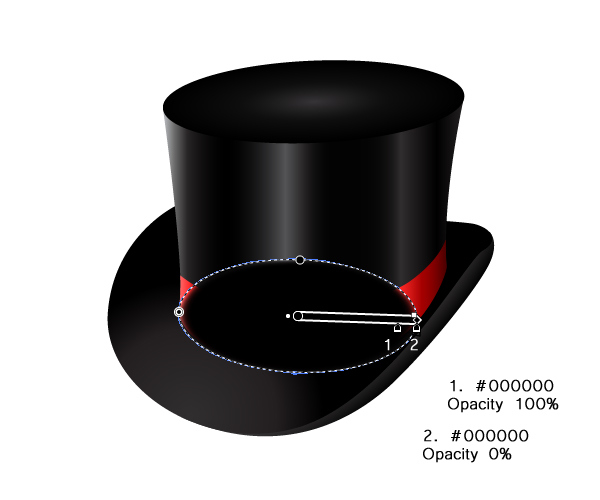
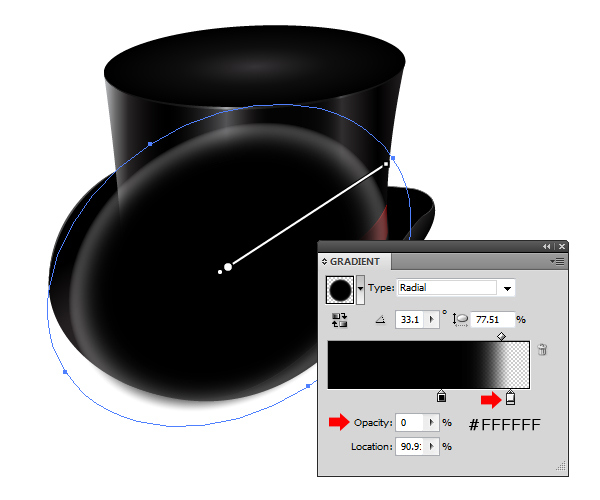
We are going to apply a nice black to transparent radial gradient. Make sure to set the Opacity of the first slider of the gradient to 100% and of the second slider to 0%.
Step 14
Place the ellipse underneath the red ribbon. Feel free to adjust the position, angle and the anchor points of the ellipse in order to be able to simulate the shadow that the ribbon casts on the brim.
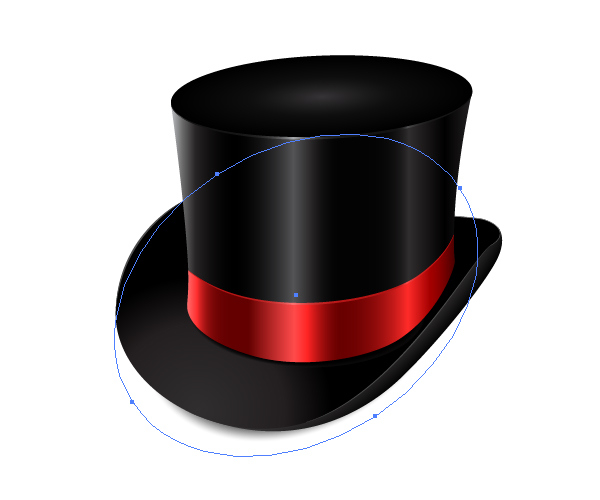
Step 15
There are other things we can do to improve our artwork. We are going to create some nice edge highlights.
Duplicate (Ctrl / Cmd + C, Ctrl / Cmd + F) the ellipse on the top of the hat.
With the Direct Selection Tool (A) select the upper anchor point of the copy we have just created and remove it by hitting the Delete key on your keyboard.
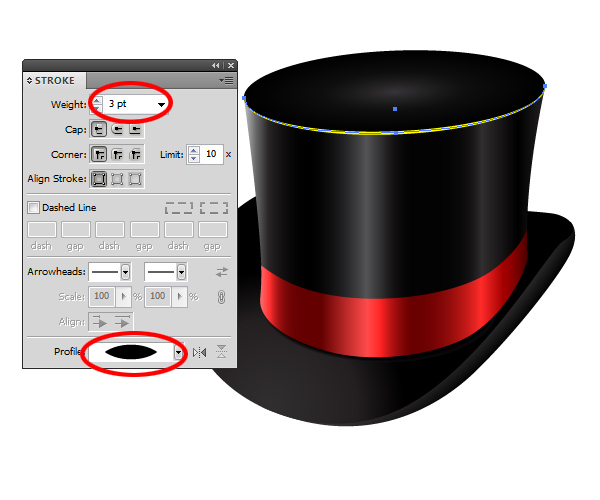
Remove the Fill Color and set the Stroke color to any color you like (we are going to change that color in a minute anyway).
Under the Stroke Panel make sure to set the Stroke Width to 3 pt and the Profile to Width Profile 1.

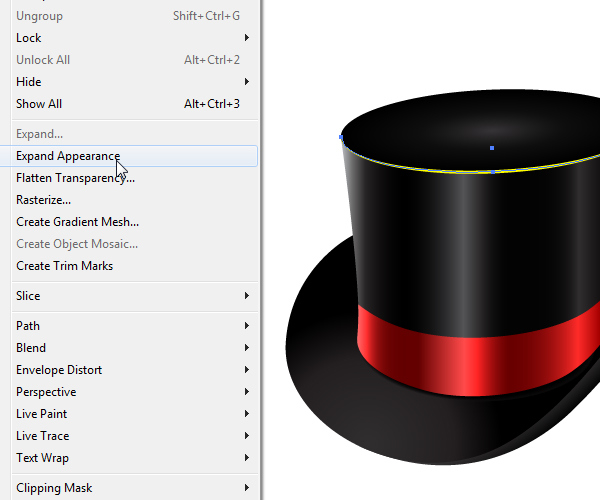
Step 16
Let’s turn the path into an editable shape. Select the path with the yellow stroke and under the Object select Expand Appearance.
Step 17
We are also going to apply a nice radial gradient to the shape we have just created. Make sure to respect the highlights we have created earlier.
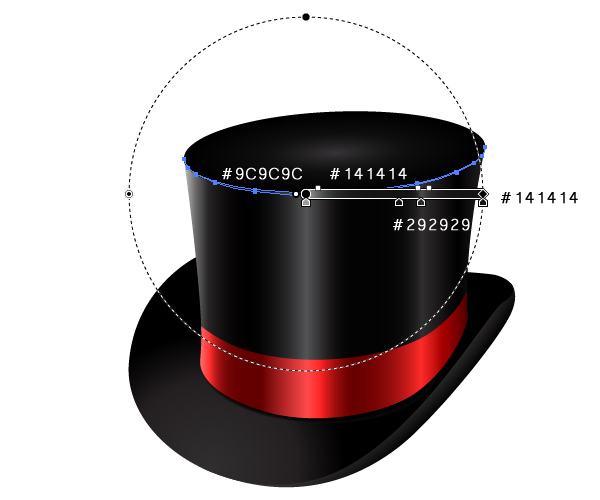
As you can see we have created almost the same highlights as we did on the lateral side of the hat.

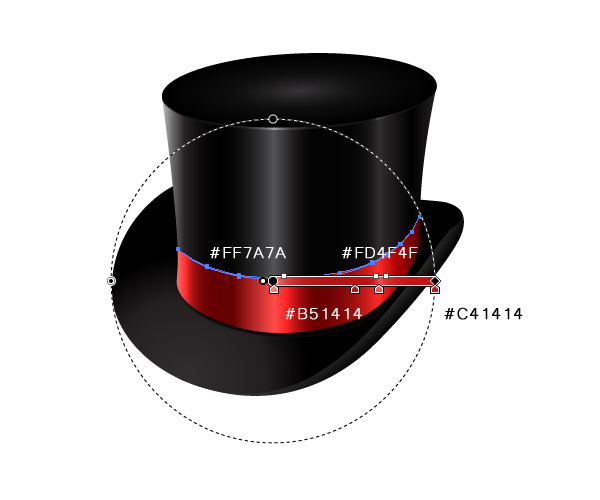
Step 18
Using the exact same technique we are going to create an edge for the red ribbon. You should end up with something like this.

Step 20
All we have left to do is to create a nice shadow underneath the hat. That way we will avoid the hat looking like it is floating.
Grab the Ellipse Tool (L) from the Tool Panel and create an ellipse as shown on the picture below.
Step 21
Apply a radial gradient as shown on the pictures below.
Step 22
Send the ellipse underneath the hat (Shift + Ctrl / Cmd + [ ). Feel free to adjust the position of certain anchor points if needed.
Step 23
We are going to create another ellipse (to create a shadow for the middle part of the hat). Grab the Ellipse Tool (L) from the Tool Panel again and create another ellipse.
Step 24
Apply the same radial gradient we applied to the ellipse in the previous step.

Step 25
Place the ellipse underneath the hat (Shift + Ctrl / Cmd + [ ). You should end up with something like this.

Step 26
As you can see, there is a small obstacle that we need to fix. The shadow is visible at the back of the hat. It looks quite unnatural.

Let’s fix that.
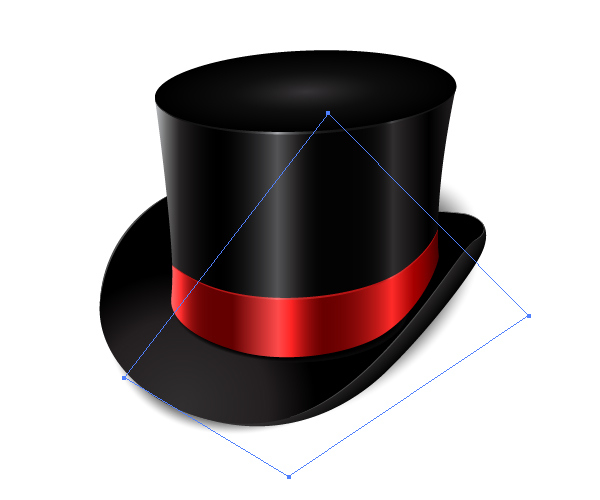
Step 27
Grab the Pen Tool (P) from the Tool Panel and draw a shape as shown on the picture below (no Fill color and no Stroke color).
Step 28
Make sure that the shape from the previous step is on the top of the shadow we are trying to fix (you can change the order of the layers inside the Layer Panel). Select both, ellipse with our shadow and the shape we have created with the Pen Tool (P), and under the Object select Clipping Mask > Make.
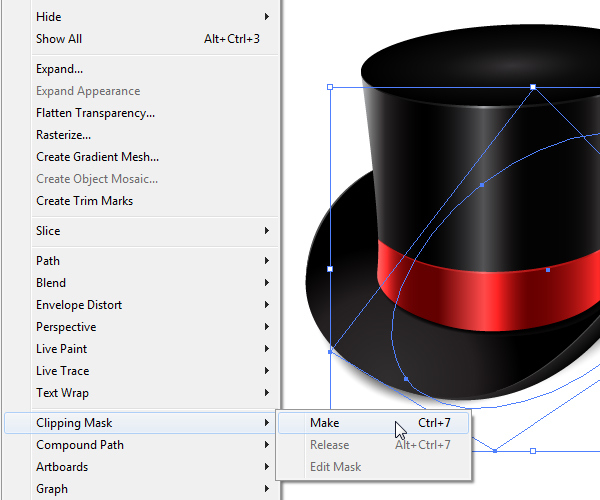
You should end up with something like this.
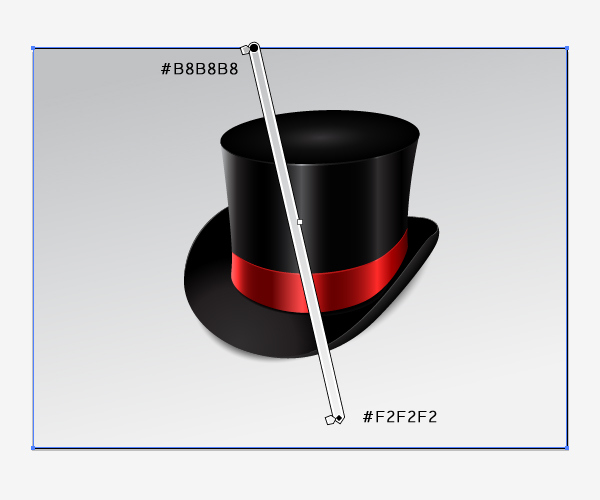
Step 29
In the last step we are going to create a nice background. Grab the Rectangle Tool (M) from the Tool Panel and create a rectangle. Apply a nice linear gradient, as shown on the picture below.
Conclusion
Today we have created another great looking icon with Adobe Illustrator. The purpose of this tutorial was to show that even simple drawn illustrations can look very nice. You have to be aware that none of the shapes were drawn in one try and that the perfect combination of colors for each color gradient was the result of mixing and matching colors and fine sliding color sliders in the Gradient Panel. Great illustration is usually a product of trial and error techniques. You just have to keep trying until you create something you really love. Take your time and practice, that is the best advice you can get.
If you have any questions please post them in the comments section below this tutorial. I hope you enjoyed reading this tutorial as much as I have enjoyed creating it. Thank you for following along.
