Today we will have the opportunity to learn how to create a seamless wallpaper in Adobe Illustrator. Seamless wallpaper illustration is one of the most popular things in the graphic design world. There are numerous ways you can use those illustrations; such as actual wallpapers for your walls or for printing different kinds of fabric (imagine a nice dress with a romantic print).
Just look around; bags, dresses, skirts, damask wallpaper in the living room, carrier for your cat, fabric for your sofa or curtains, …etc. For creating something like this all you need is a creative imagination and a knowledge of the techniques we are going to reveal in this tutorial. Just stay tuned.
Setting up the Working Area
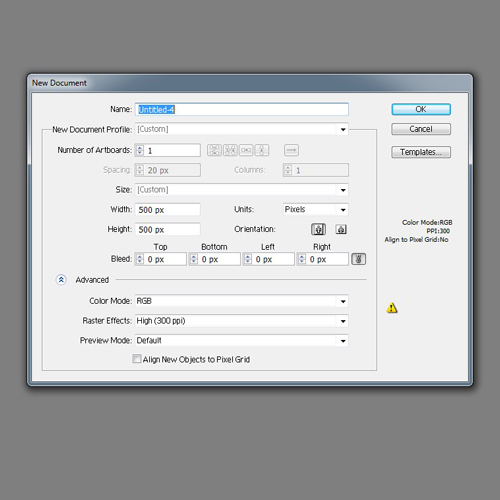
This is a very important step. Since we are going to do some math later I would recommend you use a square working area. Dimensions are not important. You can set up the height and width to anything you want. Just make sure to use round numbers. In our case we will set up the working area to 500 x 500 pixels. This will allow us to do the simple math.
Getting Started
There are numerous ways to create a nice illustration for seamless wallpaper. You can use simple elements such as circles, squares, triangles…or you can create balloons, butterflies,etc. It all depends on your choice. For the purpose of this tutorial we will be using a tablet. Bamboo (Pen&Touch) will be just perfect for this kind of illustration. It is a very affordable device, so if are thinking about getting a tablet but you are still unsure whether you will really use it or not, this is the right solution for you.
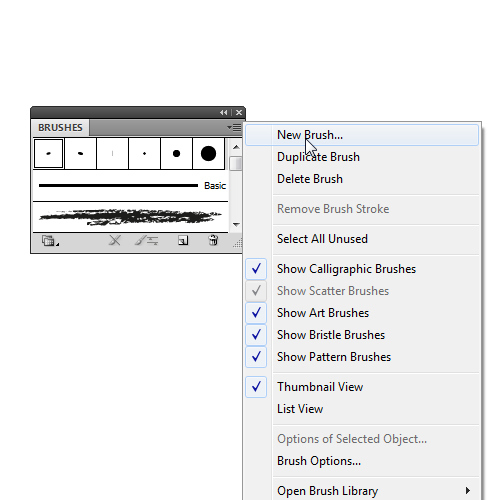
First of all we need to set up the tool we are going to use for this illustration. There are a few Illustrator tools we can use to create our floral background, but today we will be using the Paintbrush Tool (B). Before we start drawing we need to set up the brush, a Calligraphic Brush. Under the Brush Panel choose New Brush.
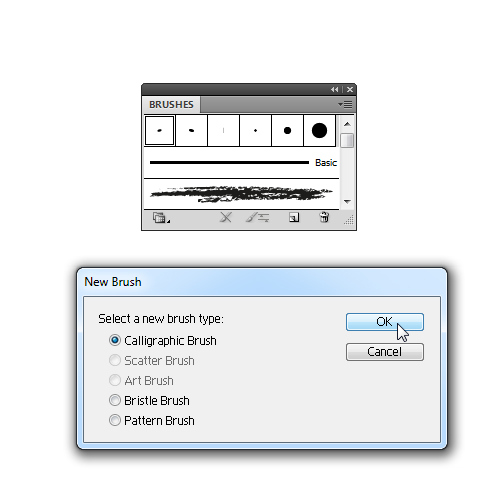
Under the New Brush window make sure to check Calligraphic Brush type and hit OK.
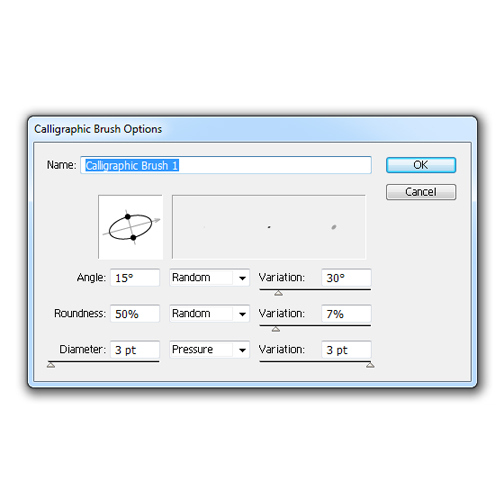
This is the place where you can play around with settings and try to create the stroke line you like. Trial and error is actually the best method to get a desirable result.
These are the settings we are about to use in order to create this seamless background.
Now we can start to create our background. Let’s start to create floral elements for the left side of the illustration. Just make sure the floral elements are connected.
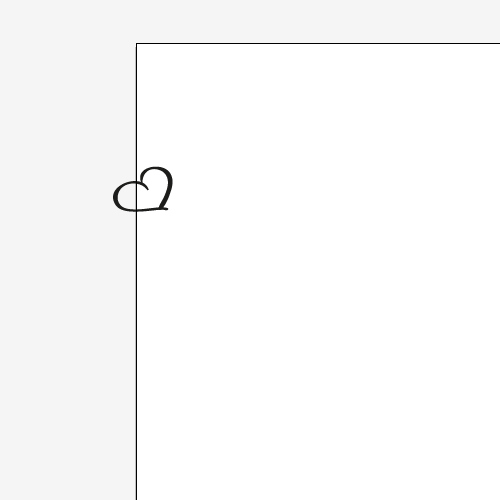
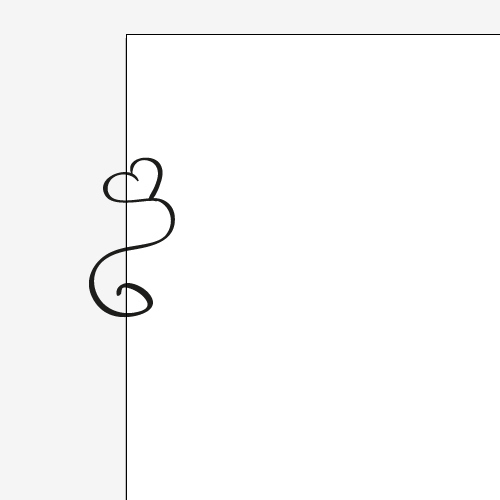
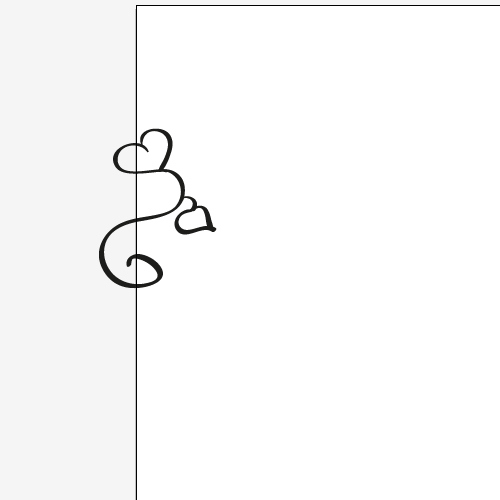
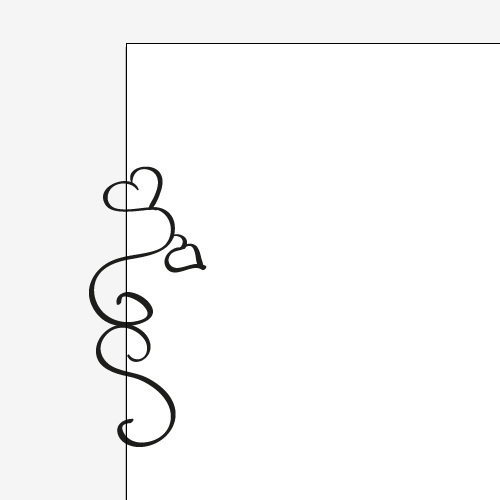
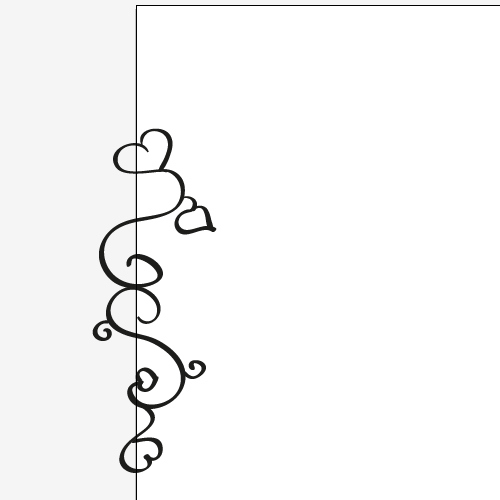
We will stop creating the elements at this point. Group (Ctrl / Cmd + G) all the elements we have created so far.
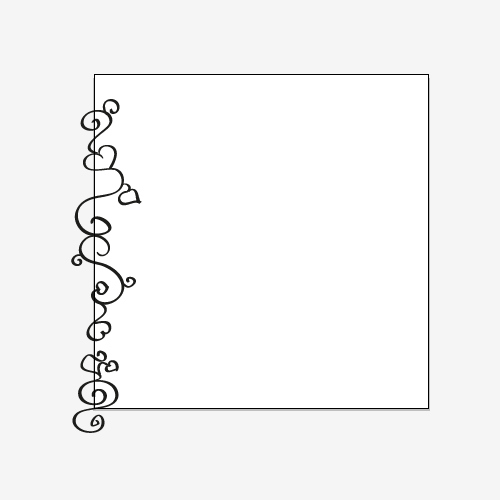
You will notice the empty space in the left upper corner. We left it like that on purpose and now we will fill it. To do this make sure to open the Transform Panel (if the panel is now visible just select Window > Transform). Duplicate (Ctrl / Cmd + C, Ctrl / Cmd + F) the group of floral elements. We need to move the copy we have just created along the Y-axis upwards for 500 pixels (don’t forget, 500 pixels is the height of our artboard). To do that we will subtract the Y value with 500 pixels under the Transform Panel.
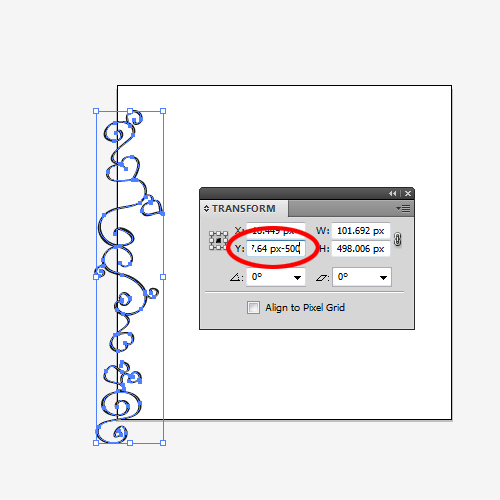
It will automatically move the copy upwards.
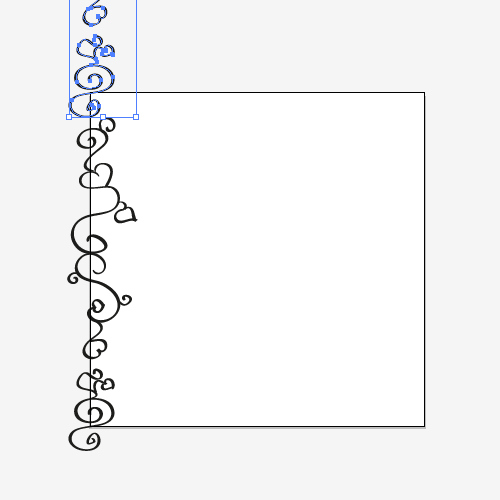
Ungroup (Shift + Ctrl / Cmd + G) the copy we have just moved and remove all elements that are not inside the Artboard.
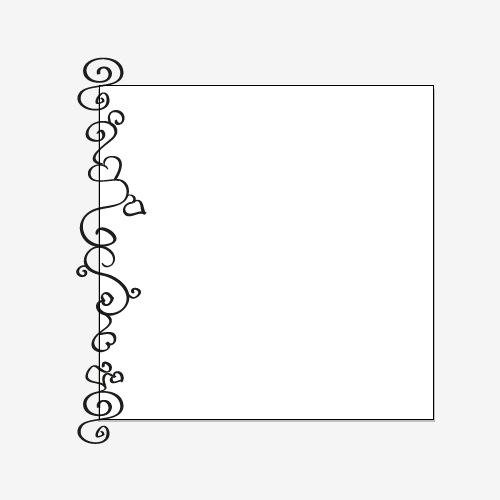
Grab your Pen and Tablet and make sure to connect the copied floral element with the rest of the illustration. Group (Ctrl / Cmd + G) all floral elements.
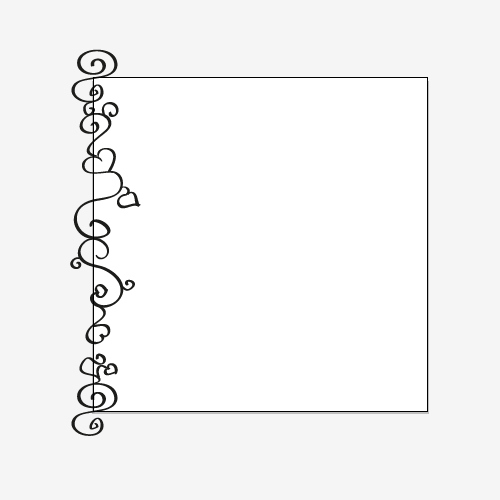
So far so good. Now we need to create more floral elements for the other sides of the Artboard as well. Grab your Tablet and Pen again and continue drawing. Just cover the lower part of the Artboard.
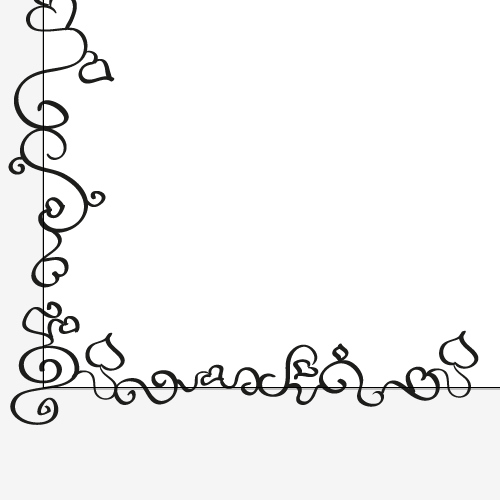
In order to complete the top and right side of the Artboard we need to repeat the step from above. Select the floral elements on the left side and duplicate them (Ctrl / Cmd + C, Ctrl / Cmd + F). Now, bring up the Transform Panel and make sure to add 500 pixels to our X axis.
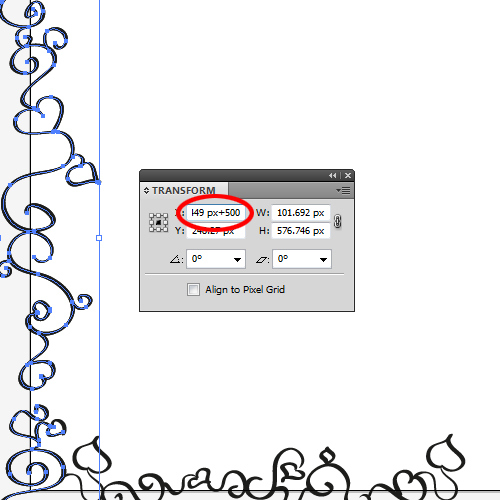
You should end up with something like this.
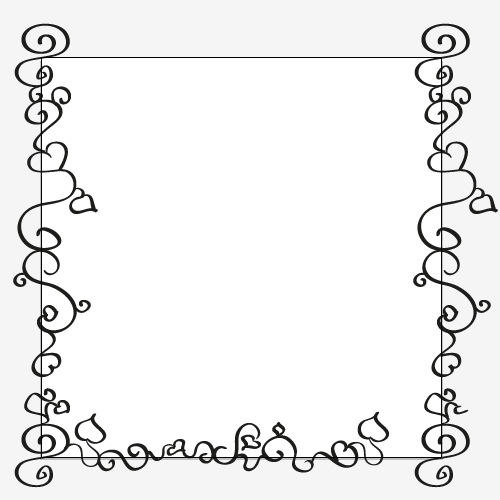
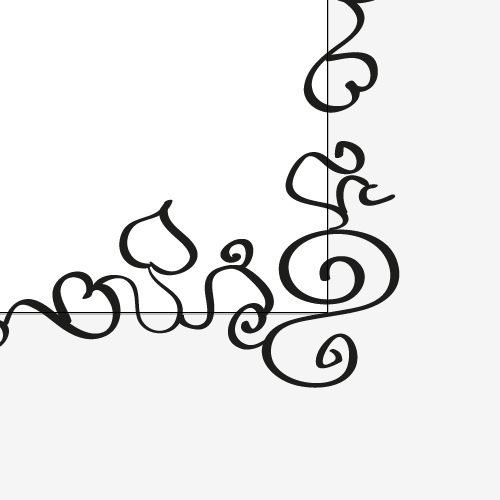
As you can see we need to connect the floral elements on the right with the elements on the bottom. Just take your Tablet and Pen and draw a nice connection.
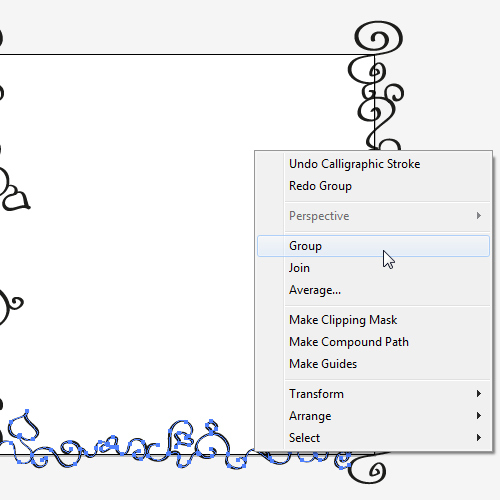
Now, select all elements on the bottom of the Artboard, Group them (Ctrl / Cmd + G), duplicate the group of elements (Ctrl / Cmd + C, Ctrl / Cmd + F) and make sure to move the copy upwards by 500 pixels by using the Transform Panel.
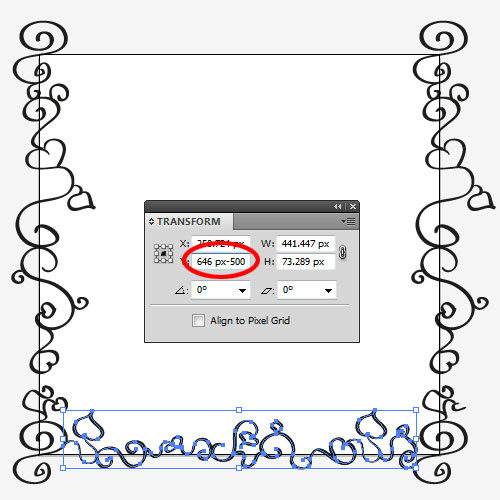
You should end up with something like this.
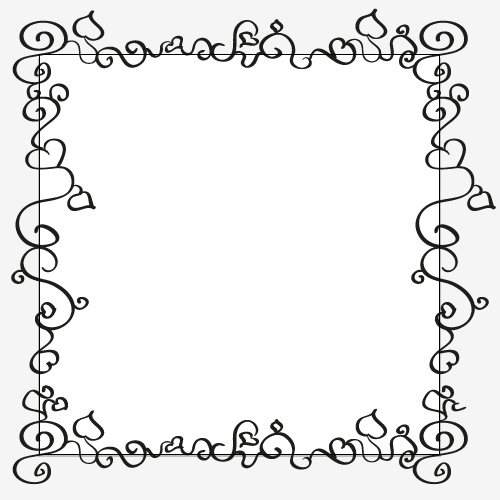
The rest of the creation process is quite simple. All you need is your tablet and your imagination. Just use your creativity and try to create many nice floral elements inside the Artboard.
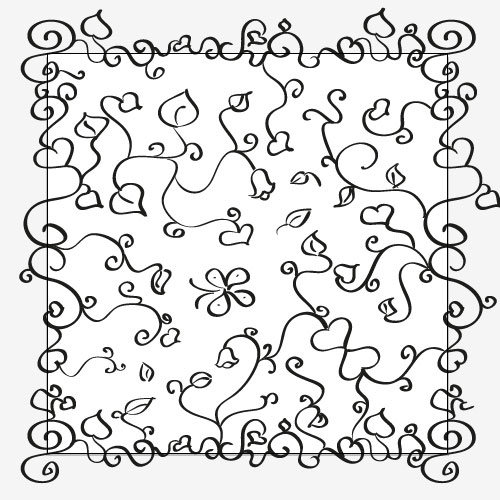
When you are happy with the result select all floral elements we have created so far and Group them (Ctrl / Cmd + G).
Paint
In this part of tutorial we will apply some nice colors in order to make our illustration more interesting.
To be able to apply some nice colors we need to expand all the strokes, to change them from editable strokes to editable shapes. To do that select the group of our floral elements and under the Object select Expand Appearance.
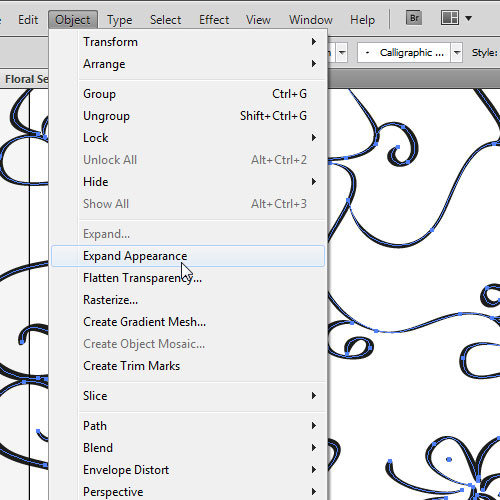
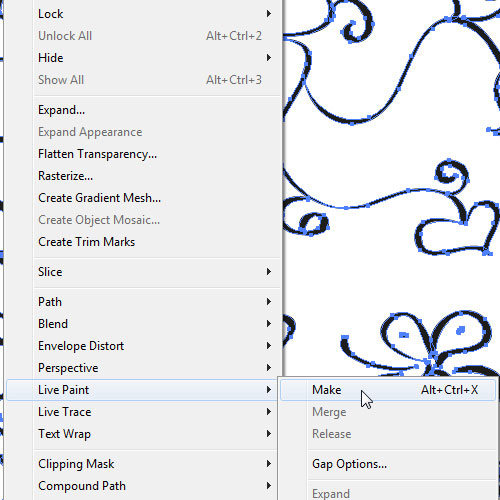
After that select Object > Live Paint > Make and our illustration is ready for painting.
Set the Fill (X) color to any color you like. Grab the Live Paint Bucket (K) tool from the Tool Panel. When you hover with your the mouse (Live Paint Bucket) over the area you want to paint you will get that area selected with red lines, it means you can drop the selected color there.
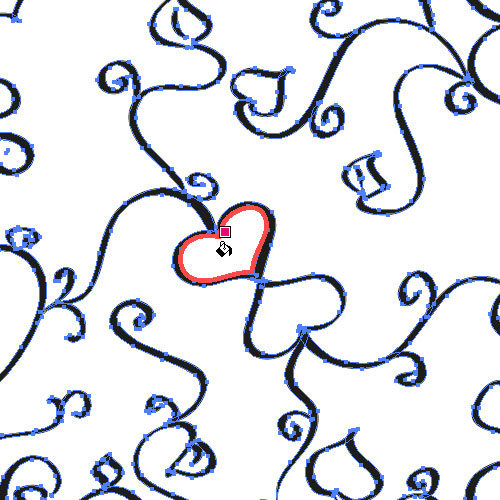
For the purposes of this tutorial we will use dark gray (#332F31) to color all the former strokes. After that we are going to use some nice vivid colors to bring the other romantic elements alive.
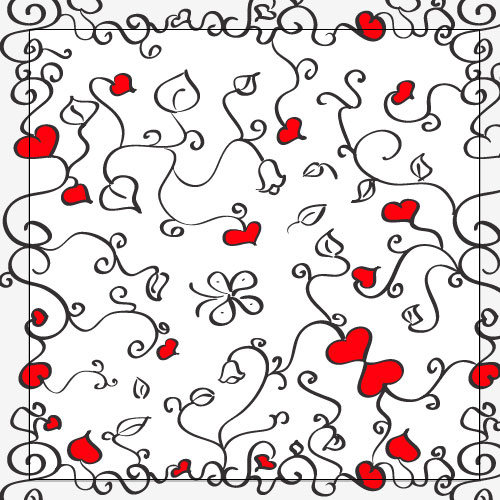
As you can see we colored only the hearts that are inside the Artboard. This is the area we are interested in. Mix and match the colors for other elements as well, until you create something you like.
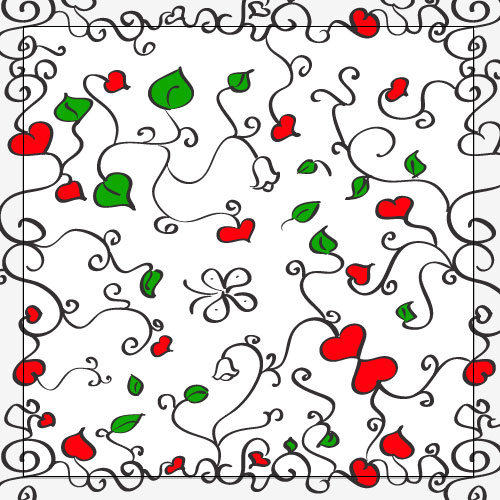
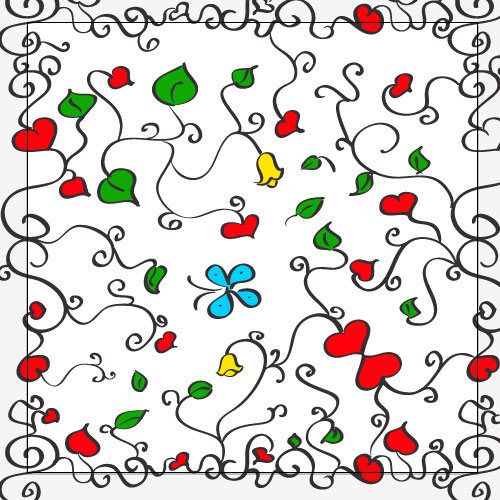
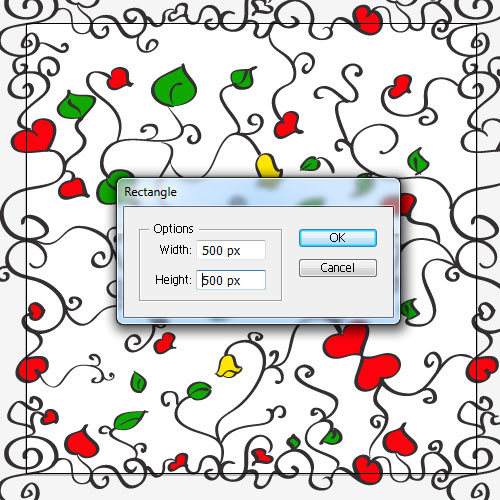
From the Tool Panel grab the Rectangle Tool (M) and click once on the Artboard. It will bring up the Rectangle Options window. Set dimensions to 500 x 500 (same as our Artboard). Place the rectangle to fit perfectly on the Artboard.
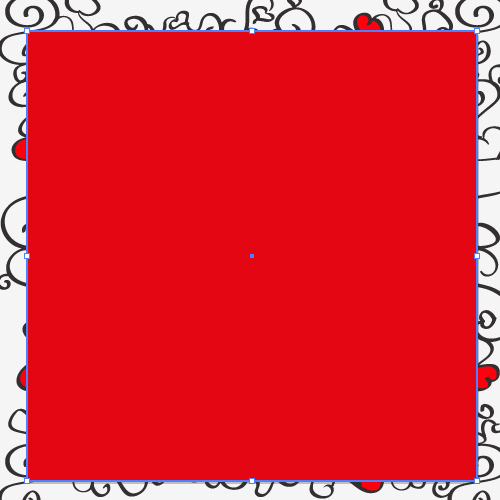
Make sure to remove both, Fill and Stroke color. Select all elements we have created so far (include the rectangle we have just created) and under Object select Clipping Mask > Make.
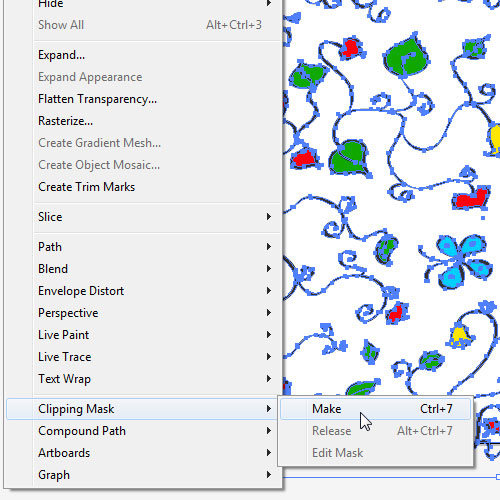
It will crop our illustration to the size of the Artboard.
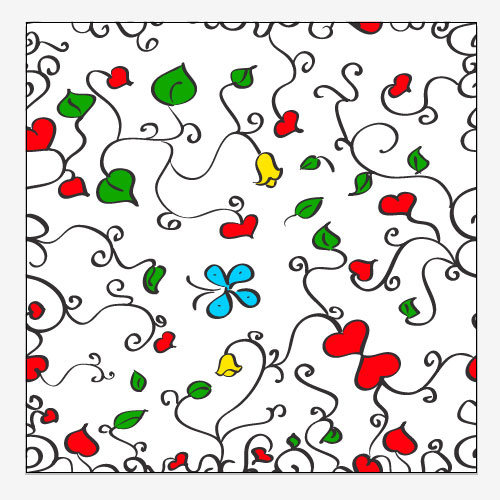
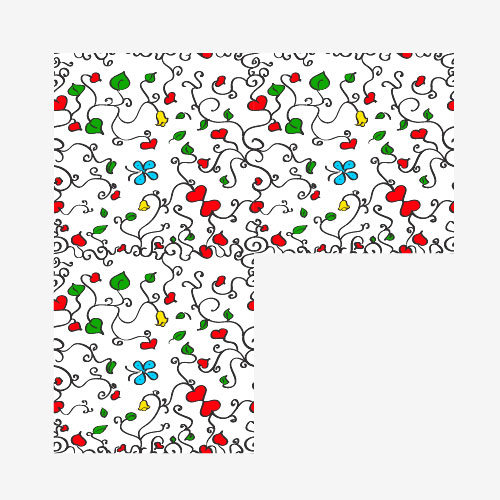
And we are done! This illustration can be used multiple times in order to print something large (wallpaper, fabric, etc). To make sure you did this right you can always make more copies of the illustration and place them next to each other to see if everything fits perfectly.
Conclusion
In this tutorial we had an opportunity to work with the Brush Tool and to see how different brush setups can make our illustration really nice. Beside that we have learned how to create a seamless illustration. Floral background was only one of many possibilities of what you can create.
Now, when you know the right technique for creating seamless a illustration all you have to do is to play around with your imagination and creativity. You can end up with some really nice results.
I hope you liked this tutorial. Thank you for following along.